
We Tested Glitter Nail Ideas — Here's What We Found
Overview
We tested glitter nail ideas across finishes, application methods, and wearability to give an honest, hands-on review. From subtle shimmer to full-on chunky glitter, our tests covered a wide range of glitter nail ideas so you can see what performs best in real life.
In this review we break down looks, longevity, and value. Our goal was to assess multiple glitter nail ideas objectively: how long they last, how they photograph, how easy they are to remove, and whether they deliver value for DIY or salon budgets.
Top Glitter Nail Looks We Tested
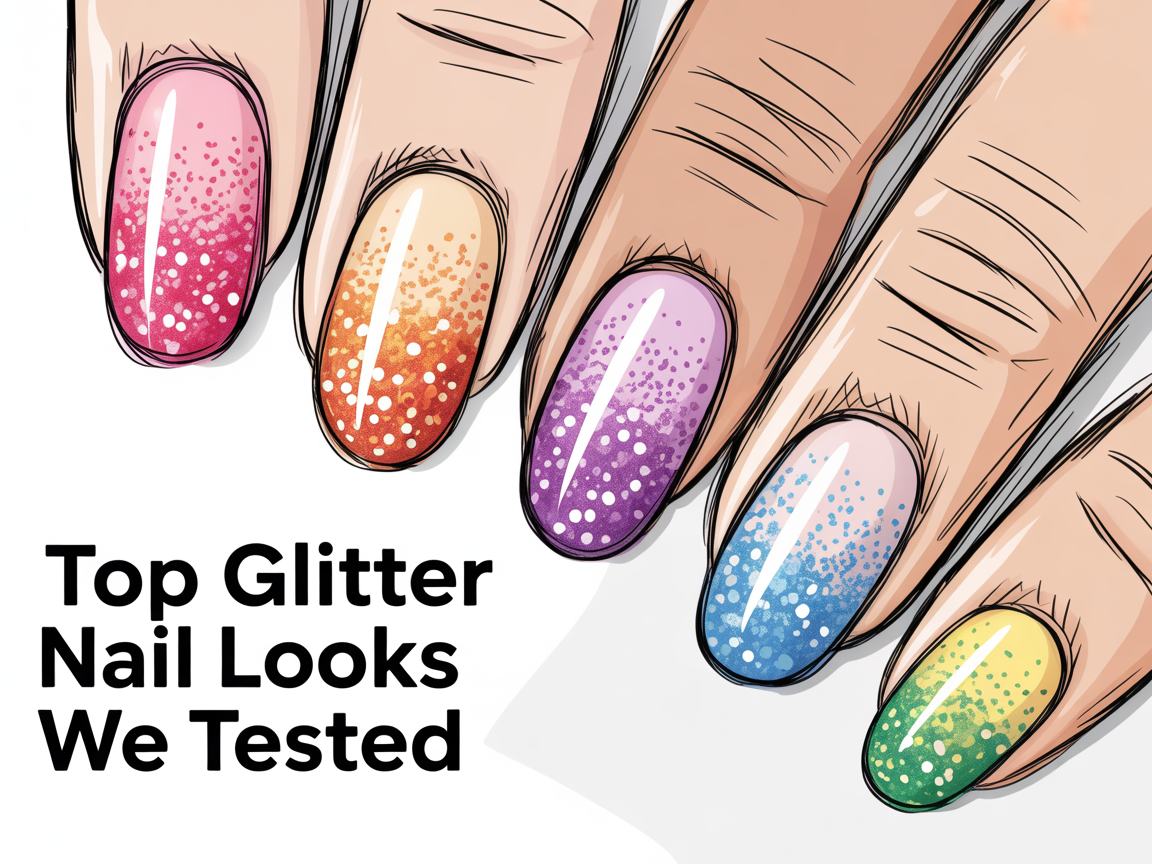
We organized the looks into categories: fine shimmer, chunky glitter, ombré glitter, accent tips, and mixed-media sparkle. Each glitter nail idea was photographed and rated for ease of application, visual impact, and removal.
Fine shimmer glitter nail ideas are the stealthy option: they add a soft reflective finish without drawing too much attention. If your workplace is conservative or you prefer minimalist looks, fine shimmer is a reliable pick.
Chunky glitter nail ideas are the opposite: bold, textured, and eye-catching. They’re ideal for parties and festivals but demand a heavier-duty topcoat and more careful removal.
Ombré and gradient glitter nail ideas scored high in our aesthetic tests. The layered look blends color with sparkle and looks elevated whether done at a salon or at home with a sponge technique.
Accent nail glitter nail ideas—where one or two nails get the sparkle—offer a high-impact look with less maintenance. These are great if you like frequent color changes but still want a hint of glam.
If you like pairing glitter with simple bases, check our simple nail designs guide to mix sparkle with minimalism: https://naildesignerai.com/nail-designs/simple-nail-designs
Pro tips for looks:
- Mix particle sizes: combining fine shimmer with a few chunky flakes gives depth without full texture.
- Limit chunky coverage to accent nails for easier removal.
- Use complementary base colors—white or pastel bases make glitter stand out differently than dark bases.
Wear Test Results
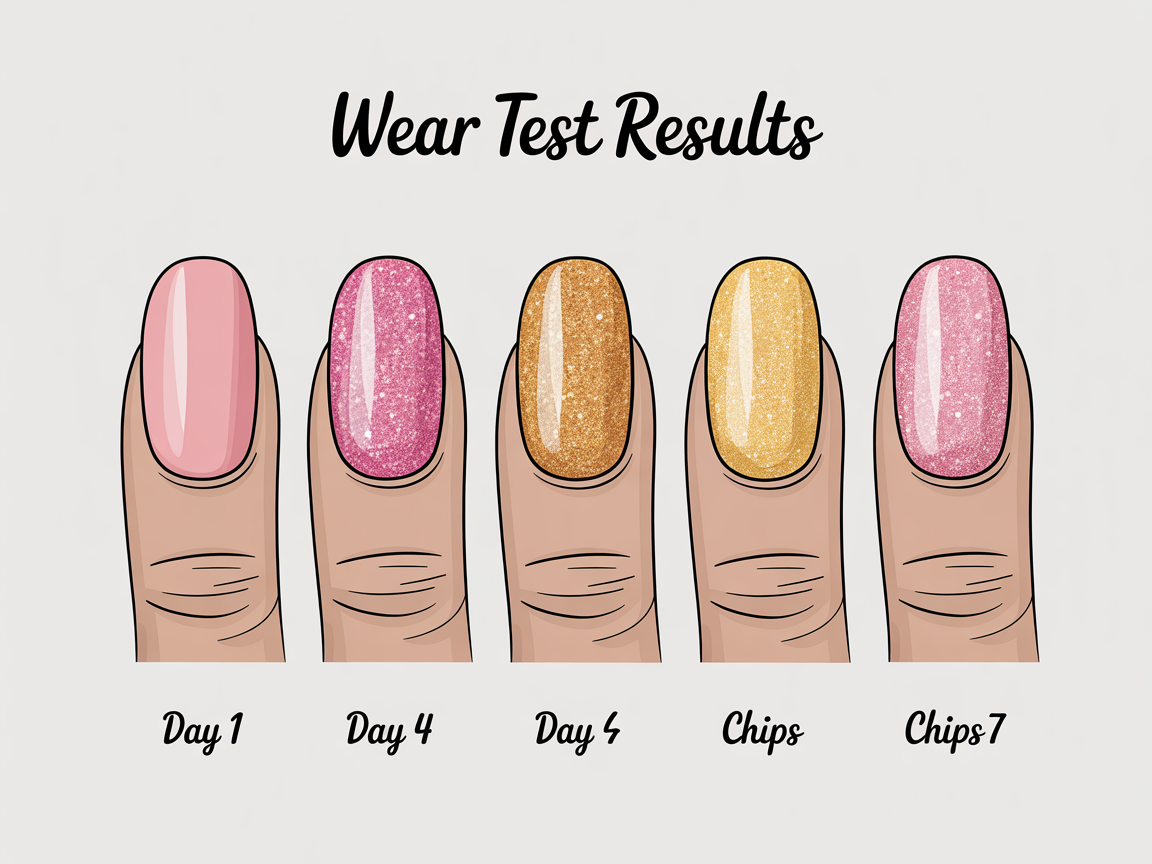
We ran standardized wear tests for each glitter nail idea over a seven-day period using the same base and topcoat across sets. Daily activities simulated typical life: computer work, hand washing, grocery handling, and brief outdoor exposure.
What we measured:
- Chip resistance (visual inspection on days 1, 3, 5, 7)
- Shine retention (subjective rating and photo comparisons)
- Edge wear and lifting
Summary of results:
-
Fine shimmer glitter nail ideas: Best overall for chip resistance. Minimal texture means fewer snags, and a good topcoat preserves shine through day 7.
-
Chunky glitter nail ideas: Highest sparkle retention but highest risk of early edge chipping. Chunky particles can lift if not properly sealed.
-
Ombré glitter nail ideas: Durability depends on application technique. Sponged or layered looks need thinner coats and a quality topcoat to avoid bubbling.
-
Accent glitter nail ideas: Great compromise. A single glitter-accent nail held up well while allowing for easier touch-ups.
Detailed day-by-day observations:
- Day 1: All glitter nail ideas looked flawless, with high shine and full coverage.
- Day 3: Chunky glitter sets showed micro-chipping at the tips. Fine shimmer and encapsulated glitters remained intact.
- Day 5: Ombré sets started showing thin edge wear where topcoat application was uneven.
- Day 7: Only the best-sealed glitter nail ideas (fine shimmer with two topcoats) showed minimal visible wear.
Practical tips from wear testing:
- Always finish with a glossy, gel-like topcoat for glitter nail ideas to lock in sparkle.
- Light buffing of the nail before application helps adhesion, especially for chunky glitter.
- Seal edges with topcoat brush strokes to minimize tip chipping.
For travel or vacation-ready glamour, pair glitter nail ideas with seasonal palettes—see vacation nail ideas for inspiration: https://naildesignerai.com/ru/nail-ideas/vacation-nail-ideas
Application: DIY vs Salon

We compared DIY glitter nail ideas against salon applications across three axes: time, cost, and finish quality.
Time and cost
- DIY: Expect 30–90 minutes depending on complexity. Cost per set can be low if you reuse polishes and glitters.
- Salon: 45–120 minutes and higher cost, but less trial-and-error and professional finishing.
Tools and technique
- DIY tools: sponge applicators, glitter pots, fan brushes, quality base and topcoats, and a removal kit for glitter.
- Salon tools: airbrush or professional gel application, better adhesion for chunky glitter, and UV curing for long-lasting finishes.
Finish quality
- DIY glitter nail ideas can look salon-worthy if you take time and use the right products. The biggest differences are precision and edge sealing.
- Salon work generally wins for complex mixed-media glitter nail ideas and sculpted finishes.
Removal
- Glitter nail ideas—especially chunky ones—are more stubborn. DIY removal with foil and remover is effective but slower than salon soaking methods.
Cost breakdown example (approximate):
- DIY starter kit (base, topcoat, 3 polishes, glitters): $25–$60.
- Salon glitter service (gel + glitter): $35–$90 depending on complexity.
If purple or white bases are part of your glitter vision, these palettes often complement sparkle well: https://naildesignerai.com/ru/nail-designs/purple-nail-designs and https://naildesignerai.com/nail-designs/white-nail-designs
How to Choose the Right Glitter Nail Ideas
Choosing the best glitter nail ideas is a balance of lifestyle, budget, and visual preference. Use this decision guide to narrow down options:
Start with the occasion
- Everyday & work: choose subtle glitter nail ideas like fine shimmer or single-accent nails.
- Special events: prioritize chunky or mixed-media glitter nail ideas for stage presence.
Consider maintenance capability
- Low maintenance: accent nails or encapsulated glitter under gel for easier longevity.
- High maintenance acceptable: full-coverage chunky glitter with professional removal plans.
Budget considerations
- DIY route: cost-effective for repeated changes; requires time investment.
- Salon route: higher upfront cost but professional durability and finish.
Step-by-step DIY glitter gradient (quick guide):
- Prep nails: clean, file, and lightly buff the nail plate.
- Apply base coat and a thin layer of base color.
- Use a small sponge to dab glitter polish where you want gradient intensity.
- Repeat thin layers, allowing drying time between coats.
- Seal with two thin coats of topcoat, sealing the tip last.
Long-term tips for owners of glitter nail ideas:
- Keep a travel-sized topcoat for quick shine touch-ups.
- Store loose glitters and polishes in a cool, dry place to prevent separation.
- Schedule removal time; chunky glitter needs patience or professional help.
If you want to learn techniques from the ground up, consider registering for tutorials and guides at /auth/register.
Conclusion
Our hands-on review of glitter nail ideas showed clear trade-offs between durability and drama. Fine shimmer glitter nail ideas delivered the best balance of longevity and low maintenance, while chunky glitter nail ideas provided maximum visual impact but demanded more care. Ombré and mixed-media glitter nail ideas reward effort with striking results but are sensitive to technique and topcoat choice.
If you choose glitter nail ideas for everyday sparkle, focus on subtlety and a strong topcoat. If you choose them for events, embrace bold textures and plan for professional removal or extra removal time. Across all formats, the right products and proper sealing make a major difference in wear and appearance.
Overall, glitter nail ideas are versatile and enjoyable when matched to your schedule and style. With the right approach, you can get salon-worthy sparkle at home or rely on pro services for the most elaborate looks.