クラシックフレンチ
シアーなピンク・ベージュ・ニュートラルのベースに、バランスの取れた白いスマイルライン。柔らかな白は控えめに、明るい白はくっきりした先端になります。
クラシック・マイクロ・カラー・グラフィックのフレンチを比べ、ライン・コントラスト・仕上げを爪の形・長さ・お手入れの好みに合わせましょう。
確認・更新 2026-06-06
フレンチは視覚的なデザイン構造で、爪の先端がベースとコントラストになります。よく知られた形は、シアーなピンクやニュートラルのベースにカーブした白い先端ですが、同じ構造で不透明ベース・カラー・メタリック・グラフィックラインも使えます。
「フレンチ」はデザインの配置を指し、下地の施術方法を指すわけではありません。自爪・オーバーレイ・延長・チップのいずれでも作れます。最も大切なのは、先端の幅と形、ベースとのコントラスト、そして付けている間どこまで精度を保ちたいかです。
ルックブック
ライン幅・配置・コントラスト・仕上げを比べる参考にしてください。一枚をすべての爪の仕様とせず、取り入れたいデザインの構造に注目しましょう。
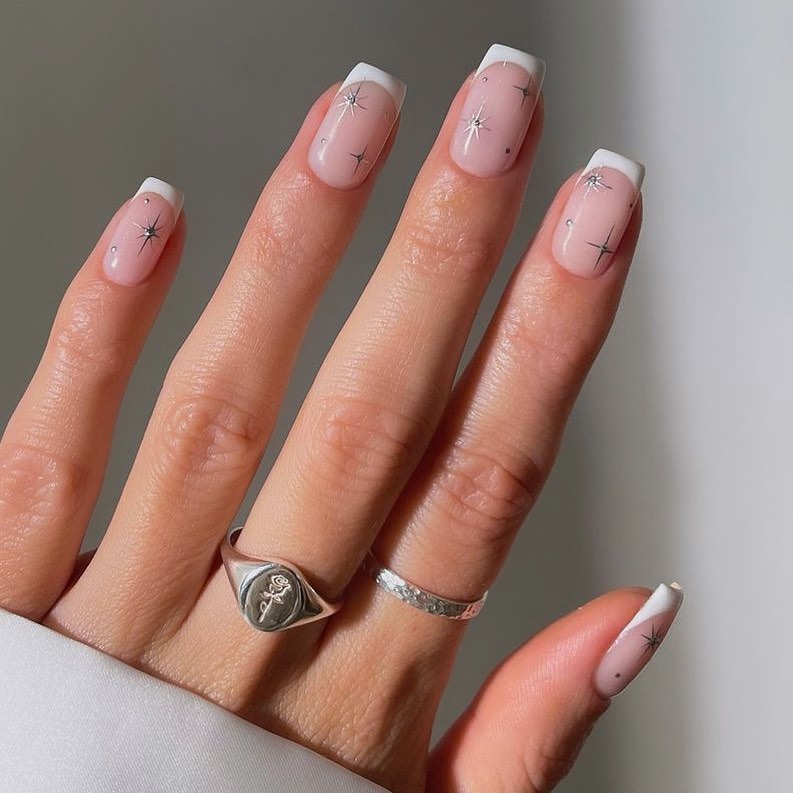
くっきりした白い先端と柔らかなピンクのベースが、ショートスクエアで定番のバランスを見せます。
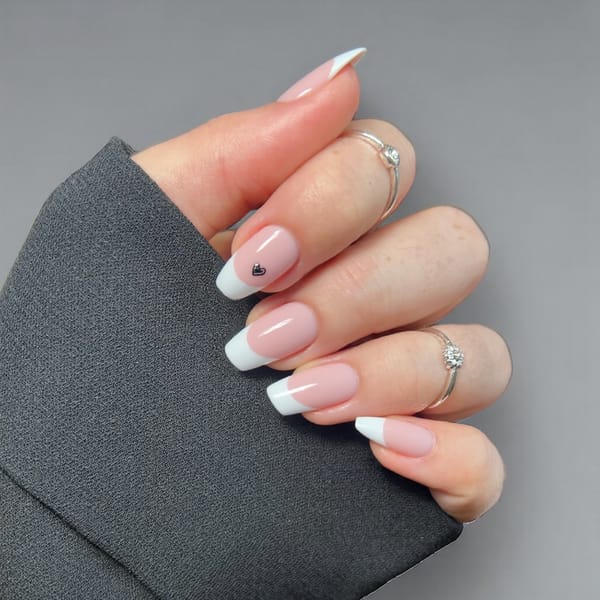
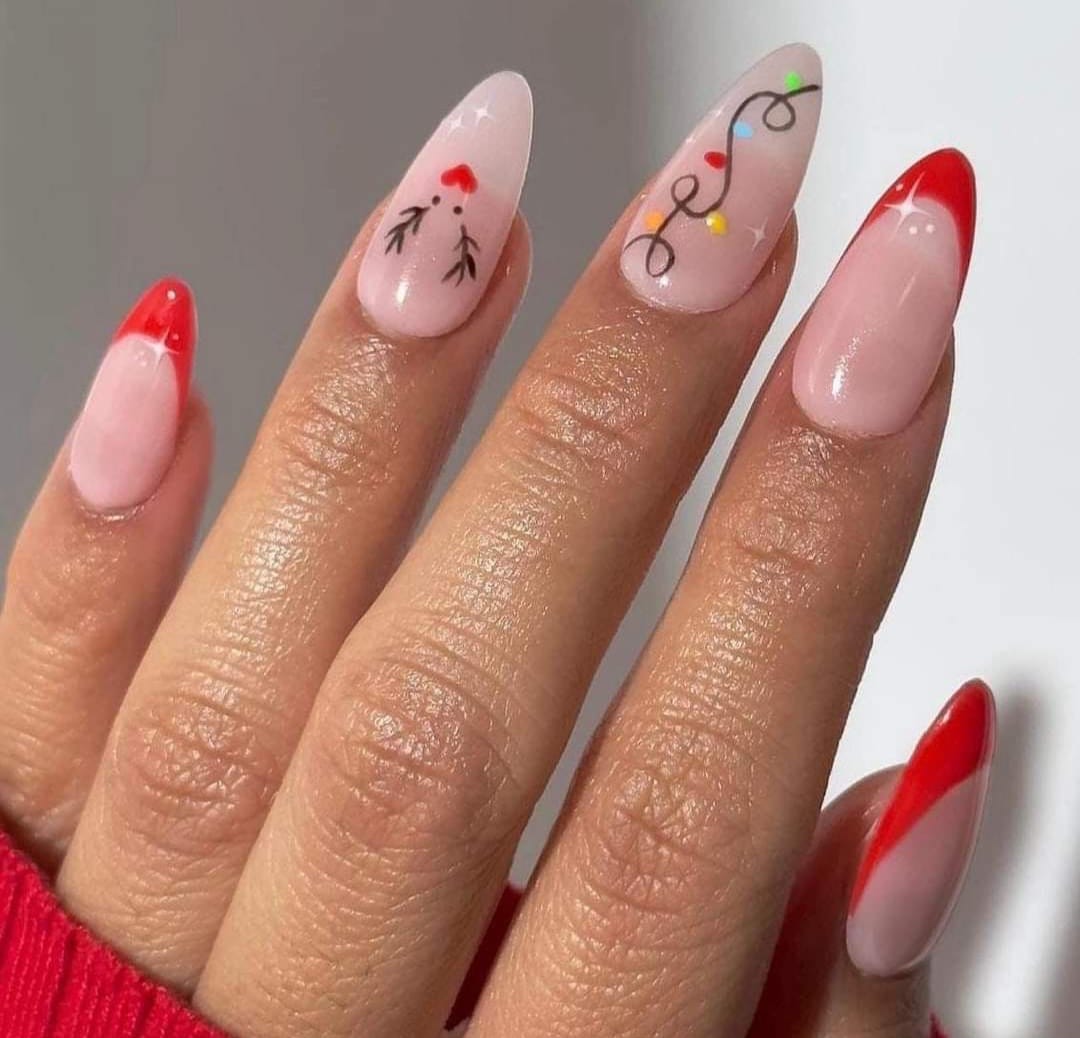
細い先端でベースの余白を残しつつ、小さなモチーフが構造を変えずにディテールを足します。
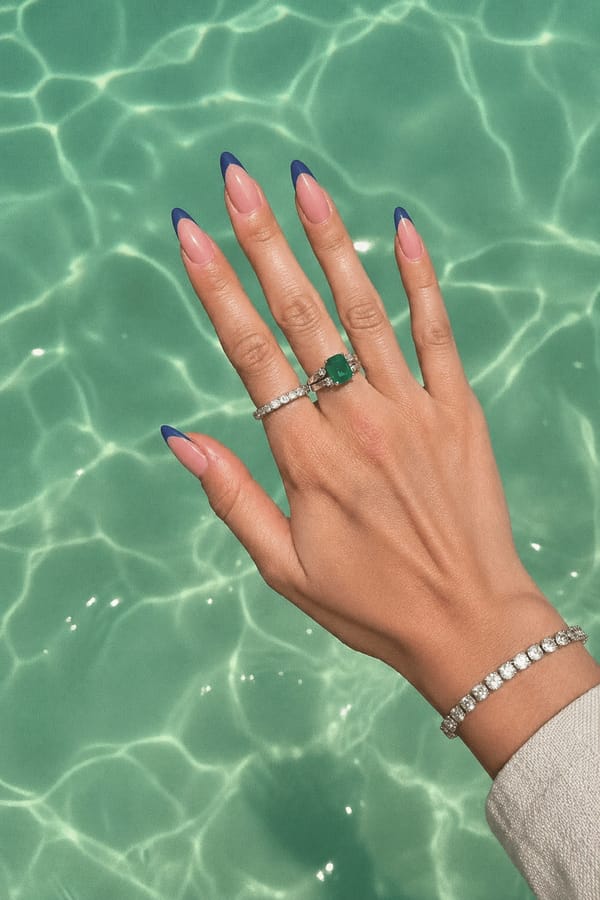
コーラルとネイビーがニュートラル×白の組み合わせに代わり、先端を最も強い見せ場にします。

コントラストのカーブを甘皮側へ移し、枠取りの考え方を保ちつつ配置で印象が変わることを示します。
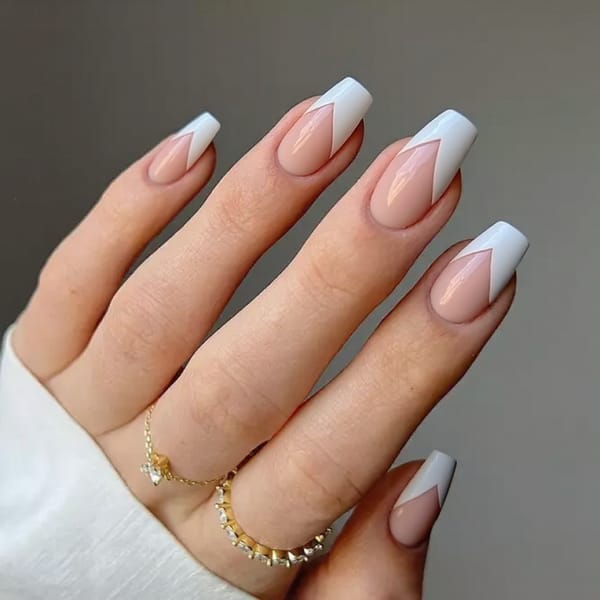
角のある白いセクションが尖ったシルエットを強調し、丸いスマイルラインよりグラフィックな表現に。
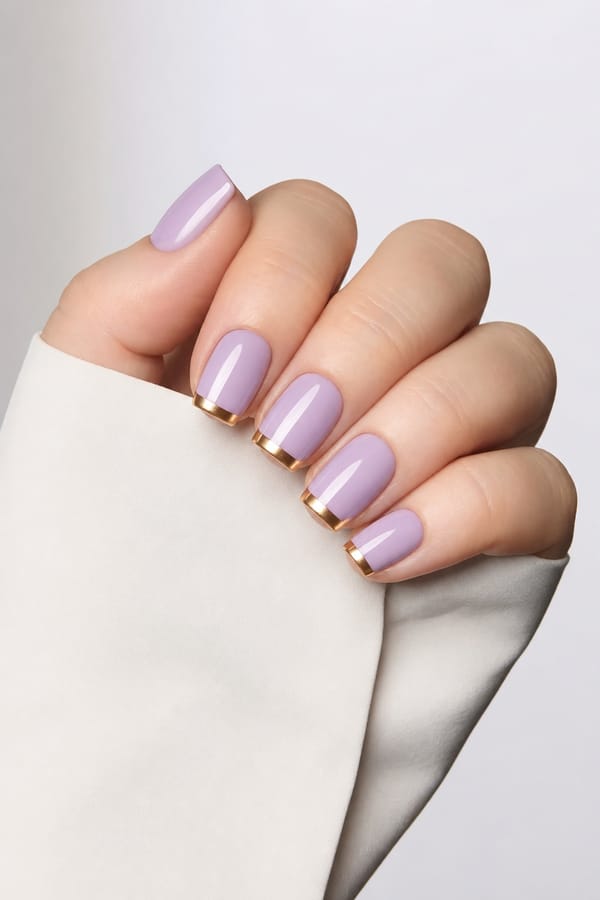
反射するゴールドの先端が仕上げのコントラストを足しつつ、ベースと先端の構成を分かりやすく保ちます。
まずラインの構造を選びましょう。色や仕上げは、基本の構成を変えずに後から調整できます。
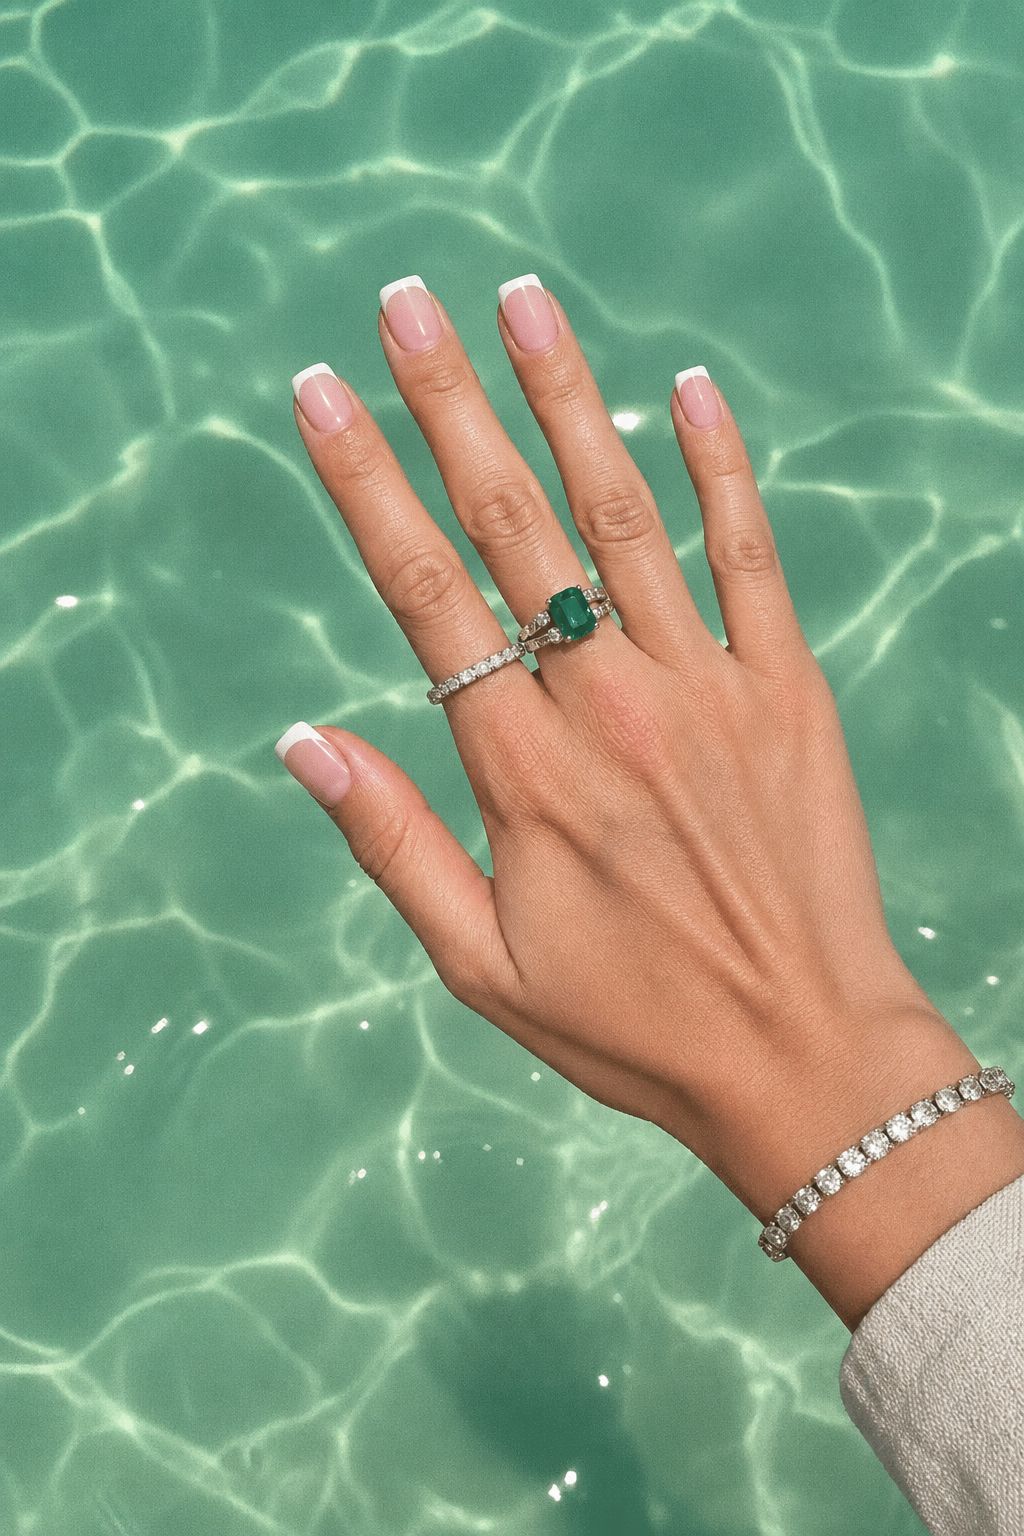
シアーなピンク・ベージュ・ニュートラルのベースに、バランスの取れた白いスマイルライン。柔らかな白は控えめに、明るい白はくっきりした先端になります。
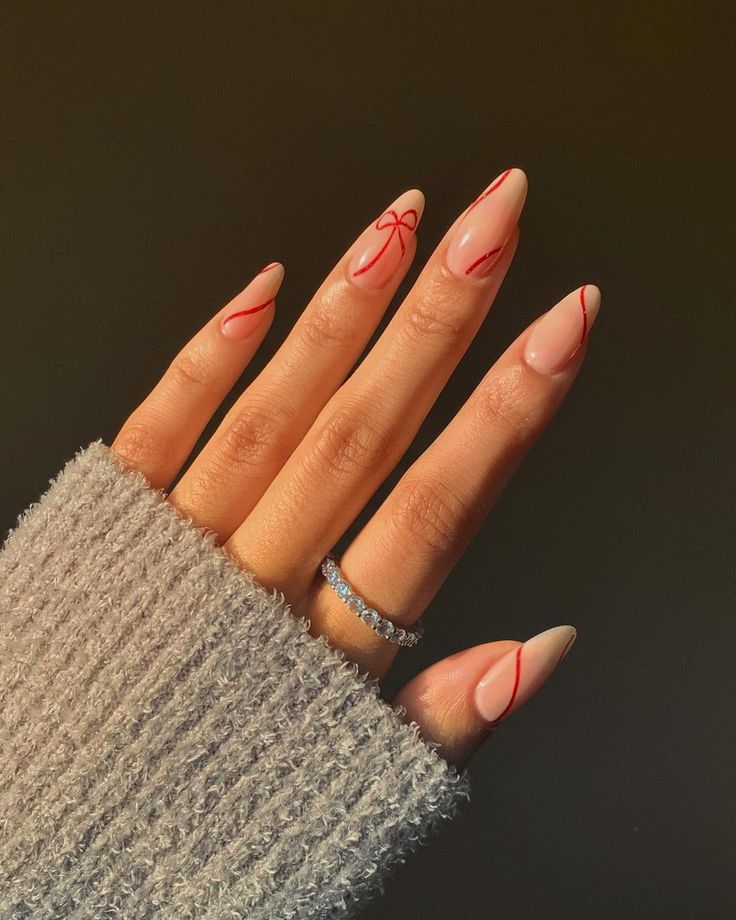
細いラインで先端を最小限に縁取ります。ショートでもベースを多く見せられますが、細いラインは正確な配置が必要です。
白の代わりに一色や調和した配色を使います。パステルは低コントラスト、黒・赤・ネイビー・ネオンの先端は先端を主役にします。
コントラストのカーブを先端ではなく甘皮側に置きます。フレンチの枠取りの考え方を保ちつつ、根元へ視線を移します。
丸いスマイルラインの代わりに角のあるラインに。斜めの先端は非対称に、2本の角が合わさるVは尖った形や細みを強調します。
2本目のライン・小さなモチーフ・ラメの縁・アクセント1本でディテールを足します。装飾を一つに絞ると先端の構造が読み取りやすく保てます。
唯一の正解はありません。爪の余白と形の輪郭から、先端の深さ・幅・角ばり具合を決めましょう。
先端が爪を支配しないよう、ベースを十分に見せます。細いカーブ・狭い直線・小さな斜めが向き、細かすぎるアートは読み取りにくくなります。
余白が広く、深いスマイルライン・広い色面・ダブルチップ・小さなモチーフが可能。先端が広すぎると、繊細なフレンチよりカラーブロック寄りになります。
まっすぐか緩やかなカーブのラインが、広い先端に調和します。角を丸めると移行が柔らかく、くっきり水平の先端はよりグラフィックに。
カーブしたスマイルラインがサイドの細みに沿います。Vチップや斜めのラインは、極端に尖らせずに細みを際立たせます。
長く細い形は、深いカーブや角のある先端の余地があります。細みに沿ってラインがゆがまないよう、正面と側面の両方で確認しましょう。
シアーなベースは余白の効果を保ち、伸びを目立ちにくくします。不透明やジェリーのベースは意図した配色になり、先端の明るさの見え方も変えられます。
ブラッシュと柔らかな白など近い色は、さりげない移行に。明暗の対比は小さなムラや欠けが目立ちやすい反面、強いグラフィック効果を生みます。
ツヤはデザイン全体に光を反射します。マットは色面を平らに見せ、コントラストのためにツヤの先端と組み合わせられます。
反射する仕上げは先端に質感を足します。細かいパールは柔らかく、クロームは鏡のようなアクセントに、ラメはより質感のあるラインになります。
フレンチはベースと先端の境目のきれいさが要なので、欠けや不均一な摩耗が単色より目立ちやすくなります。コントラストの強い白・黒・メタリックの先端は、なじませた低コントラストの配色より変化が早く現れがちです。
シアーなベースは甘皮側の伸びを目立ちにくくし、不透明なベースは伸びの線がはっきりします。実際の持ちは、施術方法・塗りの質・爪の長さ・日々の活動で変わります。一律の目安に頼らず、選んだメニューで現実的なメンテ周期をネイリストに確認しましょう。
クラシックなカーブ・マイクロ・逆・斜め・Vチップ・ダブルのどれかを指定しましょう。サロンによって用語の解釈が違うため、参考画像が役立ちます。
先端の細さや深さ、角の始まる位置を見せましょう。各爪で見た目の幅をそろえるか、比率で調整するかも伝えます。
デザインの両方の参考を持参しましょう。ベースをシアー・ジェリー・不透明のどれにするか、先端を柔らか・明るい・濃い・多色のどれにするかを伝えます。
ツヤ・マット・パール・クローム・ラメを選び、アクセント指を決めましょう。今の長さと選んだメニューで安定して再現できるか確認します。
まっすぐか緩やかなカーブの単色の先端は、複数の細いライン・緻密なモチーフ・左右対称の深いスマイルラインより再現しやすいです。
繰り返し使える練習用チップで先端の配置を下書きするか、フルセット前に既製のチップを選びましょう。ライン幅や配色を比べやすくなります。
チップガイド・細筆・ネイルシール・既製チップで手描きの手間を減らせます。使う製品の説明書に従いましょう。
手描きのラインは爪ごとに同一にはなりません。細かな差を直そうと何度も太らせるより、通常の距離で見てバランスの取れたセットを目指しましょう。
フレンチはベースとコントラストの先端の間に境目があります。フレンチオンブレ(ぼかしフレンチ)は、はっきりしたスマイルラインを作らず、ベースと明るい先端をグラデーションに溶け込ませます。
スマイルラインは、ベースの色とコントラストの先端の境界です。デザインによって、柔らかなカーブ・深い丸み・ほぼ直線・角に置き換えたものなどがあります。