
Stiletto Nail Ideas: Fundamentals for Success
Stiletto Nail Ideas: Inspiration & Trends
Stiletto nail ideas are a bold way to express style and creativity. Whether you're a beginner or a seasoned nail artist, stiletto nail ideas offer endless possibilities from simple shapes to elaborate designs. This guide covers fundamentals, practical techniques, and trends so you can create stiletto nails that look professional and last longer.
Stiletto nail ideas have evolved with trends across seasons. Celebrities and runway shows influence color combinations, while street style introduces raw, unexpected motifs. Understanding current trends helps you adapt classic stiletto silhouettes into fresh, wearable looks.
Stiletto shapes often reflect larger fashion movements: minimalist wardrobes favor neutral stiletto nail ideas with subtle texture, while maximalist fashion calls for bold, multidimensional nail art. Watching trend cycles enables you to forecast what stiletto concepts will resonate next season.
Choosing the Right Shape & Length
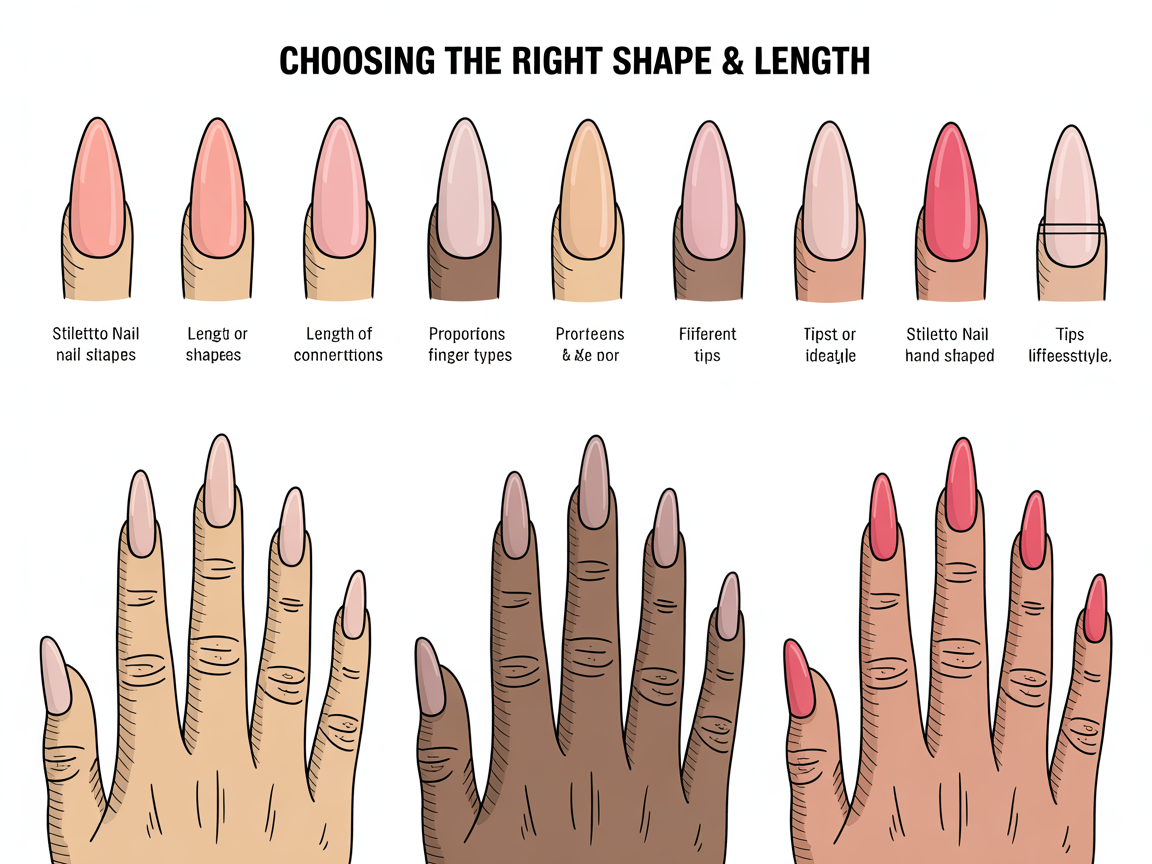
Choosing the correct shape and length is the starting point for any set of stiletto nail ideas. Stiletto nails are pointed and elongated; they vary from a subtle taper to an extreme, needle-like point. Consider hand proportion, lifestyle, and comfort when deciding how long to go.
Tips for choosing length:
- Match length to daily activities. Longer stiletto shapes are dramatic but less practical.
- Test a moderate length first to adapt to the feel of pointy tips.
- Use hand proportions: longer nail beds suit exaggerated stilettos; shorter beds benefit from less extreme tips.
Shaping techniques
- Start with a square foundation when building the tip, then progressively remove corners to form the taper.
- Use a combination of 180 and 240 grit files for controlled shaping.
- Check symmetry by comparing nails side-by-side and measuring from the cuticle to the tip.
Common mistakes to avoid
- Over-filing the sides too quickly, which can thin the tip.
- Creating a point too close to the center without adequate apex support; this leads to weak tips.
To visualize variations of length and proportion, refer to specialized galleries and explore how different stiletto nail ideas pair with ring choices, hand jewelry, and even sleeve length. Real-world comparison helps clients choose a length they can live with.
See additional long shape ideas in our long nail ideas collection for inspiration: https://naildesignerai.com/nail-ideas/long-nail-ideas
Color, Texture, and Design Basics
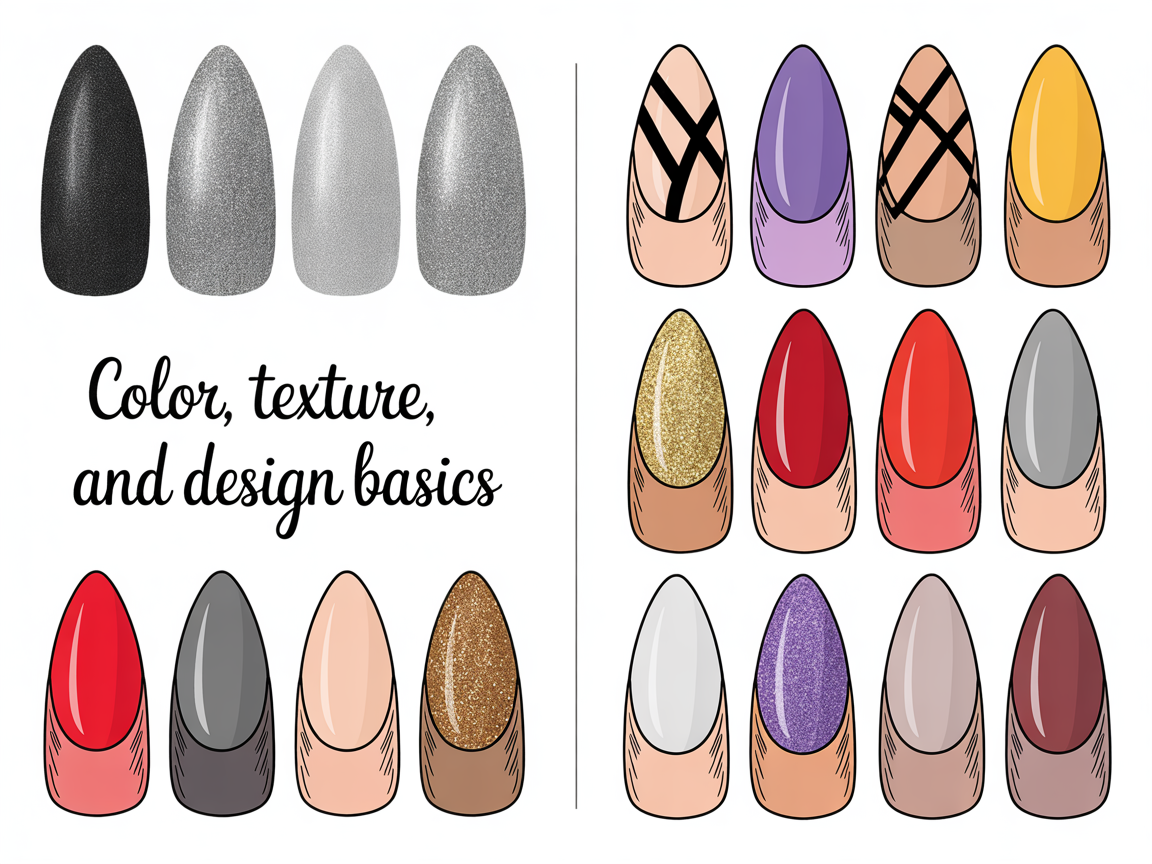
Color choices set the mood for your stiletto nail ideas. Matte finishes create understated elegance, while high-gloss lacquer and glitter add drama. Layering textures—like a matte base with glossy tips or a glitter gradient—makes stiletto designs pop without overcomplicating the art.
Color strategy:
- Use a limited palette for cohesive sets. Two to three colors often read cleaner on pointed tips.
- Consider negative space to make elongation feel intentional rather than overwhelming.
- Test metallics and chrome in small accents to avoid a heavy, cluttered look.
Design building blocks
- Lines: thin straight or curved lines can accentuate the point.
- Gradients: ombré effects that move toward the tip emphasize length.
- Minimal motifs: dots, tiny stars, or geometric shapes add personality without crowding the nail.
Texture experiments:
- Mix matte and glossy in the same palette for contrast.
- Use micro-glitters near the apex to catch light without overwhelming the tip.
- Layer sheer tints over shimmer for depth without weight.
Practical color pairings and pattern placement determine how readable a design is from a distance. When planning stiletto nail ideas, consider which finger will carry the primary motif and how adjacent nails support the overall story. A well-balanced set uses rhythm—repeat elements and spacing—to guide the eye along the hand.
If you enjoy feminine palettes, browse pink-inspired variations in our pink nail designs gallery: https://naildesignerai.com/nail-designs/pink-nail-designs
Application & Tools
Application technique is crucial when working on stiletto nail ideas. Building a strong foundation ensures the tips are secure and the silhouette is clean. Follow consistent steps and use the right products to minimize chipping and breakage.
Step-by-step application:
- Prep the natural nail: push back cuticles, lightly buff, and clean the surface.
- Apply nail tips or sculpt with forms when adding length.
- Use builder gel or acrylic to create a durable apex and to sculpt the stiletto point.
- File gradually, refining the point with controlled strokes.
- Finish with the chosen color and protective top coat.
Recommended products and tools
- Flexible nail glue for secure tips.
- Builder gel for reinforcement and a strong apex.
- High-quality top coat for shine and protection.
- Small-detail brushes for fine line work and micro-sculpture.
Pro workflow tips
- Work in thin layers to avoid adding excessive weight near the tip.
- Rotate the hand and check angles frequently to ensure the point is centered.
- Allow adequate cure time for gels to prevent deformation while filing.
Practical notes on materials:
- Acrylic provides rigid support and is forgiving for beginners sculpting a sharp point.
- Builder gel offers flexibility and is easier to reshape without lifting.
- Combination techniques—acrylic for structure, gel overlays for finish—can yield durable, elegant stiletto nail ideas.
Troubleshooting application issues
- Lifting: ensure the natural nail is de-greased and the product layers are thin.
- Uneven point: use a light touch and measure frequently; fix with targeted filing and a small filler layer.
- Overly thick tip: remove excess product with a coarse file, then refine with finer grits.
For real-world examples and gallery inspiration, check this curated explore gallery: https://naildesignerai.com/explore/cm5i011fd00p3pb1ei8jnpwlr
Maintenance & Health for Long Stilettos
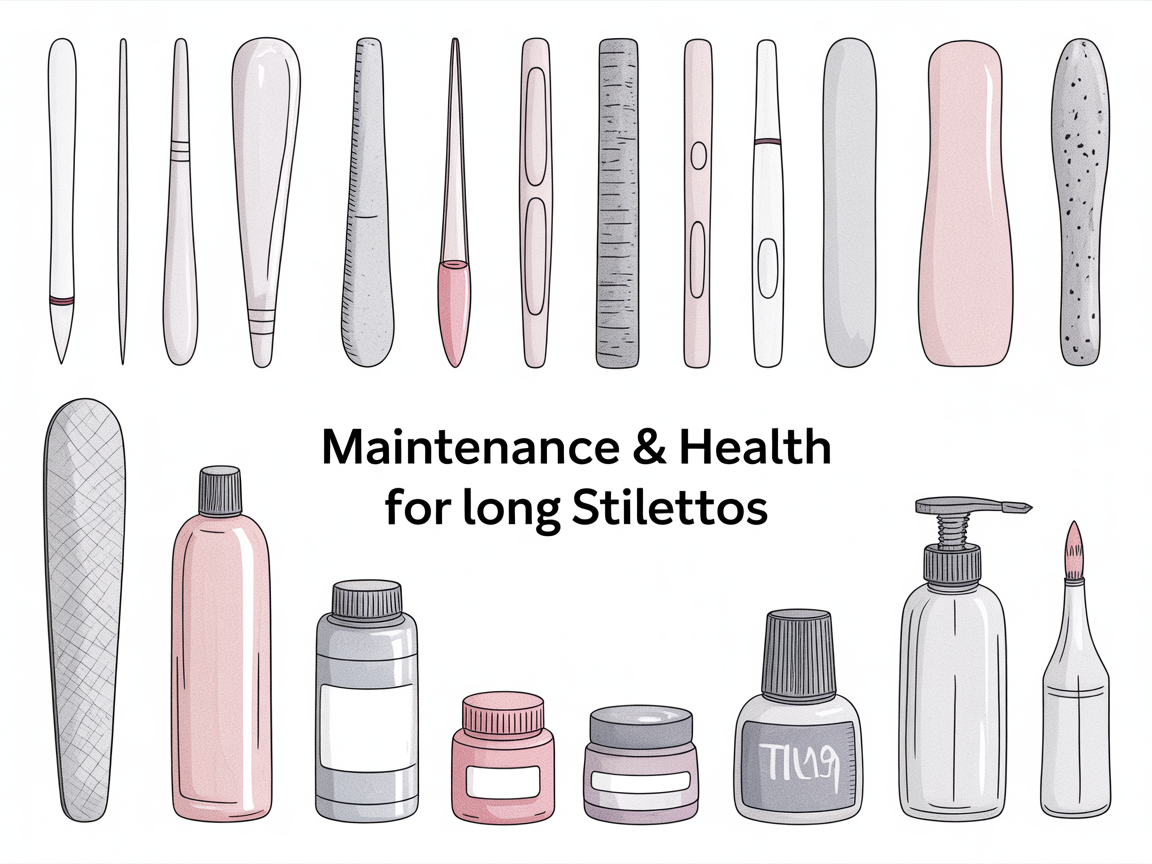
Keeping stiletto nails healthy involves consistent maintenance. Long, pointed nails require extra care to remain intact and look professional. Regular upkeep reduces the chance of splits and keeps the design crisp.
Maintenance checklist:
- File the point gently between fills to maintain shape.
- Keep a travel file and glue for quick repairs.
- Use cuticle oil daily to preserve nail and skin health.
- Schedule fills every 2-3 weeks depending on growth.
Dealing with breaks and chips
- Small chips can often be repaired with a thin overlay of builder gel.
- For a cracked tip, secure the area with glue and encapsulate with clear gel for strength.
- When a break compromises the whole tip, remove and replace to prevent further damage to the natural nail.
Long-term nail health
- Rotate product types and give natural nails a break when needed to avoid chronic thinning.
- Maintain hydration through oils and hand creams, which protect both the nail and surrounding skin.
- Monitor for signs of lifting or discoloration and address them early to avoid infections.
Detailed aftercare plans help clients extend the life of stiletto sets. Recommend simple at-home routines: daily oiling, gentle filing, and avoiding activities that stress the tip. Educating clients about realistic wear expectations improves satisfaction and reduces emergency repairs.
If you want to save favorite designs or manage a project gallery, your account page is at /auth/register where you can keep references for future sets.
Conclusion
Stiletto nail ideas blend form and function, offering a dramatic canvas for color, texture, and art. By understanding shape, selecting suitable lengths, applying strong foundations, and maintaining healthy nails, anyone can achieve successful stiletto results. Practice the fundamentals, study trends, and refine techniques to build your own signature stiletto nail ideas.
With time and consistent practice, these fundamentals will help you create reliable, eye-catching stiletto sets that stand up to wear and look salon-ready. Keep experimenting with color, texture, and subtle structural changes to discover the unique stiletto nail ideas that suit your style.
Whether you're designing for clients or creating looks for yourself, the fundamentals described here will provide a framework to expand from. Reference galleries, measure often, keep tools sharp, and prioritize nail health—these practices transform stiletto nail ideas into consistent, beautiful results.