
Prom Nail Ideas Fundamentals for Success
Title: Prom Nail Ideas Fundamentals for Success
Introduction
Prom nail ideas are a central part of planning your prom look. Choosing the right nail design can tie your outfit together, elevate photos, and reflect your personal style. This guide explores fundamentals for success, covering design principles, dress coordination, techniques, and practical tips to make prom nail ideas both beautiful and long-lasting.
Prom Nail Ideas: Core Principles
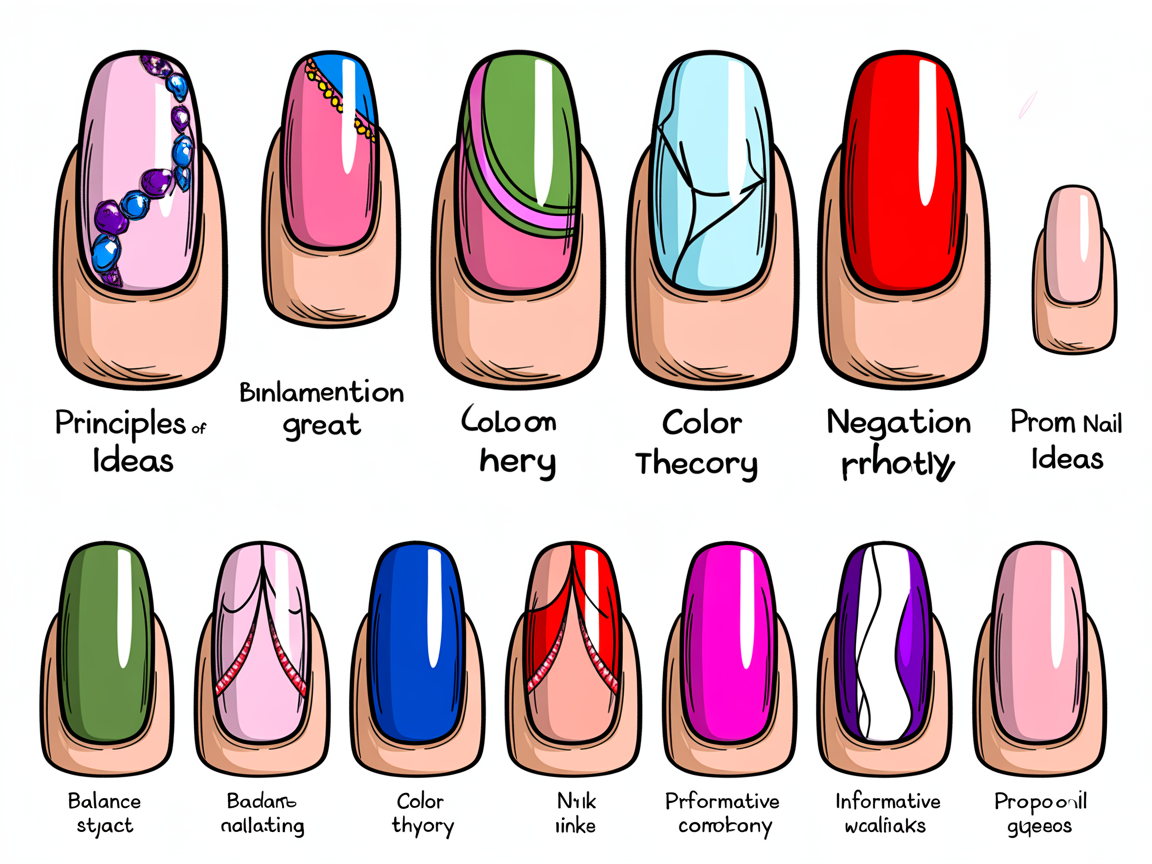 Start with the basics when considering prom nail ideas. Balance, proportion, and color harmony form the foundation of any memorable manicure. Keep scale in mind: elaborate details look best on longer nails, while subtle accents often work better on shorter lengths.
- Balance: Pair bold colors with minimal patterns.
- Proportion: Choose accent placements that complement fingernail shape.
- Contrast: Use contrast to make details pop in photos.
Understanding these principles helps ensure your prom nail ideas translate well both in person and in photos.
Matching Nails to Dress and Theme
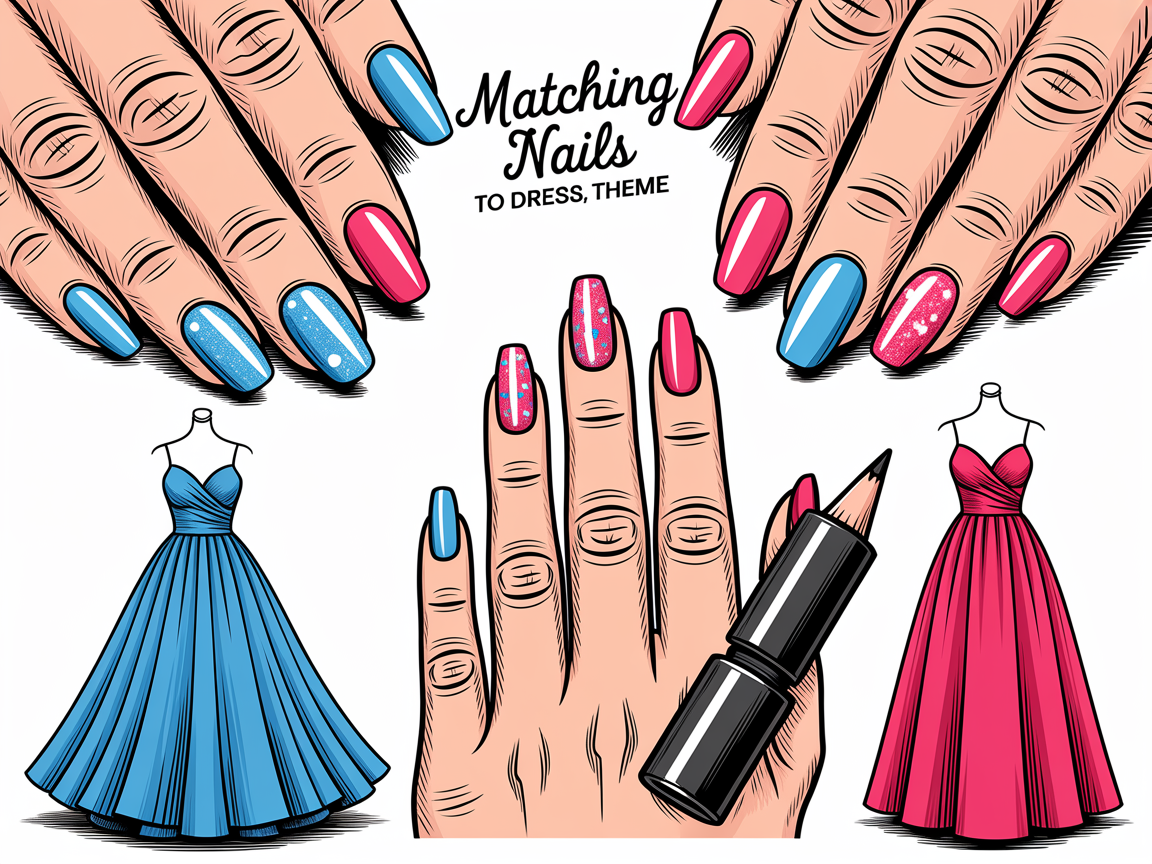 Matching nail color and design to your dress and event theme is a fast route to cohesive style. Look for undertones in your dress fabric—cool vs. warm—and use those cues to choose polish shades. Metallics and neutrals are versatile and photograph well.
- Complementary colors: Opposite colors on the color wheel can create striking contrast.
- Tone matching: Match nail undertones to dress undertones for harmony.
- Accessory coordination: Pull a small accent color from jewelry into your nail art.
For inspiration, review curated galleries and design collections like our nail art designs to see how professionals match nails to gowns and accessories: https://naildesignerai.com/ru/nail-designs/nail-art-designs. You can also explore broader nail ideas for seasonal trends: https://naildesignerai.com/ru/nail-ideas.
Consider the overall mood: romantic dresses pair well with soft gradients and floral motifs, while edgy looks can handle geometric shapes and bold color blocking. When in doubt, neutral bases with one accent nail provide elegance without competing with the dress.
Techniques and Finishes for Prom Nail Ideas
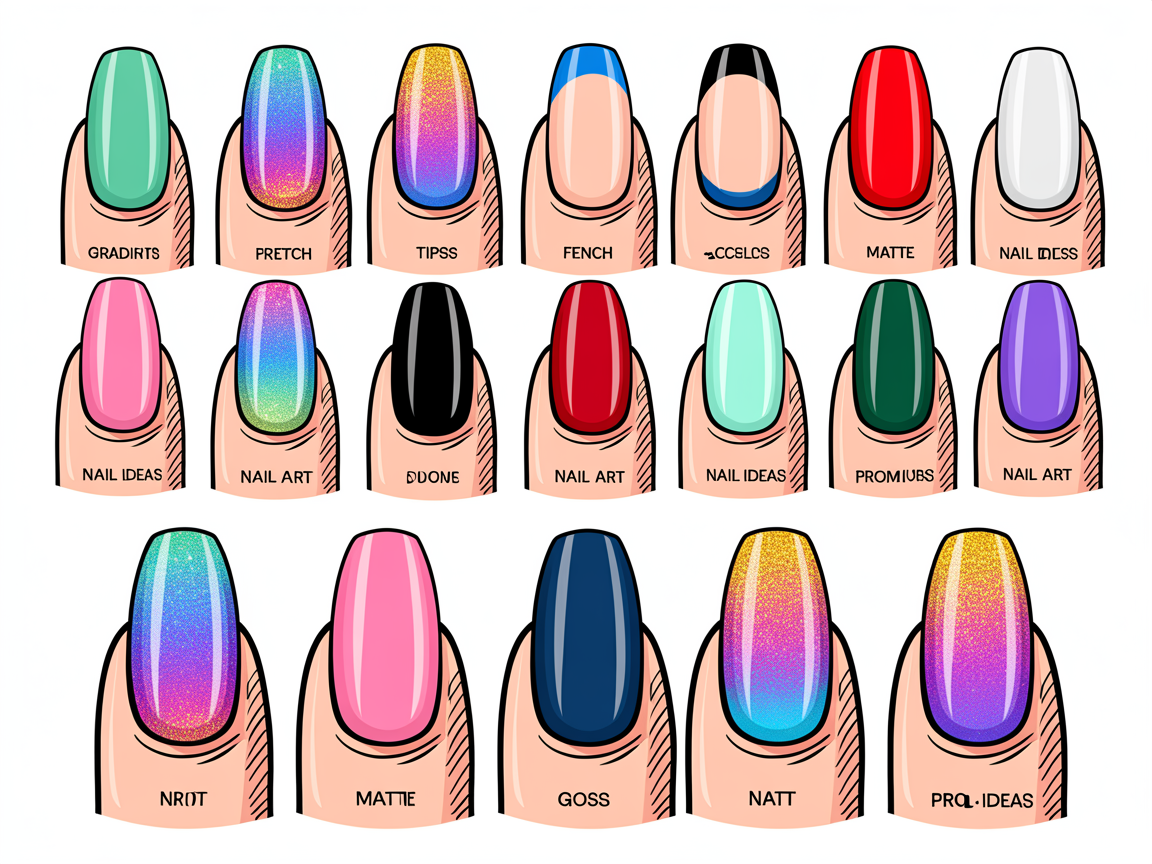 Selecting the right techniques and finishes defines the final look. Glitter gradients, chrome accents, and delicate hand-painting are popular choices for prom nail ideas. Consider durability: gel and shellac finishes resist chipping and often last through the night and beyond.
- Matte vs. gloss: Matte offers a modern, understated look; gloss adds shine for photos.
- Accent nails: Use rhinestones or foil sparingly for elegance.
- Layering: Build depth with translucent layers and subtle gradients.
If you're considering 3D elements or heavy embellishments, plan for how they will interact with clutch bags, corsage ribbons, and dancing. Practicality matters. Keep heavier gems to accent nails rather than all fingers, and ensure secure application to prevent loss during the event.
Recommended Techniques by Skill Level
- Beginner: Solid color with a single accent nail or simple dot/stripe accents.
- Intermediate: Gradient blends, negative space designs, and simple hand-painted motifs.
- Advanced: Intricate florals, chrome finishes, encapsulated glitter, or layered 3D details.
Work with your nail technician to adapt complex ideas into salon-friendly steps. A photo reference and a list of preferred finishes help technicians recreate your prom nail ideas efficiently.
Prep, Longevity, and Practical Application
Preparation is as important as design when executing prom nail ideas. Proper prep increases longevity and prevents lifting. Schedule appointments with timing in mind—ideally 2-4 days before prom for fresh nails that still look new.
- Nail prep checklist: gentle buffing, cuticle care, dehydration, base coat.
- Timing: book nails 2-4 days before the event for the best appearance.
- Aftercare: avoid harsh chemicals and use gloves for chores; carry a small emergency kit with matching polish.
If you’re doing nails at home, practice the steps beforehand and simplify designs to match your skill level. For salon work, communicate clearly with your technician and bring reference images. Consider registering your preferences and saving designs on a platform account like /auth/register to keep ideas organized.
Common mistakes to avoid include skipping proper dehydration, choosing a topcoat incompatible with the base finish, or overloading the nail with heavy embellishments. Take a trial run if you're attempting a new technique at home—this reduces stress on the prom day.
Design Inspiration and Practical Planning
Design planning turns an idea into a reality. Start a mood board with swatches, fabric photos, and accessory shots. Narrow ideas to three options: a safe classic, a statement look, and a creative variant tailored to your style.
- Mood boards: compile dress swatches, makeup looks, and fabric textures.
- Try-ons: perform a small test on one nail or use press-ons to preview length and shape.
- Budgeting: decide between at-home kits and professional services depending on complexity.
For visual references, visit curated galleries and explore community designs to refine concepts. Browse the explore collection for trending looks and artist-curated sets: https://naildesignerai.com/explore/cm5i02tuv0136pb1epj3wzzm4 and https://naildesignerai.com/explore/cm5i00cxg0037pb1e42qjcpnk. These resources can spark unique variations that align with your gown and personality.
Here are three practical sample concepts for different prom styles:
- Classic Elegance
- Base: sheer nude or pale pink
- Accent: single glitter gradient on ring finger
- Finish: high-gloss topcoat
- Glam Statement
- Base: deep jewel tone (emerald, burgundy)
- Accents: micro-crystals and metallic foil on accent nails
- Finish: gel overlay for durability
- Playful Trendy
- Base: pastel ombré
- Accents: tiny hand-painted motifs matching accessories
- Finish: satin or matte topcoat for a fashion-forward look
Planning a timeline helps: choose design two to four weeks before prom, finalize swatches and reference images a week prior, and confirm appointment details 48 hours before your date. This reduces last-minute changes and ensures the technician can prepare needed materials.
Styling and Photography Tips
Great prom nail ideas should also photograph beautifully. Consider how nails will appear in close-up photos and on camera. High-shine finishes catch light, while matte finishes photograph more softly.
- Test flash: take quick photos under different lighting to preview results.
- Hand poses: practice hand positions that showcase nails without hiding them.
- Coordination: align nail poses with clutch, corsage, or bouquet for cohesive images.
If your event includes professional photos, ask the photographer for guidance on hand positioning to highlight your manicure. Small decisions—like choosing a glossy finish—can make nails stand out in formal portraits.
Troubleshooting and Quick Fixes
Even the best-laid plans can need an emergency fix. Pack a tiny emergency kit with the following:
- Matching polish bottle for quick touch-ups.
- Small nail file and buffer.
- Clear topcoat for sealing small chips.
If a gem falls off or a chip appears, quick sealing with topcoat can extend wear until you can get a full repair. For severe issues, keep the salon's contact info handy for a last-minute fix.
Conclusion
Prom nail ideas are about thoughtful choices: matching color to dress, choosing techniques that last, preparing carefully, and planning for photos and wear. By applying core design principles and practical planning, you can create prom nail ideas that enhance your look and hold up through the celebration. Use the guidelines here to craft nails that feel personal, polished, and perfectly suited to your prom night.