
Practical Neon Nail Ideas Tutorial with Examples
Practical Neon Nail Ideas Tutorial with Examples
Introduction
If you love bold, eye-catching looks, this practical neon nail ideas tutorial walks you through easy, beginner-friendly steps and examples you can recreate at home. Neon nail ideas are perfect for making a statement with color: bright gradients, subtle accents, and neon French tips that pop under night lights. This guide is focused on practical techniques, troubleshooting, and step-by-step instructions for a range of skill levels.
Why Choose Neon Nail Ideas?
Neon nail ideas bring energy and personality to any manicure. They work on short and long nails, pair well with neutral tones, and add a playful edge to seasonal looks. Neon pigments fluoresce under certain light and create high-contrast results that photograph well.
When selecting neon nail ideas, consider skin tone and wardrobe. Warm neons like coral and orange complement warm undertones, while cool neons like electric blue and lime pop against cooler complexions. Mixing neon with soft neutrals creates a balanced look that is still attention-grabbing.
Tools & Prep
Before you start any neon nail ideas, gather these essentials:
- Base coat and fast-dry top coat
- White or pale base polish (helps neon pigments pop)
- Neon polishes (pink, green, orange, yellow, blue)
- Small sponge or makeup sponge for gradients
- Thin brush or dotting tool for accents
- Nail file, buffer, cuticle oil, and remover pen
Prep steps (detailed):
- Remove old polish and wash hands with a gentle cleanser. Oils reduce polish adhesion.
- Shape nails to your preferred length. Short nails can still sparkle with neon nail ideas; try soft square or rounded edges for durability.
- Buff lightly to remove shine and create a smooth canvas. Wipe with alcohol to remove dust.
- Apply a thin base coat to protect the nail and prevent staining. If you often get staining, use a ridge-filling base.
Why a white base?
- White or pale bases act like a canvas to show true neon saturation.
- For sheer neon polishes, one coat over white gives much brighter results than multiple coats over clear.
Pro tip: Use latex barrier or painter's tape around the skin to speed up cleanup for sponging and gradients.
For ideas about short shapes that suit neon nail ideas, see this short nail guide: https://naildesignerai.com/ru/nail-designs/short-nail-designs.
Easy Neon Gradient
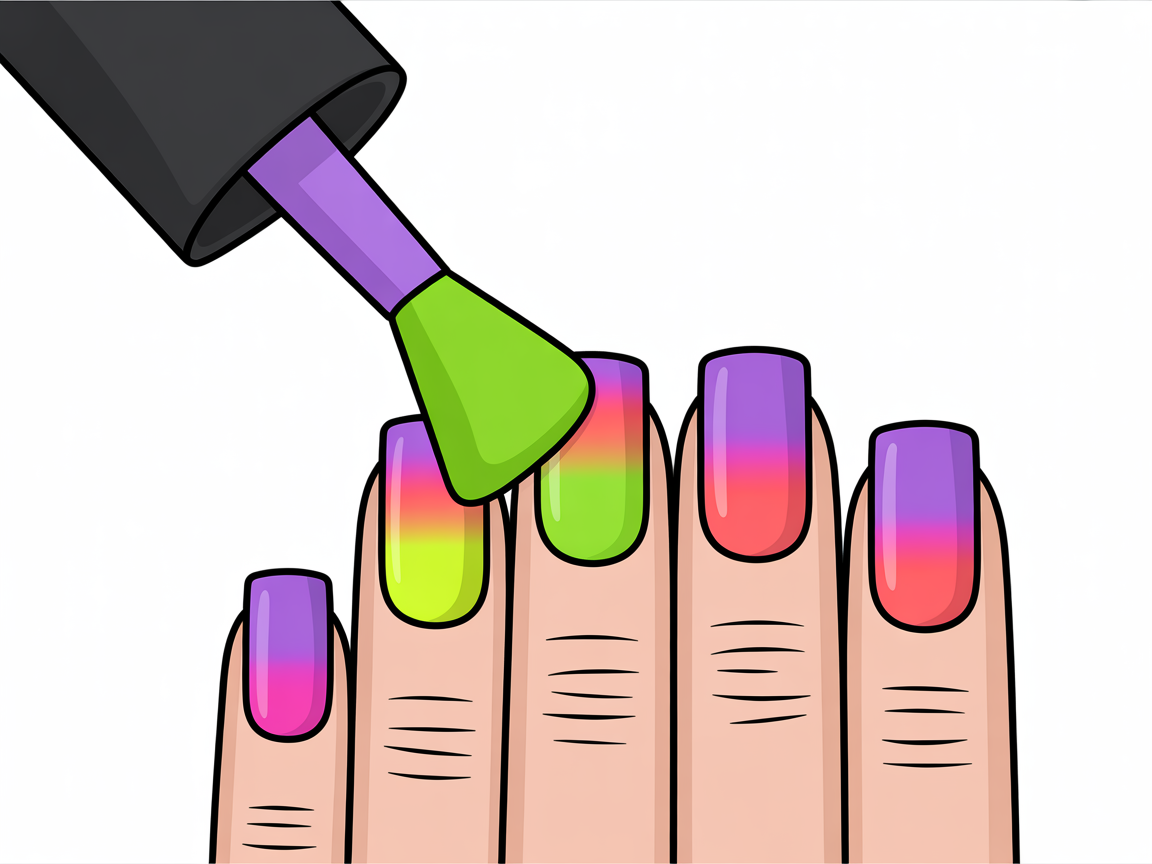
A neon gradient is one of the most versatile neon nail ideas. It gives a professional look with simple tools. Gradients create depth and allow multiple neon shades to blend harmoniously.
Detailed steps for a two-color neon gradient:
- Step 1: Apply two thin coats of white base and let dry thoroughly.
- Step 2: Paint strips of your chosen neon colors directly onto the sponge. Slightly overlap the edges where you want a blend.
- Step 3: Lightly press and roll the sponge onto the nail, starting near the cuticle and moving to the tip for a natural blend.
- Step 4: Repeat dabbing 2-3 times to build opacity. Let each layer dry briefly to avoid smearing.
- Step 5: Use a small brush dipped in remover to clean the skin around the nail.
- Step 6: Finish with a glossy top coat; consider a gel-like top coat for extra shine.
Variation: Vertical vs horizontal gradients
- Vertical gradients span cuticle to tip and lengthen the nail visually.
- Horizontal gradients across the nail width are playful and ideal for accent nails.
Troubleshooting common gradient issues:
- Patchy coverage: add another thin layer of polish to the sponge and dab again.
- Bleeding colors: let each dab dry slightly and avoid over-pressing the sponge.
Mix-and-match: Combine gradients with accent nails for a cohesive manicure. You can pair a neon gradient with a single glitter or matte accent.
Explore bright color combinations and inspiration at this gallery: https://naildesignerai.com/explore/cm5i06dp901dopb1epj462jdk.
Neon Accent and Minimal Designs
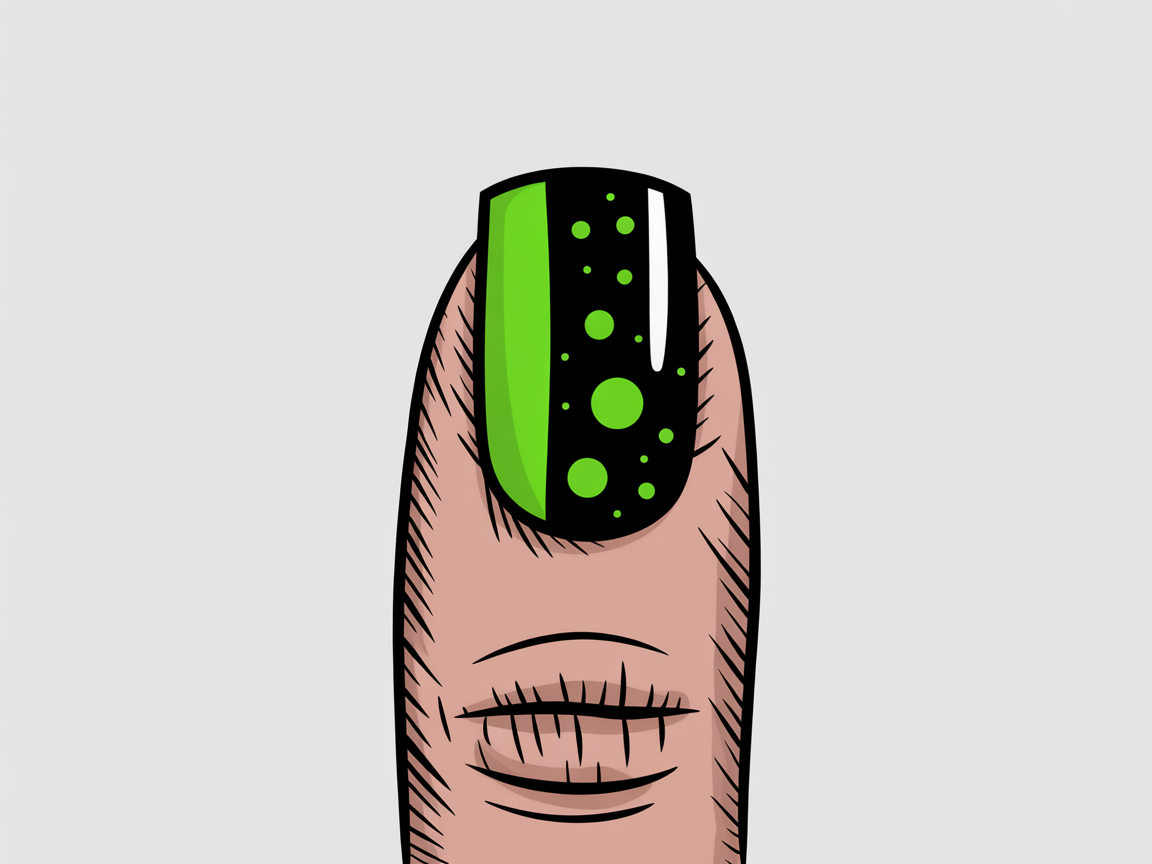
If full neon feels intense, accent nails or minimal neon lines give a stylish touch. Accent designs are among the most beginner-friendly neon nail ideas and they translate well to everyday wear.
Simple accent ideas to try:
- Single neon accent: Paint one nail in neon and keep others neutral or matte.
- Neon dots: Use a dotting tool for clusters, ombre dots, or single dot placement near the cuticle.
- Neon half-moon: Paint a small crescent at the base of the nail for a retro-modern look.
Step-by-step for neon dots:
- Apply your base color and let it dry fully.
- Dip a dotting tool or toothpick into the neon polish.
- Gently press onto the nail to make even dots; practice on paper first for size control.
- Seal with top coat after dots are fully dry to avoid smearing.
Minimal neon lines look sophisticated on short and long nails. Use a steady hand or striping tape for perfect lines. These neon nail ideas let you experiment without a full neon commitment.
See minimalist neon placements and detailed photo examples here: https://naildesignerai.com/explore/cm5i00bfi001rpb1e2p15w2cc.
Neon French Tips and Geometric Lines
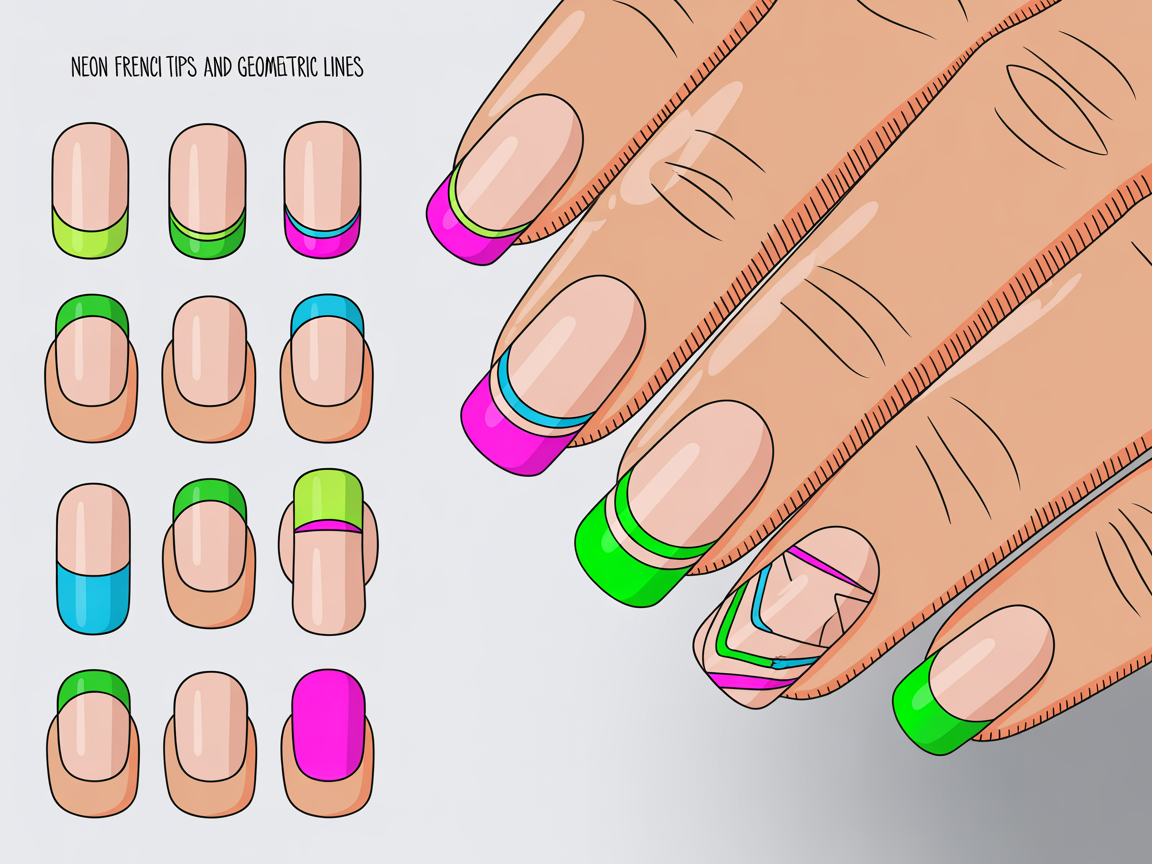
Neon French tips update a classic look by replacing the white tip with neon pigment. Geometric neon lines add a modern, architectural feel. Both are clean, wearable neon nail ideas suitable for office and evening looks.
How to get crisp neon French tips:
- Apply a sheer nude or pale base and let it dry.
- Use sticker guides or a steady striping brush for thin, clean lines.
- Paint the neon tip in one thin pass where possible; multiple thin passes are better than one thick pass.
- Clean up stray polish with a small brush and remover.
Geometric approach:
- Plan your design layout on paper first: triangles, chevrons, and diagonal stripes work well.
- Use striping tape to mask areas you want left neutral; remove tape before full drying to avoid lifting.
- Consider pairing neon lines with matte top coat on alternating nails for contrast.
Advanced variation: neon ombre French
- After painting a neon tip, sponge a subtle neon fade into the neutral base for a modern ombre French look.
For more geometric inspirations, visit: https://naildesignerai.com/explore/cm5i00ru300gipb1eg03074ct.
Care and Longevity Tips (H3)
Neon polishes can be slightly less forgiving than opaque shades. Follow these care tips to keep your neon nail ideas looking fresh longer.
- Apply thin coats and allow full drying time between layers to reduce chipping.
- Use a high-quality glossy top coat to protect color vibrancy and add shine.
- Avoid soaking nails in very hot water for the first 12 hours after application.
- Reapply a thin top coat every 3-4 days and lightly buff the free edge if you see wear.
If you prefer gel formulas, some neon gel polishes cure brighter and last longer—just be cautious of staining when removing.
Adapting Neon Nail Ideas by Skill Level (H3)
Beginner:
- Start with single-color neon manicures or one accent nail.
- Practice dots and single lines on a practice wheel before attempting gradients.
Intermediate:
- Attempt the sponge gradient and try mixing neon with a soft shimmer.
- Add a foil or micro-glitter accent for depth.
Advanced:
- Combine gradients, geometric shapes, and hand-painted motifs for layered interest.
- Work with translucents and layering to create glowing depth in neon nail ideas.
If you'd like access to more detailed guides and templates, register at /auth/register to save tutorials and design templates.
Conclusion
Neon nail ideas are approachable and fun for all levels. Whether you prefer a full neon gradient, a single bright accent, or neon French tips, the techniques above provide clear, practical steps and inspiring examples to try at home. With the right prep, tools, and a little practice, you can master vibrant neon finishes that stay bright and chic. Keep experimenting with color combos, blends, and minimal accents to develop a personal neon style.