

Master Nail Ideas Black in 5 Simple Steps
Why choose nail ideas black?
Black nails are a timeless statement. Whether you want an understated matte look or a dramatic glossy finish, nail ideas black deliver versatility and edge. In this guide you'll learn five simple steps that make black manicures look professional at home or in the salon.
Black works across seasons and styles. From minimalist office-appropriate looks to bold evening statements, black complements skin tones and pairs well with metallics, neons, and pastels. Many people choose black because it creates a strong silhouette that frames the hands and highlights nail shape.
Benefits at a glance
- Universally flattering and versatile.
- Easy to pair with accent colors or textures.
- Great base for both simple and intricate designs.
- Works on all nail lengths and shapes.
Step 1: Prep for Flawless Black Nails
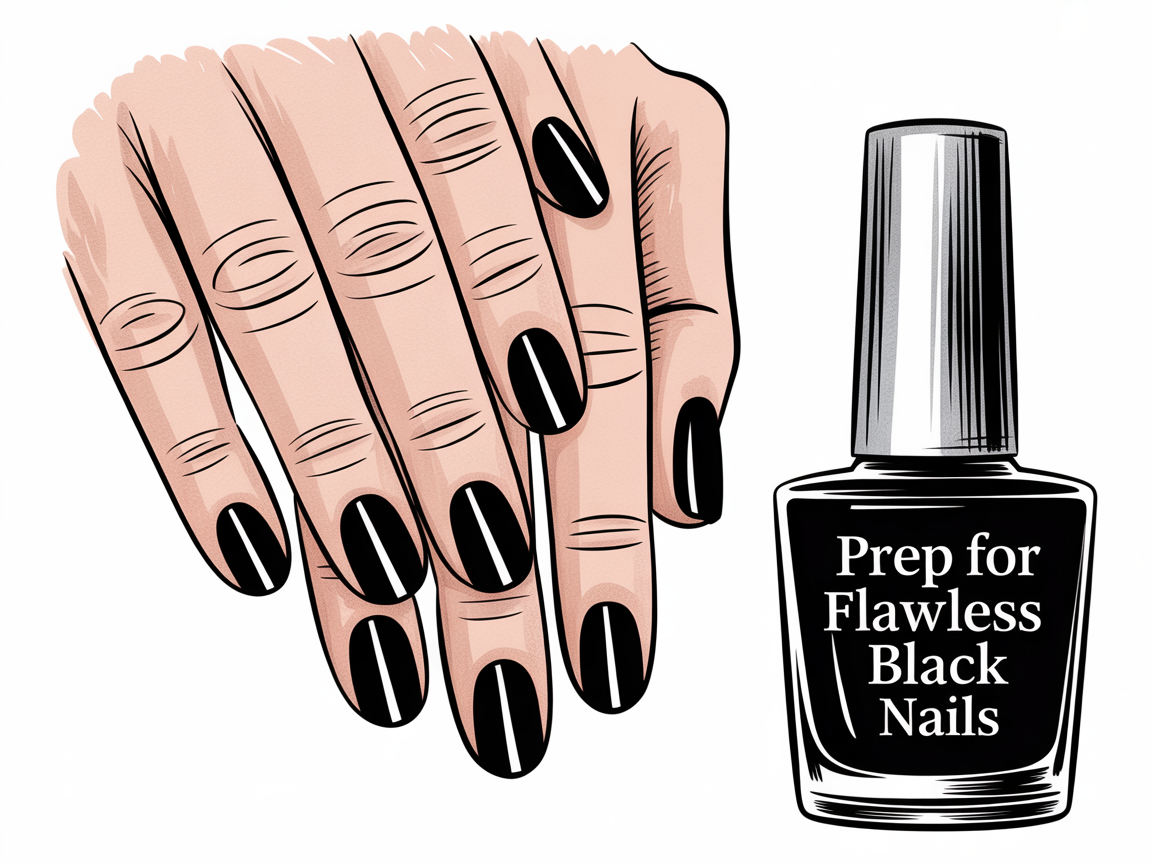
Good prep is half the job. Clean nails, trim, and push back cuticles. Gently buff the surface to remove shine and oil. A clean, even base prevents streaks and helps polish adhere.
Step-by-step prep routine
- Remove old polish with a gentle acetone-free remover if possible. If you must use acetone, follow with oil to rehydrate the nail bed.
- Trim nails to your ideal length and file to shape. For black looks, sharp edges are forgiving, but rounded tips can be more durable.
- Soak hands briefly in warm water to soften cuticles, then push them back with a wooden stick.
- Use a fine buffer to lightly dull the nail plate—this helps the base coat stick.
- Wipe nails with isopropyl alcohol or a nail cleanser to remove residue.
This prep routine minimizes lifting and helps black polish stay true and even.
Step 2: Essential Tools and Black Shades
Choose quality base and top coats; they make a big difference for nail ideas black. Invest in a dense black polish that offers good pigmentation in two coats. Consider a gel polish for longer wear.
Recommended products and why they matter
- Base coat: look for adhesion-promoting ingredients for longer wear.
- Black polish: a high-pigment formula avoids multiple streaky layers.
- Gel or shellac alternatives for clients who prefer extended wear.
- Top coat: choose fast-dry or glossy finish depending on the look.
Picking the right black
Black is not one-size-fits-all. There are cool blacks with blue undertones and warm blacks with brown undertones. For dramatic evening looks, choose a true deep black. For softer or vintage looks, pick a black with a brown or charcoal undertone.
If you want inspiration, check curated galleries like purple nail designs for complementary color pairing and creative ideas: https://naildesignerai.com/ru/nail-designs/purple-nail-designs. Pairing a deep purple with black can create a rich, luxurious effect.
Step 3: Top nail ideas black techniques
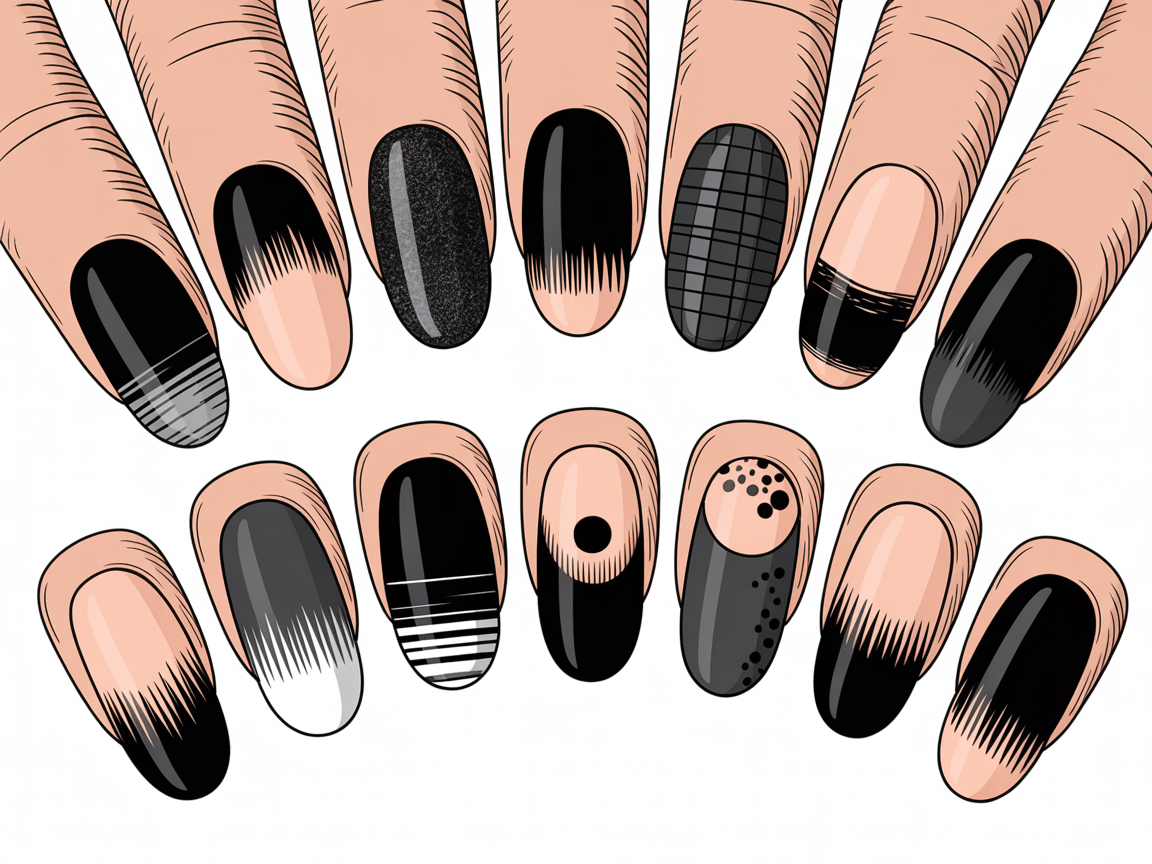
This step covers the core techniques that make nail ideas black stand out. Mastering these methods lets you create multiple looks without complicated tools.
Technique 1: Two-coat opacity
Start with a thin base coat, then apply the first thin coat of black polish. Let it dry slightly, then apply a second coat. Thin layers reduce streaking and speed up drying. If you need fuller coverage, add a third thin coat rather than one thick coat.
Technique 2: Matte vs. Glossy contrast
Pair a glossy black base with a matte accent or vice versa. Use a matte top coat for a velvet finish or a glossy top coat to amplify shine. Mixing the two on alternate nails or in patterns adds depth.
Technique 3: Ombre and gradient
Ombre with black can be subtle or dramatic. To create a gradient from black to gray or another color:
- Apply the base color and let it dry.
- Use a makeup sponge to dab black polish at the tip, blending toward the cuticle.
- Smooth the blend with a thin layer of top coat.
This technique is one of the most striking nail ideas black lovers use for a modern edge.
Technique 4: Negative space and geometric lines
Negative space uses the natural nail as part of the design. Use striping tape or a fine brush to create clear shapes framed by black polish. This style is clean, contemporary, and surprisingly easy.
Technique 5: Accents, stamping, and embellishments
- Stamping plates let you transfer intricate patterns over black without freehand drawing.
- Add metallic foil lines, chrome powder, or rhinestones for glam.
- Use a fine brush for hand-painted motifs like tiny stars or moons.
For examples of creative executions and to browse different finishes, visit an explore gallery: https://naildesignerai.com/explore/cm5i01azb00xlpb1ebw2cz884.
Step 4: Seal, Maintain, and Avoid Pitfalls
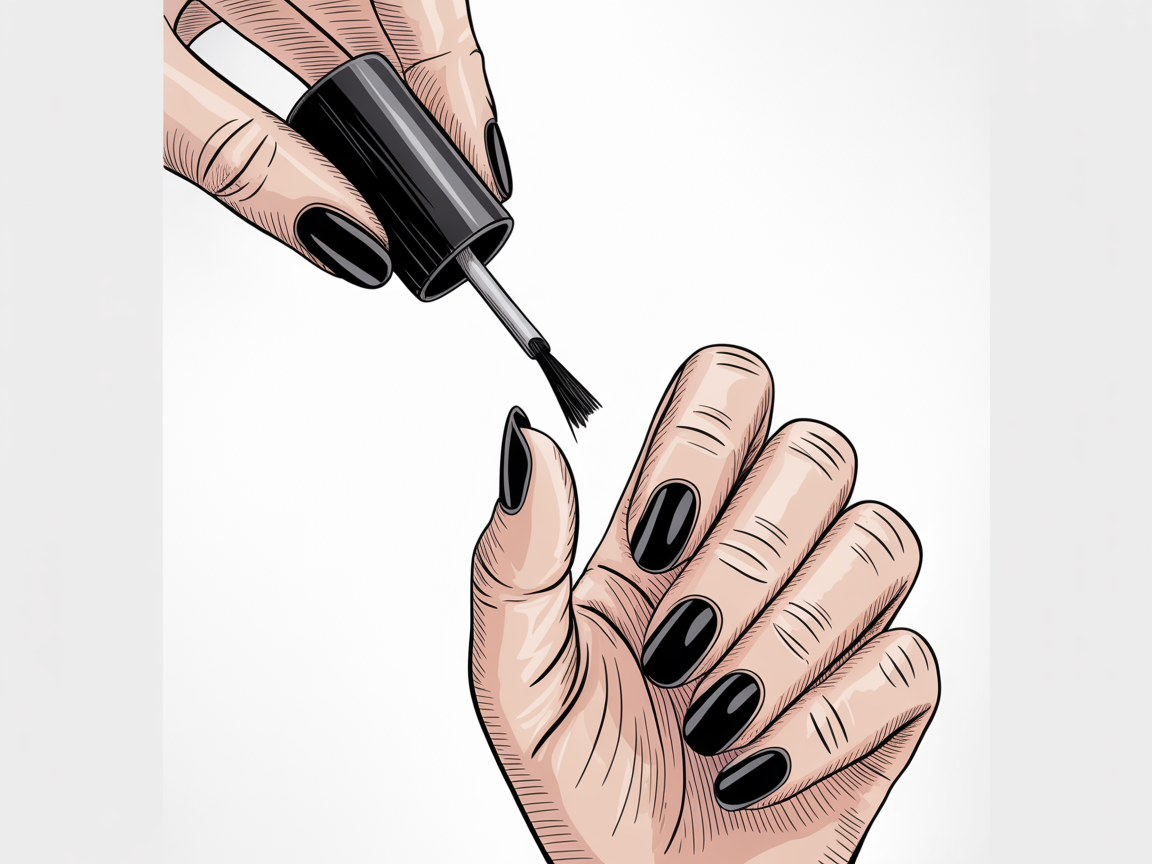
Sealing and maintenance are crucial to keep your black manicure fresh. Use a fast-dry top coat and reapply a thin layer every 5-7 days if needed. Protect your nails from harsh chemicals by wearing gloves.
Maintenance schedule
- Day 0: After finishing, allow polish to cure/dry fully.
- Day 3-5: Inspect tips for wear and reapply top coat if shine fades.
- Weekly: Moisturize cuticles and avoid prolonged water exposure.
Common pitfalls and how to fix them
- Streaky finish: Apply thinner coats and wait between layers.
- Lifting: Ensure cuticles are pushed back and base coat is applied properly.
- Yellowing or discoloration: Use a high-quality base coat; some black pigments can stain without protection.
If you want to save designs, many platforms require an account. You can register at /auth/register to save favorites and access saved nail ideas black templates.
Extra tips and finishing touches
Small details make big differences. Add subtle glitter along the cuticle line or use tiny rhinestones on an accent nail. For a more dramatic look, use stamping plates for geometric or floral patterns.
Nail shape and length considerations
- Short nails: Rounded or squared tips work best for practicality.
- Medium nails: Squoval shapes suit most black designs and provide surface for detail.
- Long nails: Coffin and almond shapes allow dramatic negative space and long lines.
Seasonal ideas and pairings
- Autumn: Black with burnt orange or deep burgundy accents.
- Winter: Black with silver glitter or chrome for a festive look.
- Spring: Soften black with pastel florals or mint green accents.
I recommend exploring these curated samples for more design inspiration: https://naildesignerai.com/explore/cm5i03p8w0160pb1eodmtcw1w and https://naildesignerai.com/explore/cm5i00k41009lpb1epnta3lmv.
At-home quick fixes
- Instant chip fix: Use a fine brush to touch the chip area with matching polish, then seal.
- Lift prevention: Apply a thin layer of base coat at the free edge and cap it with top coat.
- Drying speed: Use thin coats and a fast-dry top coat, or a quick-dry spray.
Conclusion
Nail ideas black offer endless possibilities whether you like minimalist lines or bold accents. Follow the five simple steps—prep, choose tools and shades, master techniques, seal and maintain, and add finishing touches—to create durable, stylish black manicures. With practice these nail ideas black techniques become second nature and consistently deliver polished, professional results.