Glitter Nail Ideas Review: Is It Worth It?
Glitter nail ideas have been a go-to for anyone wanting instant sparkle and personality in their manicure. In this honest review I test popular glitter techniques, compare finishes, and evaluate whether glitter nails are worth the time, money, and maintenance. If you’ve wondered whether glitter is a smart choice for your next manicure, this guide breaks down what works, what doesn’t, product choices, step-by-step application, and who will get the most out of these sparkly looks.
What are glitter nail ideas?
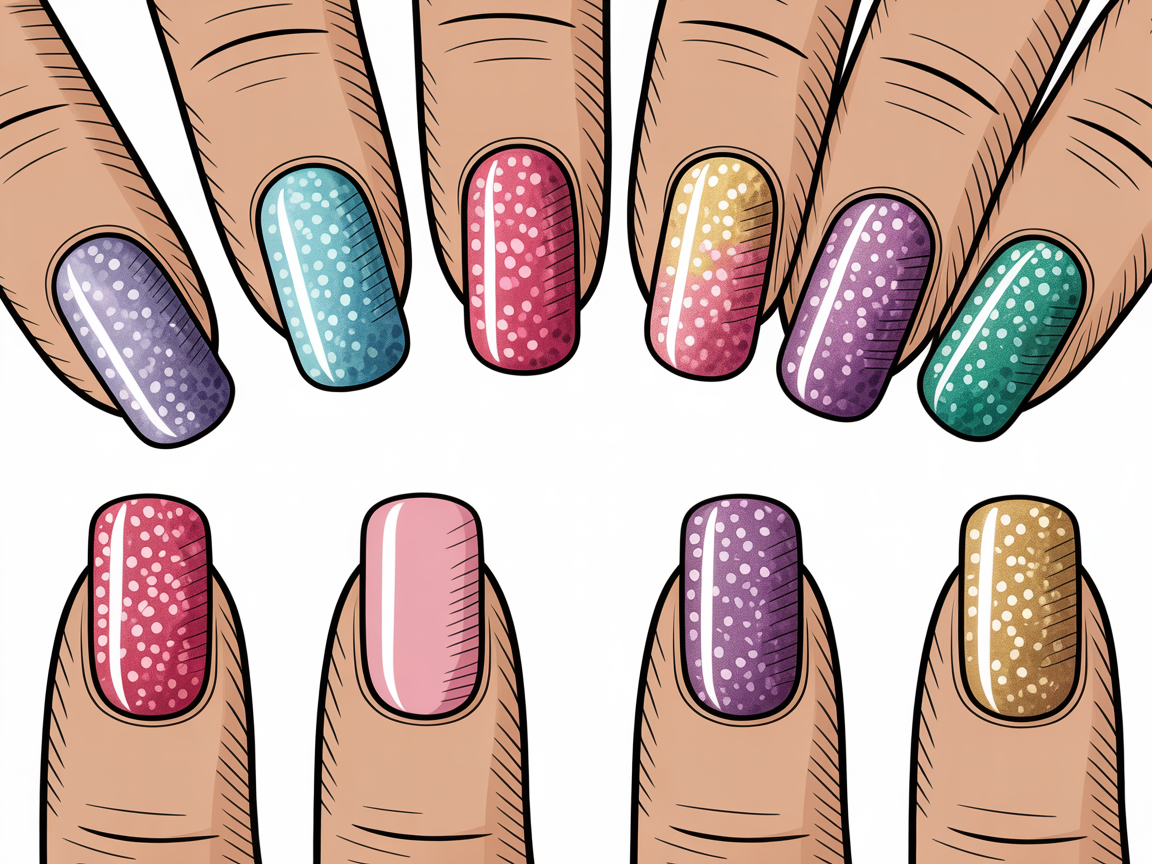
Glitter nail ideas cover a wide range of finishes and techniques, from full-coverage glitter polish to subtle accent nails and glitter gradients. The appeal is obvious: glitter adds texture, dimension, and eye-catching shine. But not all glitter looks are created equal. Some approaches feel cheap or tacky, while others read as chic and intentional.
Common categories you’ll encounter:
- Full-coverage glitter: total sparkle across the nail.
- Accent nails: one or two nails with glitter while others stay neutral.
- Glitter gradients/ombre: glitter concentrated at the tip or base and fading out.
- Micro-glitter topcoats: fine shimmer that adds sheen without texture.
What works with glitter nail ideas
Certain glitter techniques consistently look polished and flattering. These are the ones I recommend for most people:
- Accent nails: One or two glitter nails paired with a neutral base look sophisticated.
- Gradient fades: A glitter ombré that fades from the cuticle or the tip blends sparkle with polish.
- Micro-glitter topcoats: Fine glitter sealed under a glossy topcoat gives sparkle without rough texture.
- Mixed sizes with restraint: Combining a couple of glitter sizes (micro and small) keeps the effect cohesive.
Why these work:
- They balance interest with restraint, avoiding a cluttered appearance.
- They photograph well and hold up under everyday wear when sealed correctly.
- They’re adaptable: use warm golds for evening looks or soft shimmer for daytime.
Technical tips that improve results:
- Use a clear base coat to smooth the nail before applying chunky glitter.
- Apply glitter in layers, letting each layer cure to avoid clumping.
- Finish with a thick gel or glossy topcoat to smooth texture and boost longevity.
Product picks to try:
- Fine micro-glitter topcoat for a subtle shimmer.
- Chunky festival glitter mixed with clear builder gel for sealed full-coverage looks.
- A quality quick-dry topcoat for regular polish applications.
Common problems with glitter nails
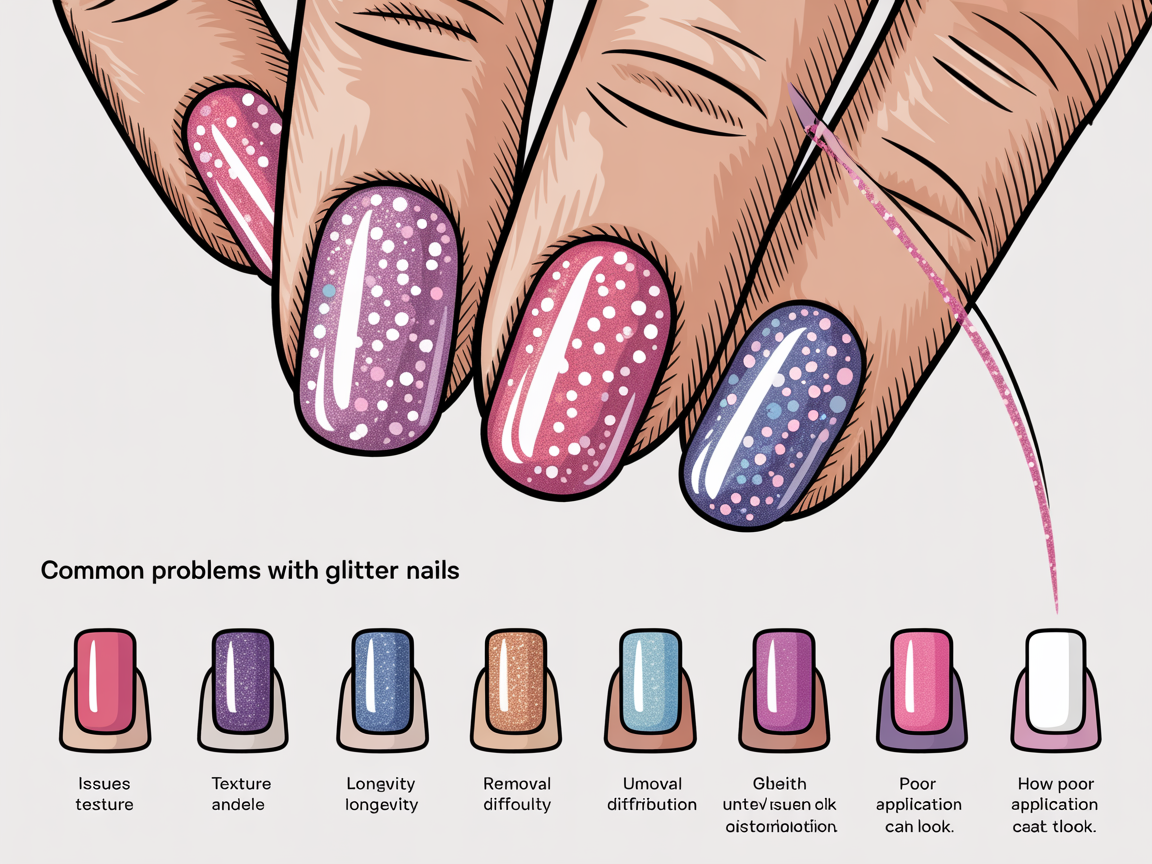
Glitter nails look great at first, but several issues can undermine the effect. I tested common failure points and found predictable patterns:
- Texture and roughness: Coarse glitter can feel scratchy and catch on fabrics.
- Removal difficulty: Chunky glitter often requires soaking or scraping, which can damage nails if done improperly.
- Uneven application: Poor technique creates gaps and speckled coverage that read as sloppy.
- Faster wear at tips: Glitter edges can lift and show wear quicker than regular polish.
How to avoid these problems:
- Choose micro-glitter or seal chunky glitter under builder gel.
- Ask for a professional soak-off if you’re removing salon glitter; DIY scraping increases risk.
- Request a thick topcoat and check edges thoroughly when finishing.
Common mistakes I observed in salon and DIY work:
- Using too much glitter in a single swipe, causing bumpy layers.
- Skipping edge sealing, which leads to fast chipping on the free edge.
- Pairing heavy glitter with very short nails without adjusting scale, which can overwhelm the nail.
Styling, occasions, and who should try glitter nail ideas
Not every lifestyle or occasion suits heavy glitter. Here’s how to match glitter nail ideas to real life:
- Everyday wear: Go for micro-glitter topcoats or a single accent nail to keep it office-friendly.
- Special events: Full-coverage glitter or bold accents work beautifully for parties and weddings.
- Active hands: If you type a lot or handle fabrics, avoid coarse glitter or ensure a thick gel seal.
Who benefits most:
- Trend-first clients who enjoy frequent changes and don’t mind maintenance.
- People preparing for photoshoots or events where sparkle reads well on camera.
- Nail art lovers who appreciate texture and dimension in design.
Who should skip or limit glitter:
- Those with brittle nails: aggressive removal can worsen nail health.
- Minimalists seeking understated looks may find glitter distracting.
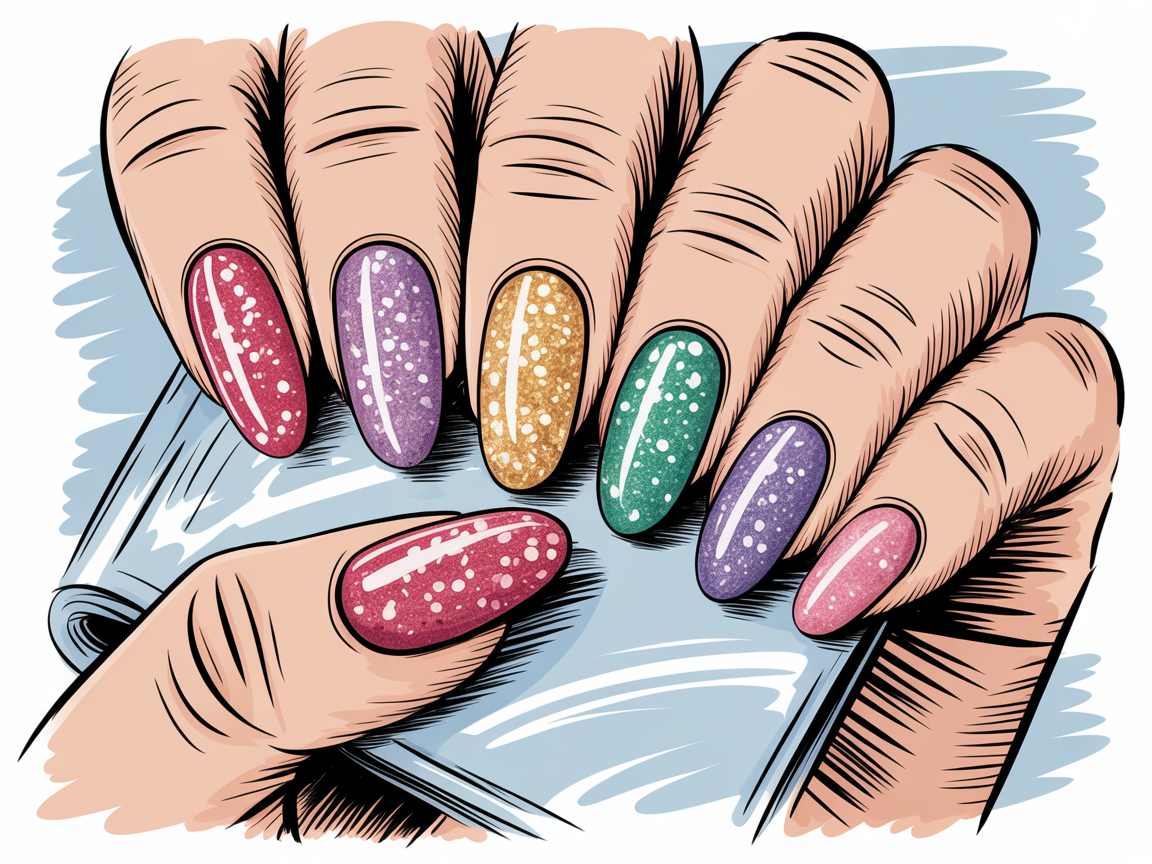
Style pairings and color guidance:
- Neutral bases with gold or silver glitter read chic and upscale.
- Pastel polishes with holographic micro-glitter give a whimsical daytime look.
- Dark bases (navy, black) with chunky iridescent glitter read dramatic and photo-ready.
For short nails, proportional glitter placement matters—see adjustments and ideas in this short nail designs guide: https://naildesignerai.com/blog/short-nail-designs
Step-by-step application: gradient and sealed glitter techniques
If you want to try glitter gradients or sealed glitter, follow a reliable application flow:
- Prep: clean nail beds, push cuticles, buff lightly to remove shine.
- Base coat: apply one thin coat and cure if using gel.
- Base color: two thin coats of color, curing between coats if gel.
- Glitter placement for a gradient:
- Dab glitter with a sponge at the tip or near cuticle and press gently.
- Build in thin layers until desired density is reached.
- Sealing:
- Apply a builder gel or thick topcoat to encapsulate chunky glitter and cure fully.
- File the topcoat smooth if needed and finish with a final glossy seal.
This method reduces texture, increases shine, and extends wear. For a micro-glitter topcoat, two coats of the topcoat over polish followed by a glossy finish usually does the trick.
Maintenance schedule and removal best practices
Maintenance keeps glitter nail ideas looking great for longer. Here’s a simple routine:
- Weekly: inspect and reapply a thin topcoat to protect edges.
- After 2–3 weeks: consider a salon touch-up if the growth line bothers you.
- If lifting occurs: address quickly with a dab of builder gel and topcoat.
Removal recommendations:
- For regular polish glitter, soak cotton in acetone, place on the nail, and wrap with foil for 10–15 minutes.
- For chunky glitter embedded in gel, see a professional for soak-off to avoid vigorous scraping.
- Avoid picking at glitter—this causes layers to peel and increases the chance of nail damage.
Cost vs. benefit: how much sparkle should you buy?
Budget considerations affect whether glitter nail ideas are worth the investment:
- Low budget: use a micro-glitter topcoat or a single accent glitter polish.
- Mid-range: salon polish with glitter accents provides a durable, salon-quality finish.
- Premium: gel-sealed full-coverage glitter requires higher cost and more time but gives the best-looking result.
If you’re undecided, try low-cost experiments first. Many people enjoy the look enough to upgrade to gel sealing on future visits.
Environmental and ethical considerations
It’s worth noting that most cosmetic glitter is made from microplastics, which can be harmful to the environment when washed down the drain. If this matters to you, look for biodegradable glitters made from plant-based materials. They perform differently, but brands are improving formulas to match the sparkle of traditional glitter.
- Biodegradable glitter options are increasingly available in micro and chunky formats.
- Read product labels or ask your technician about eco-friendly alternatives.
Frequently asked questions
Q: Can I use glitter on short nails without overwhelming the look?
A: Yes. Use smaller glitter particles, limit coverage to accent nails, or apply glitter near the base to visually lengthen short nails.
Q: Will glitter ruin my nails?
A: Glitter itself won’t ruin nails, but aggressive removal or scraping can. Protect nails by using proper soak-off techniques and consider professional removal for gel-sealed glitter.
Q: How long will glitter nails last?
A: With proper sealing (gel topcoat), glitter nails can last 2–4 weeks depending on growth and wear. Regular topcoat refreshes can extend life.
Final verdict: are glitter nail ideas worth it?
Glitter nail ideas are worth it when chosen and applied thoughtfully. They offer a high visual payoff and are remarkably versatile across styles and occasions. However, technique, product quality, and a willingness to manage maintenance determine whether the result feels high-end or rushed.
Key takeaways:
- Start small: test a glitter accent or micro-topcoat before committing to full-coverage.
- Prioritize sealing: a proper topcoat or gel seal transforms texture and durability.
- Consider lifestyle: if your work or hobbies cause frequent nail abrasion, opt for subtle sparkle rather than dense, chunky glitter.
For more gallery inspiration and to compare effects, explore additional looks in the site gallery: https://naildesignerai.com/explore/cm5i04gqu017xpb1ef3vfwea1, https://naildesignerai.com/explore/cm5i05a5a01afpb1et0ld2mc4, and a range of accent placement examples here: https://naildesignerai.com/explore/cm5i06wxu01f9pb1eo5bwcjk2
Conclusion: glitter nail ideas reward the patient and the prepared. When you choose the right technique—accent nails, micro-glitter topcoats, and gel-sealed finishes—you get stunning results that last. If you dislike maintenance or worry about removal damage, start small with a glitter accent or a subtle topcoat. Overall, glitter can be absolutely worth it for people who value visual impact and are willing to manage the upkeep.