
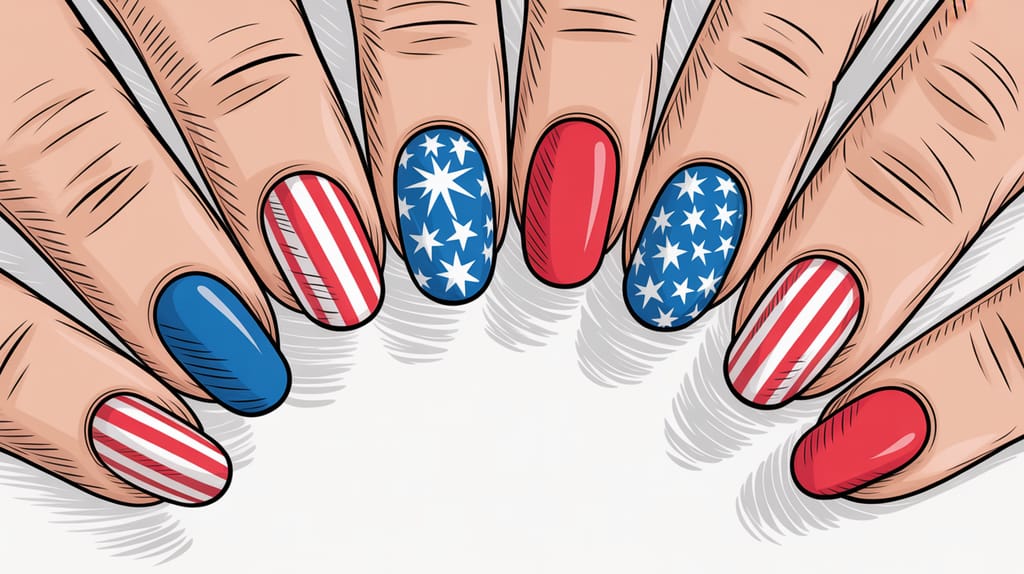
Fourth Of July Nail Ideas: From Beginner to Pro
Getting Started: Tools, Prep, and Shopping List
fourth of july nail ideas are a fun way to celebrate and express creativity, and the right tools make a huge difference. Whether you're painting at home or building a salon-level set, this section covers everything from nail prep to a compact shopping list so you can start strong.
Essential tools and polishes
- Base coat and top coat (gel or regular)
- High-pigment red, true navy blue, and pure white polishes
- Thinner brushes: detail brush, striping brush, and a dotting tool
- Striping tape, star stencils, glitter powder, foil sheets
- Nail file, buffer, cuticle pusher, lint-free wipes, and acetone
Shopping list (compact): base coat, top coat, red polish, white polish, navy polish, striping tape, dotting tool, star stickers. Sign up for stencil templates and printable guides at /auth/register to get ready-to-use layouts.
Prep steps for longer-lasting designs
- Remove oils: wipe nails with acetone or cleanser.
- Shape and buff lightly to create a smooth surface.
- Push cuticles back and remove hangnails.
- Apply a thin layer of base coat and cure if using gel.
Prep tip: Always work on clean, dry nails. Natural oils and lotion prevent adhesion and shorten wear time.
fourth of july nail ideas for beginners
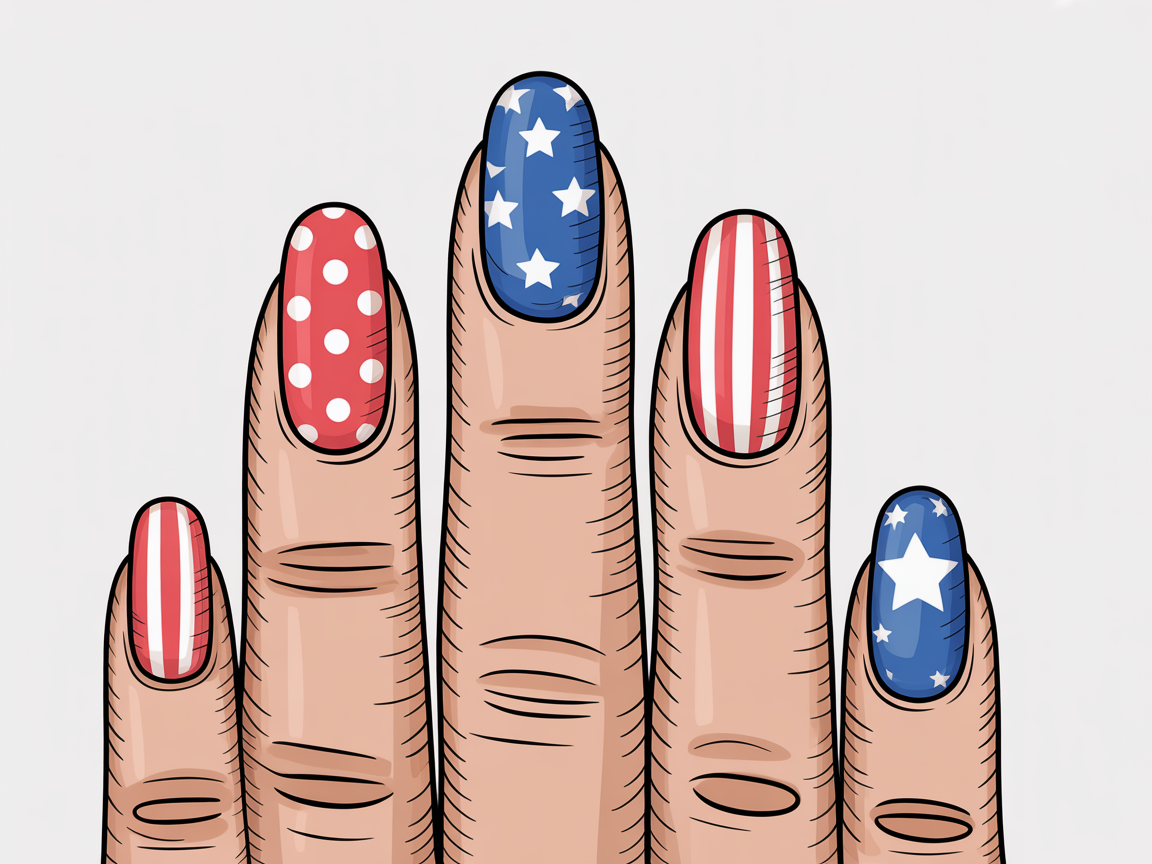
Beginner fourth of july nail ideas rely on simple repetition, high-contrast colors, and easy accents. The goal is a polished look with minimal freehand detail. Use stickers or stencils to speed up the process and reduce stress.
Beginner-friendly designs (step-by-step)
-
Polka-dot duo:
- Paint all nails a white base and let dry.
- Use a medium dotting tool to add red and blue dots on alternating nails.
- Seal with a glossy top coat.
-
Easy stripe set:
- Paint nails navy.
- Use striping tape to mark thin white lines; paint red over the tape and remove.
- Cap the free edge and apply top coat.
-
Accent star nail:
- Paint nails red.
- Apply a white star sticker or use a toothpick to paint a small star on one accent nail.
- Seal with top coat.
Quick tips for beginners:
- Work in thin coats to avoid bubbling and uneven drying.
- Use sticker guides or stencils for precise shapes if freehand feels intimidating.
- Keep a small brush dipped in acetone to clean edges for a professional finish.
Time estimate: Beginner sets take 30-60 minutes depending on drying time and the number of accents.
For easy French tips and variations that pair well with patriotic sets, see this French tip guide: https://naildesignerai.com/blog/french-tip-nail-ideas
Intermediate fourth of july nail designs
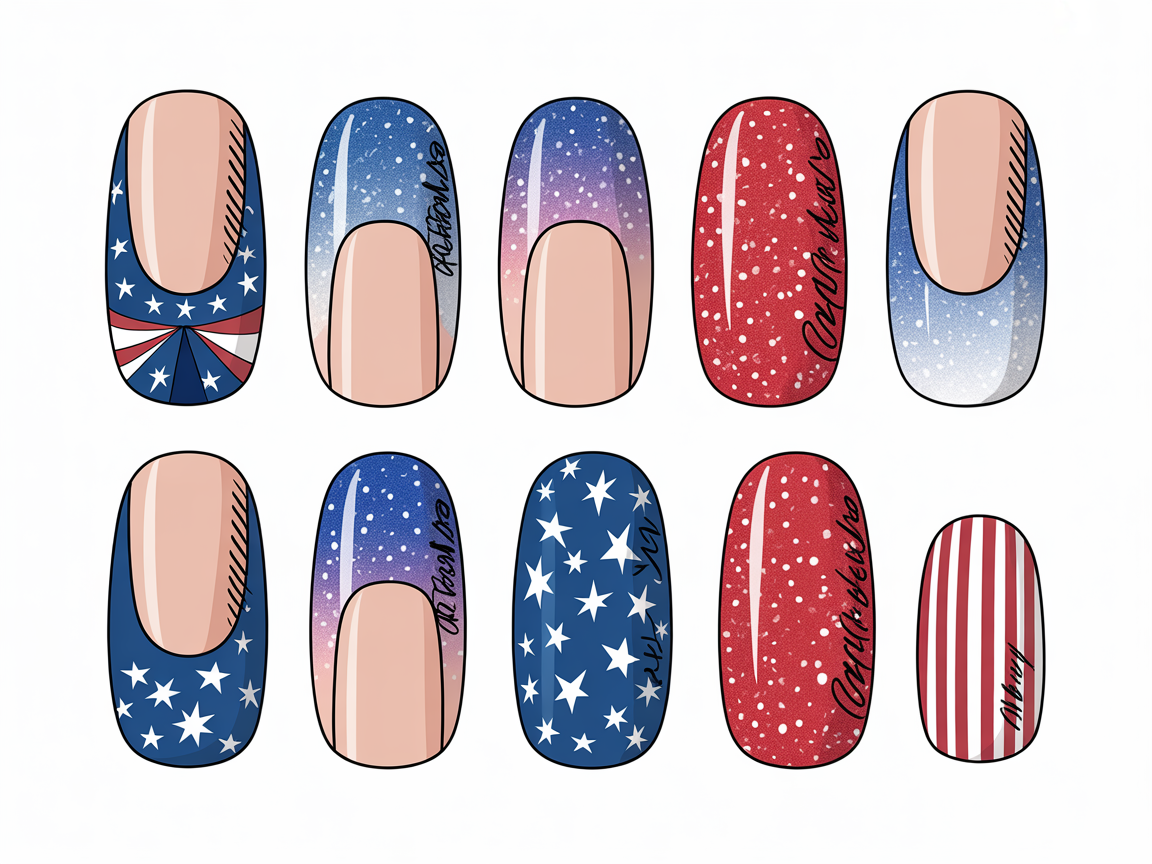
Intermediate fourth of july nail ideas introduce texture, gradients, and more deliberate negative-space techniques. These designs take a bit more time but are still achievable at home with patience.
Intermediate design ideas and how-to:
-
Glitter gradient ombre:
- Paint a white or nude base and let dry.
- Use a makeup sponge to dab red glitter toward the tip and blue glitter near the base, blending in the center.
- Apply two thin top coats to smooth the texture and add shine.
-
Reverse French with a twist:
- Paint the nail navy.
- Use a detail brush to paint a half-moon at the cuticle in white.
- Add a thin red stripe across the free edge for contrast and finish with top coat.
-
Mix-and-match set:
- Choose 2-3 nails for geometric shapes (triangles, diagonal halves).
- Alternate matte and glossy finishes between nails for visual interest.
Intermediate tips:
- Use a stamping plate for consistent small stars and motifs; practice stamping on a plastic sheet first.
- Thin your polish slightly if it's too thick to achieve smoother lines and avoid dragging.
- Cure gel layers for stronger adhesion and build color slowly to prevent banding.
See community examples and swap ideas at these galleries: https://naildesignerai.com/explore/cm5i00ud400irpb1edgtiik41 and https://naildesignerai.com/explore/cm5i00m5n00bfpb1ejhlfr5bl
Pro Fourth Of July Nail Techniques
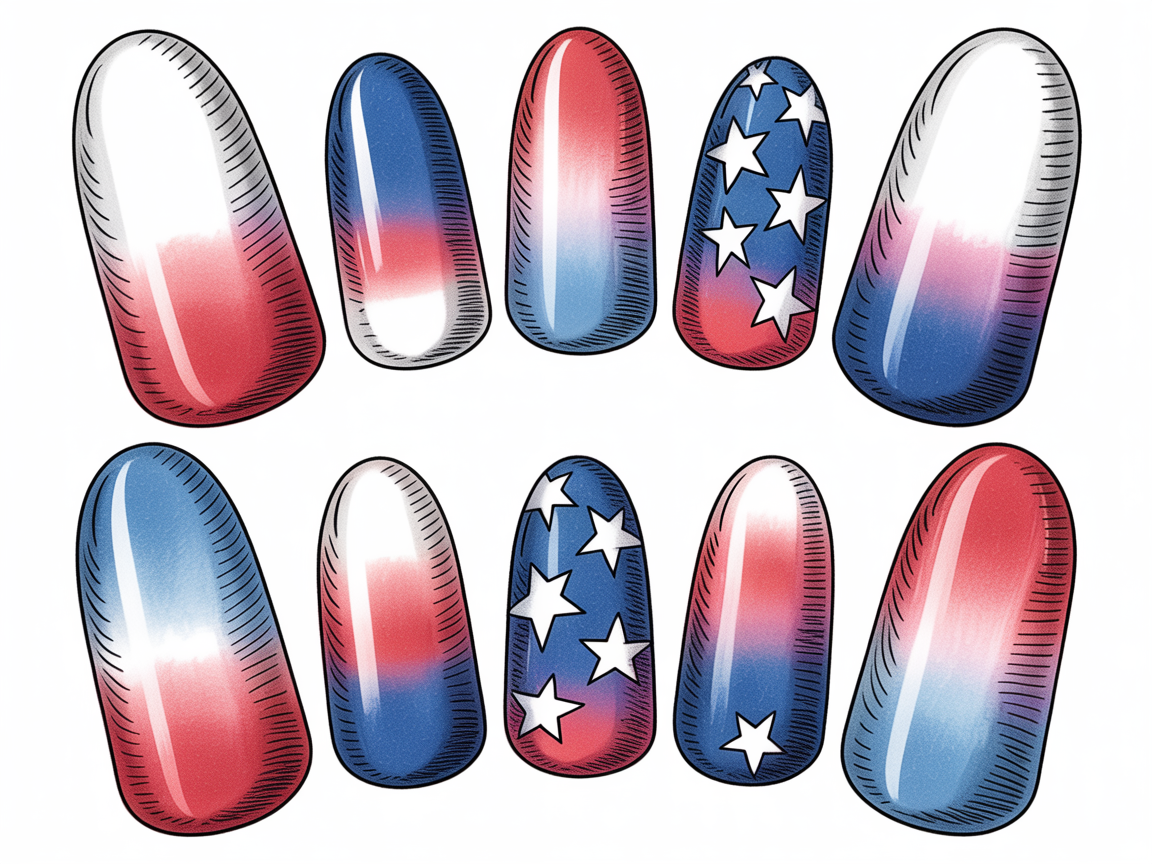
Pro-level fourth of july nail ideas often combine advanced application techniques with high-precision tools to achieve crisp lines, seamless ombres, and intricate star patterns. Professionals focus on workflow, layering, and curing strategy.
Professional techniques and workflows:
-
Stencil and negative-space mastery: Use custom-cut stencils to reserve negative space. Paint the background color, apply the stencil, then paint the accent color. Removing the stencil reveals crisp negative shapes.
-
Gel ombre with airbrush or sponge: For a flawless ombre, use an airbrush for blending or layer micro-sponge passes with gel polishes, curing between layers. This prevents harsh transitions.
-
Layered shine and metallic accents: Apply chrome powders or metallic foil to an accent nail, then seal with a strong no-wipe top coat to lock the effect and protect against chipping.
Pro troubleshooting checklist:
- If polish lifts after curing, remove and dehydrate the nail plate before reapplication.
- For visible brush strokes, use thinner coats and a flatter brush, finishing with a high-gloss top coat to smooth lines.
Advanced pro variations:
- Negative-space stars: Use thin tape or a precision cutter to leave star-shaped negative areas and paint the surrounding color.
- Foil constellation: Apply tiny foil fragments in a scattered arrangement over a dark base, then seal to mimic a starry sky.
Care, Longevity, and Common Mistakes
Achieving great fourth of july nail ideas is only half the job—keeping them intact matters. Proper aftercare and maintenance extend the life of your manicure and preserve shine.
Maintenance routine:
- Reapply a thin top coat every 3-4 days to restore shine and protect edges.
- Avoid prolonged water immersion during the first 24 hours after application.
- Integrate cuticle oil into your nightly routine to keep surrounding skin healthy and nails flexible.
Common issues and fixes:
- Tip wear: Cap the free edge with top coat and avoid thick layers that lift.
- Dulling finish: Light buff and apply a fresh top coat.
- Smudging: Work with quick-dry drops or thin top coats and allow extra time before activities.
FAQ: Quick answers for common questions
-
Q: Can I use regular polish instead of gel for these looks? A: Yes. Regular polish works fine for most fourth of july nail ideas. You may need more thin coats and patience for drying time. Use a quality top coat to extend wear.
-
Q: How long does a gel patriotic set last? A: Properly applied gel can last 2-3 weeks depending on nail growth and maintenance.
-
Q: Any tips for short nails? A: Use simplified motifs like a single star or half-moon accents. Keep designs proportional to nail size.
Conclusion
These fourth of july nail ideas give a full roadmap from beginner-friendly dots and stripes to pro stencils and ombre techniques. Use the prep steps, tool list, and workflow suggestions above to plan and execute a set that matches your skill level. Practice the techniques one at a time, and try a single accent nail as a test before committing to a full set. With careful prep and consistent aftercare, your patriotic nail art will be crisp, long-lasting, and ready for the celebration.