
How to Black and White Nail Ideas: Step-by-Step Guide
How to Black and White Nail Ideas: Step-by-Step Guide
Introduction
Black and white nail ideas are a timeless way to create chic, modern manicures that suit any occasion. In this step-by-step guide you'll learn essential tools, basic prep, classic looks, and advanced tips to master monochrome nails at home. Whether you're new to nail art or looking to refine your technique, these black and white nail ideas will help you achieve clean, professional results.
Tools & Materials for Black and White Nail Ideas
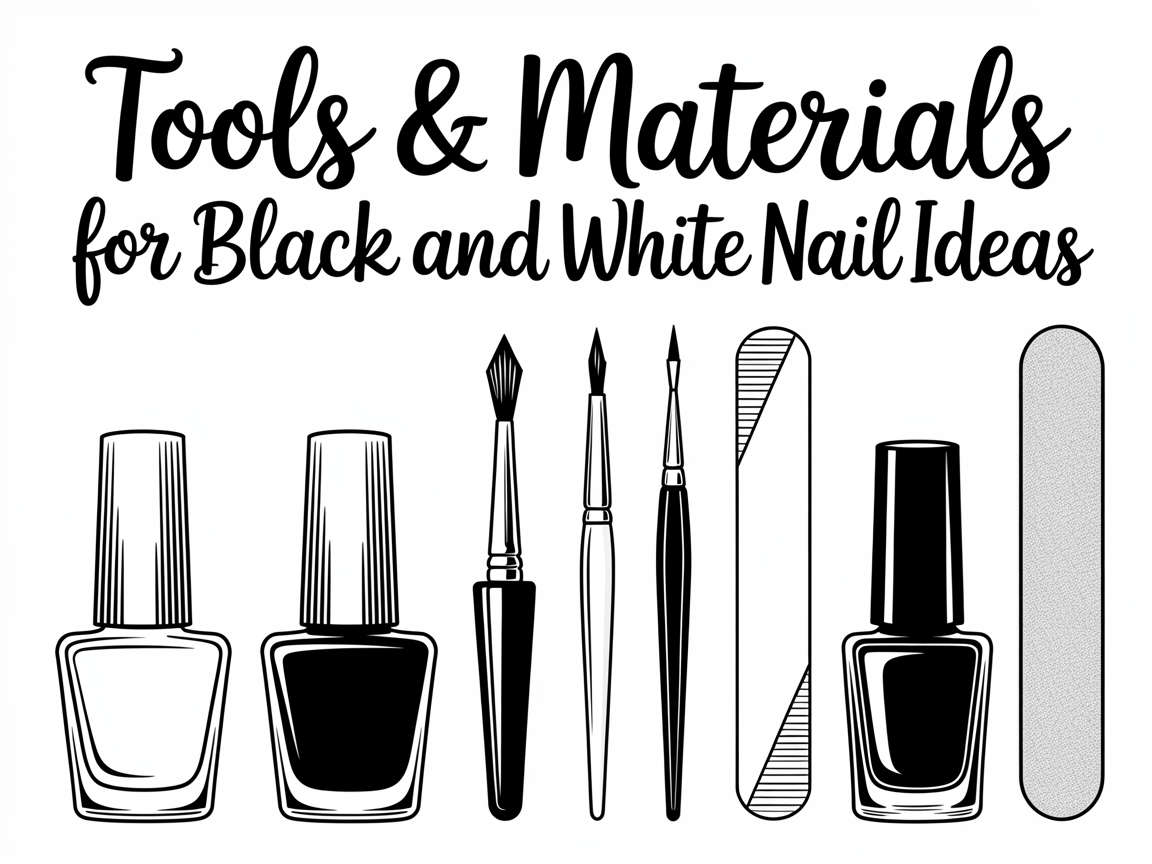
To start any set of black and white nail ideas you need the right kit. Gather a base coat, a durable top coat, white polish, black polish, a striping brush, dotting tools, acetone for cleanup, and nail tape. A fine liner brush makes thin lines cleaner, and a matte top coat can add an on-trend finish to many monochrome designs.
Quick checklist:
- Base coat and top coat
- Two quality polishes: black and white
- Striping brush and dotting tools
- Nail tape, remover, and small cleanup brush
Choosing the right polish: not all whites or blacks are created equal. High-pigment whites often need two coats, while some blacks can appear translucent in a single coat. Test swatches on a nail wheel to select formulas with the best opacity and finish for your black and white nail ideas.
Alternative tools: if you don't have a striping brush, a thin paintbrush from an art supply store can work. Toothpicks can substitute for dotting tools in a pinch. The key is control: finely tipped tools allow for more precise black and white nail ideas.
Prep Steps: The Foundation of Great Black and White Nail Ideas
Good prep separates amateur results from salon-quality black and white nail ideas. Begin by removing old polish, gently pushing back cuticles, and lightly buffing the nail surface. Apply a base coat to protect the nail plate and to give polish something to adhere to. Thin, even layers of color dry faster and look smoother than thick coats.
Step-by-step prep:
- Remove polish and clean nails with acetone.
- File and shape nails; buff lightly to smooth ridges.
- Push back cuticles; do not cut unless necessary.
- Apply thin base coat and let it cure.
Shaping and length influence your final design. Short nails tend to suit bold patterns like checkerboard, while long nails offer space for intricate black and white nail ideas such as negative space art and detailed linework. Consider the shape (square, oval, almond) when planning your design.
Nail health tips: keep nails hydrated with cuticle oil and avoid harsh filing. Healthy nails hold polish longer and provide a better canvas for black and white nail ideas.
Classic Black and White Nail Designs
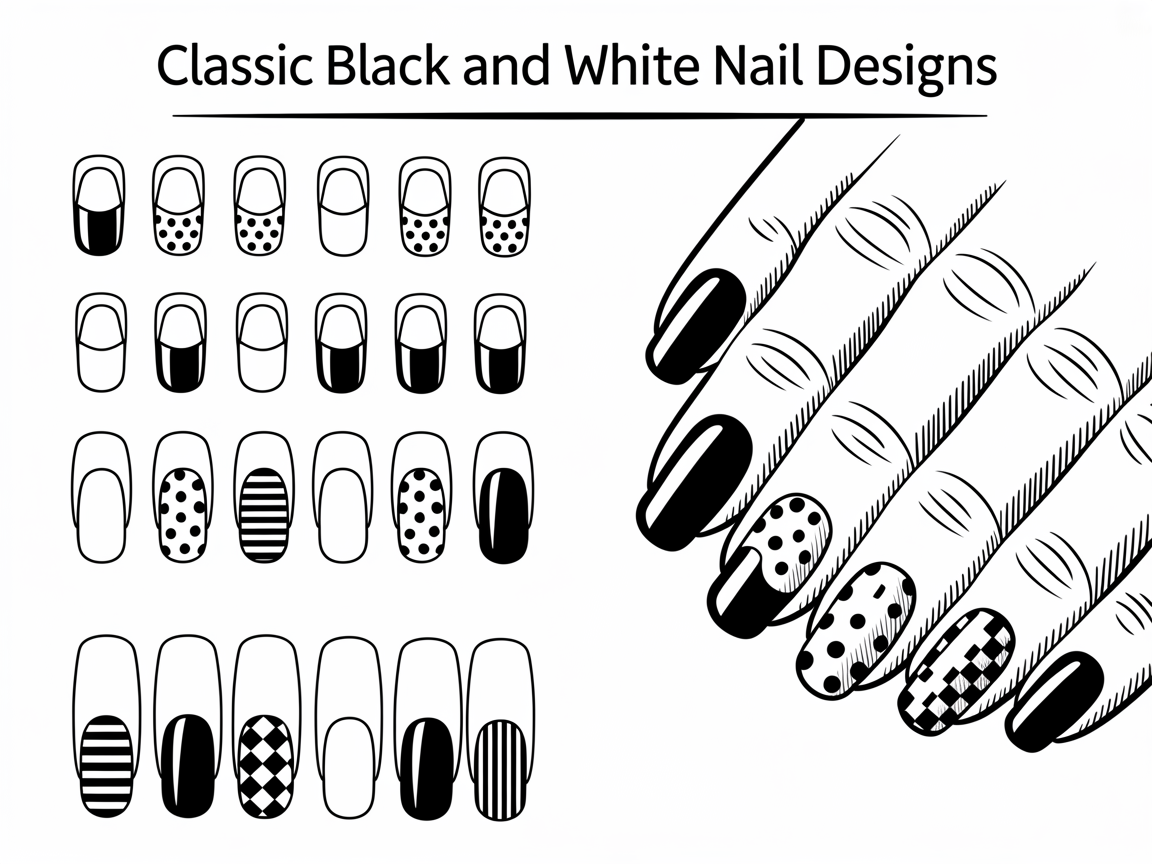
Start with simple, classic black and white nail ideas that build confidence. These designs are forgiving and perfect for practice:
- Monochrome French: Swap the traditional white tip for a bold black line or alternate black and white tips across fingers.
- Polka dots: Use a dotting tool to add uniform dots on a white or black base.
- Stripes: Use nail tape or a striping brush to create straight or diagonal stripes.
- Checkerboard: Square off sections and alternate black and white for a retro look.
Variations and accents: Add a metallic stud or thin gold foil to a single nail to make classic black and white nail ideas more luxe. Alternatively, use a sheer nude base and overlay black and white patterns for subtlety.
How to paint a clean French tip:
- Apply two thin coats of base color and let dry.
- Use striping tape or a sticker guide near the tip.
- Paint the tip in the contrasting color and remove the tape while wet.
- Clean edges with a small brush dipped in acetone.
You can find inspiring pattern variations and wedding-friendly styles in our wedding nail ideas collection, which pairs beautifully with monochrome trends: https://naildesignerai.com/ru/nail-ideas/wedding-nail-ideas
Advanced Techniques: Negative Space & Minimalist Art
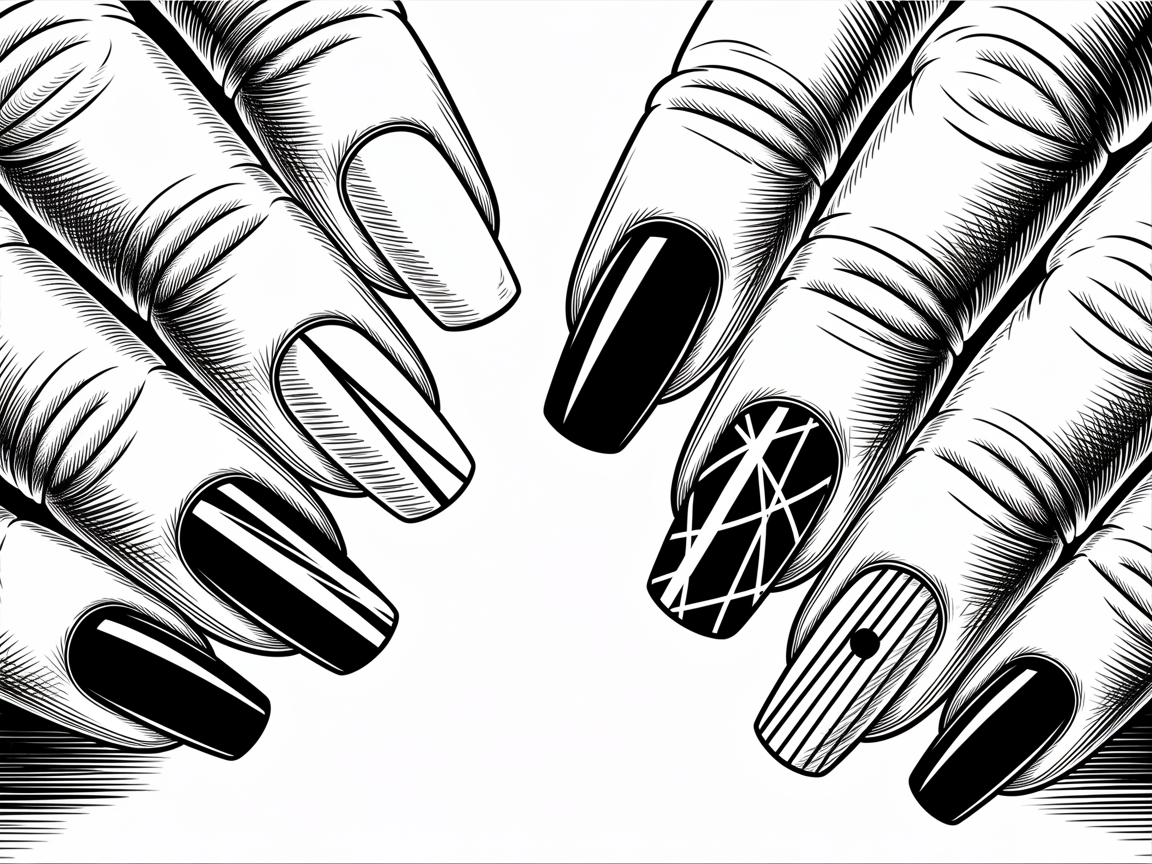
Once you're comfortable with basics, try advanced black and white nail ideas that use negative space, thin line art, and geometric shapes. Negative space designs leave parts of the nail bare to create striking contrast with black and white polish.
Techniques to try:
- Negative space cutouts: Tape off small shapes before painting and remove tape to reveal the bare nail.
- Thin line art: Use a fine liner brush for delicate stripes, faces, or floral outlines.
- Geometric blocks: Plan a grid or triangles and paint sections individually for precision.
Layering and contrast: experiment with glossy and matte combinations. A glossy black stripe across a matte white base can change the perceived depth of your design. This type of contrast is a subtle yet powerful element among black and white nail ideas.
For those seeking more inspiration or unique nail art references, check our nail art designs hub: https://naildesignerai.com/ru/nail-designs/nail-art-designs
Step-by-Step Design Walkthroughs
Below are three detailed step-by-step walkthroughs for popular black and white nail ideas. Use these as templates and adapt color placement or accents to suit your style.
- Minimalist Striped Nails
- Prep nails and apply base coat.
- Paint two thin coats of white and allow to dry fully.
- Use striping tape to mark thin vertical or diagonal lines.
- Paint over with black polish and remove tape immediately.
- Seal with a top coat to blend edges.
Tips: work on one nail at a time when using tape to avoid lifting partially dried polish. For cleaner lines, hold your hand steady on a flat surface and use small strokes.
- Polka Dot Accent Nail
- Paint all nails in your chosen base (white or black).
- Use a contrasting color on the accent nail.
- Dip dotting tool into polish and stamp evenly spaced dots.
- Finish with top coat for shine or matte top for a soft look.
Creative twist: create gradient polka dots by varying dot sizes from the cuticle to the tip. This adds visual interest to simple black and white nail ideas.
- Checkerboard Statement Nails
- Paint a white base and let dry.
- Use thin tape to create small squares, or paint squares freehand with a small brush.
- Fill alternating squares with black polish.
- Clean edges and apply top coat.
Practice makes perfect: create a practice board with sticker guides to plan your checkerboard grid before painting on nails.
If you want quick access to galleries with similar patterns and layout examples, our explore pages can provide visual references: https://naildesignerai.com/explore/cm5i03gpn0159pb1ebr0mdb1q and https://naildesignerai.com/explore/cm5i010et00o6pb1ed4u27dfk
Troubleshooting & Common Pitfalls
Even experienced nail artists run into issues. Here are common problems and how to fix them for your black and white nail ideas.
Problem: Polishes streak or feather
- Solution: Use thin coats and allow full drying time between layers. A fast-drying top coat helps, but thin layers minimize streaking.
Problem: Smudged lines
- Solution: Work with a steady hand and clean striping brush. If a line smudges, wait until dry, then carefully repaint a thin stripe on top.
Problem: Yellowing or dullness on white polish
- Solution: Use a quality white base and avoid thick layers that trap air. Applying two even coats usually prevents dullness.
Problem: Over-taping lifts base color
- Solution: Use low-tack tape or remove overlays while polish is wet to reduce tearing. Seal edges with a top coat to prevent lifting.
Clean-up tips:
- Dip a small brush in acetone to refine cuticles and edges.
- Use a peel-off base for temporary looks to avoid tough removal.
Maintenance and Longevity
To keep your black and white nail ideas looking fresh:
- Apply a thin top coat every 2-3 days to refresh shine and seal tips.
- Wear gloves for chores to prevent chipping.
- Avoid prolonged exposure to hot water which weakens polish adhesion.
For professional-level results, a gel top coat can add durability to black and white nail ideas and extend wear time significantly. If you choose gel, ensure proper curing time and follow removal procedures to protect nail health.
Additional care tips:
- Use cuticle oil nightly to hydrate and strengthen nails.
- Avoid using nails as tools; the stress can cause chips or breaks that ruin detailed designs.
Conclusion
Black and white nail ideas are versatile, timeless, and surprisingly approachable with the right tools and practice. Start with solid preparation, master classic patterns like French tips and polka dots, then progress to negative space and minimalist art. With patience and the step-by-step methods above, your monochrome manicures will look crisp and confident. If you want more design access or to sign up for tools, visit /auth/register to get started.