
Black And White Nail Ideas Made Easy: A Practical How-To
Black and White Nail Ideas: Simple Bases
Black and white nail ideas are a timeless way to make a bold statement with minimal colors. This practical how-to walks you through basics, tools, and step-by-step techniques so you can achieve clean, stylish black and white nails at home. Whether you prefer glossy contrasts or matte textures, these black and white nail ideas will guide you from prep to finish.
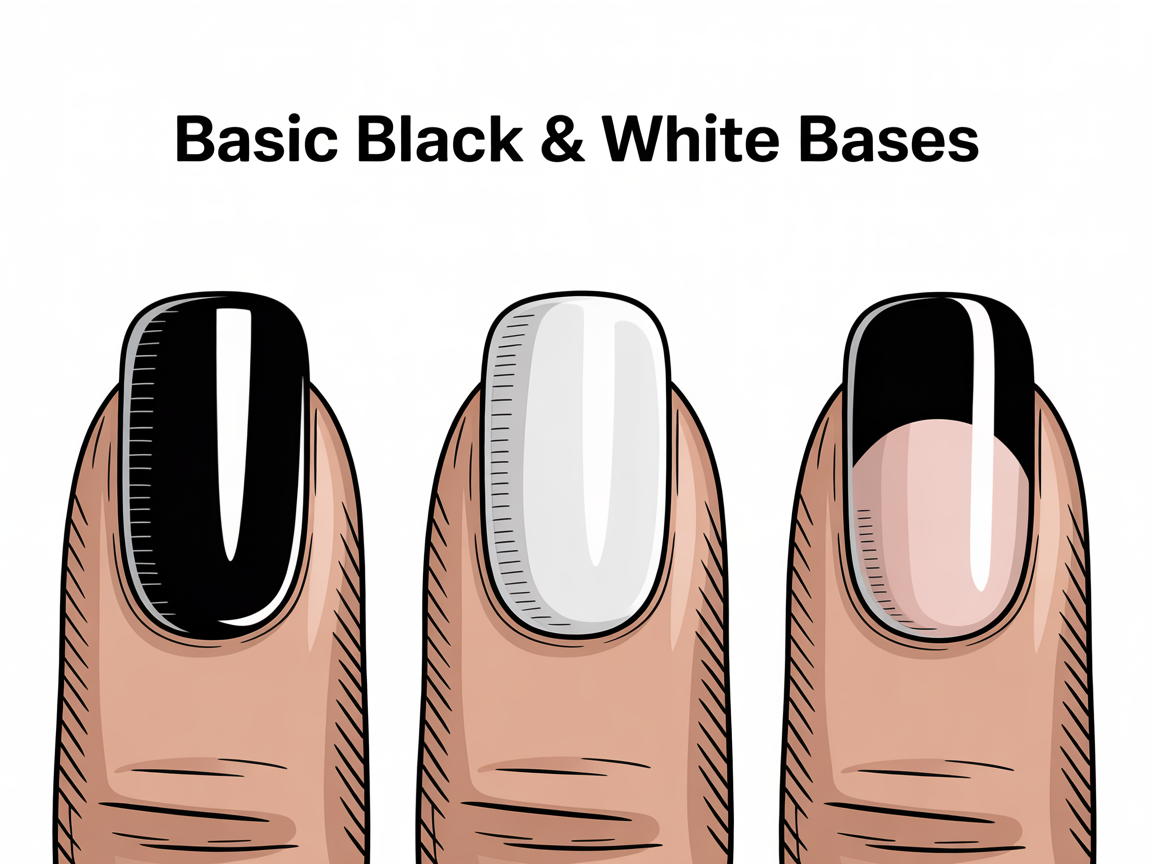
Start simple. The strength of black and white nail ideas lies in contrast: a crisp white base with a jet-black accent or vice versa. Try three foundational looks: solid color, half-and-half, and negative-space crescents. Practice each on a single nail before committing to a full set.
Solid color basics:
- Apply a base coat to protect the nail bed.
- Two thin coats of white or black polish give even coverage.
- Finish with a top coat for shine and protection.
Half-and-half and negative space:
- Use a thin striping brush or a cut piece of tape to separate areas.
- Paint one half, wait until tacky, then remove tape for a sharp line.
- Negative space is forgiving: use the natural nail as a design element.
Black and white nail ideas also adapt well to nail shape. On shorter nails, focus on bold, simple contrasts. On long nails, experiment with small patterns and elongated stripes for a dramatic effect.
Tools & Prep
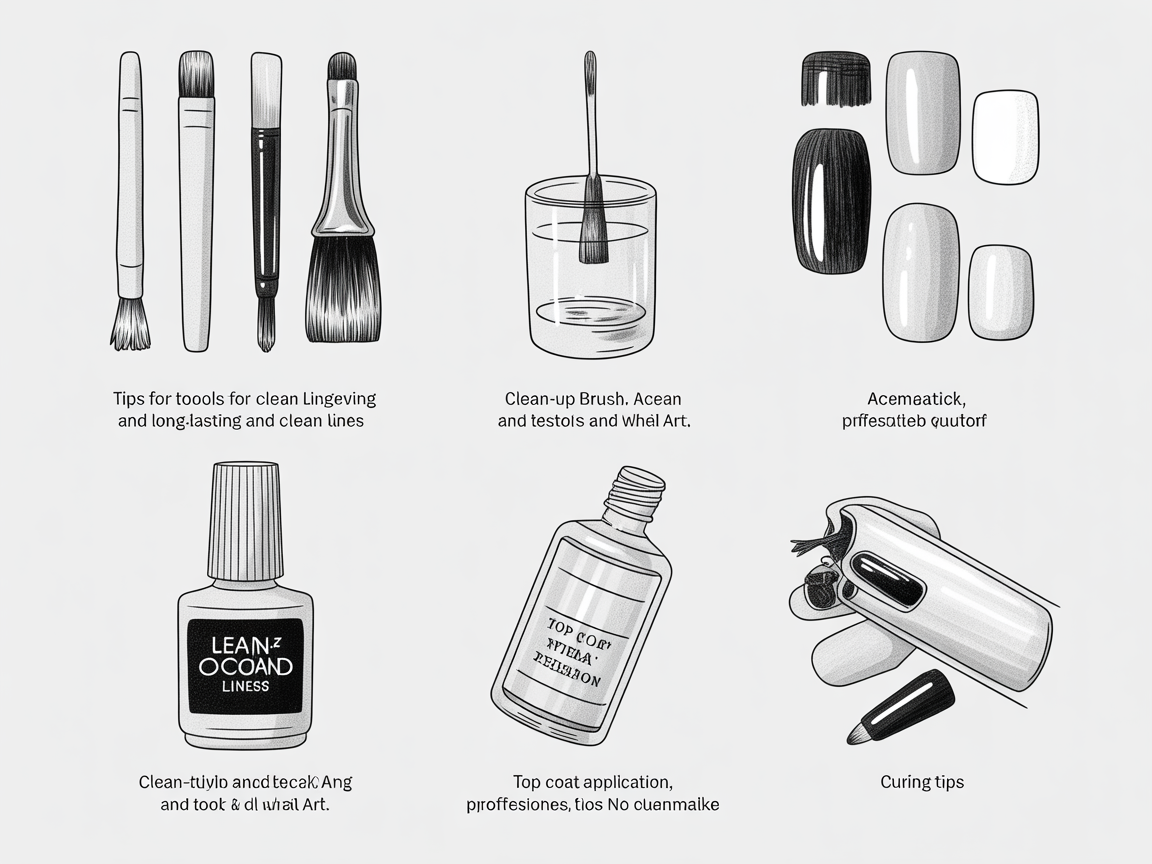
Before you start with any black and white nail ideas, gather a few essential tools. Having the right items makes simple looks professional:
- Base coat and top coat
- Quality black and white polishes (one opaque white, one deep black)
- Fine nail-art brush and striping tape
- Dotting tools or a toothpick
- Acetone and a small clean-up brush
- Nail file and buffer, nail clippers, cuticle pusher
Proper prep is key to long wear. Remove old polish, trim and file, gently push back cuticles, and buff the nail surface lightly. A quick swipe with alcohol or nail dehydrator will remove oils, which helps the polish adhere.
If you plan to save palettes or collections, some site features require an account: https://naildesignerai.com/auth/register. Also explore curated inspiration for ideas in the nail ideas collection and design references. Reviewing multiple examples helps you adapt black and white nail ideas to personal style.
Geometric & Stripe Techniques
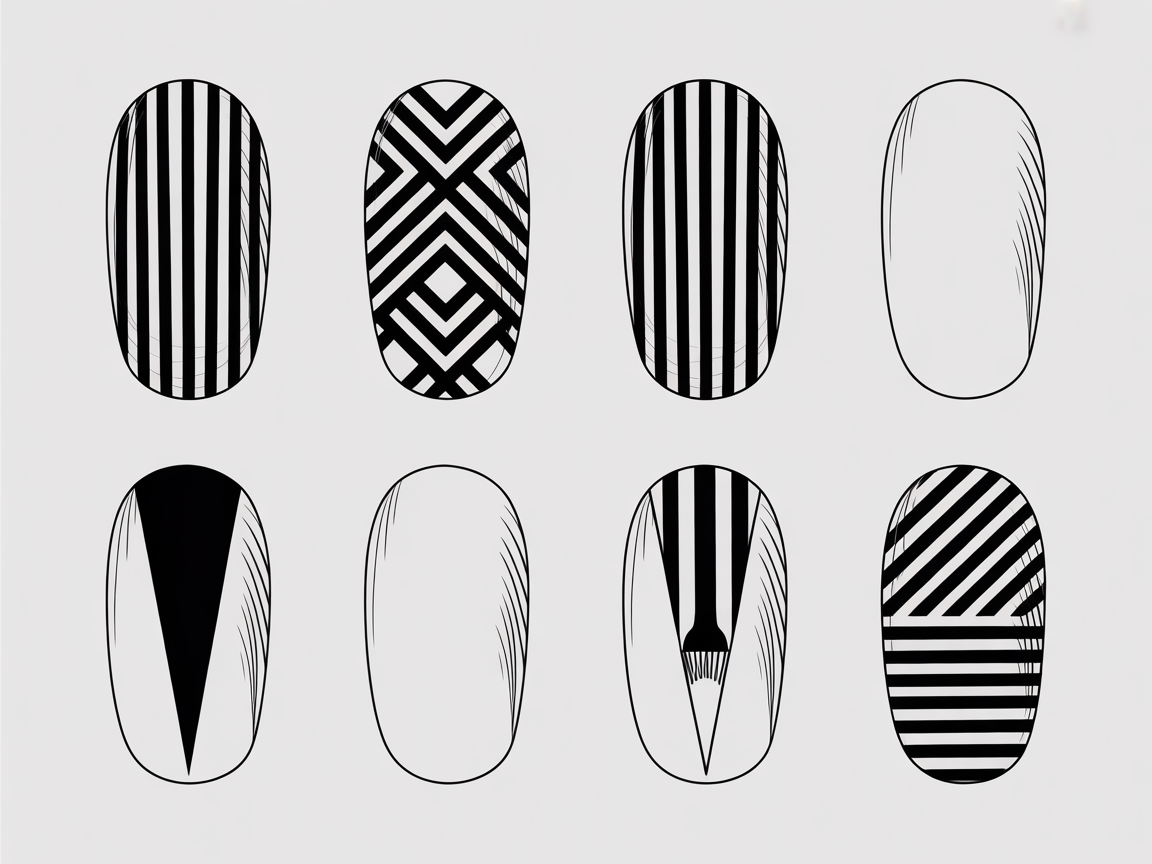
Geometric patterns are a core part of black and white nail ideas. Use striping tape or a fine brush to create precise lines. Start with a solid base (white or black), apply striping tape in the desired pattern, then paint the secondary color. Remove tape while polish is tacky for sharp edges.
Step-by-step stripes:
- Apply base color and let fully dry.
- Place striping tape in parallel lines or diagonals.
- Paint over the tape with the contrast color.
- Remove tape slowly and finish with a top coat.
Geometric shapes—triangles, chevrons, and angled blocks—work best with two contrasting values. If freehanding, rest your elbow to steady your hand and use short brush strokes for control. Practice simple grids and increase complexity as you improve.
For more design ideas and step visuals, check geometric inspirations and minimal black-and-white looks in the Explore section.
Advanced Accents & Variations
Experimenting with accents turns simple black and white nail ideas into statement designs. Try negative space, polka dots, or a single accent nail:
- Negative space: Paint half the nail and leave a clean crescent of natural nail.
- Polka dots: Use a dotting tool to add regular or random dots in contrasting color.
- Accent nail: Add a metallic foil or a small rhinestone on one nail for subtle shine.
Mix textures to raise the visual interest. For instance, pair glossy black with a matte white top coat on alternating nails. Use micro-glitter sparingly—one accent nail with a subtle shimmer complements black and white nail ideas without overpowering them.
Color blocking with neutral grays can soften stark contrasts when needed. If you want a softer look, introduce a warm beige or soft gray as a third element in a restrained way.
Tips for Longevity and Clean Lines
Longevity is about preparation and technique. For long-lasting black and white nail ideas, follow these steps:
- Prep the nail: Remove oils with alcohol or dehydrator, gently buff, and apply a base coat.
- Thin layers: Apply 2-3 thin coats instead of one thick coat. Thin layers dry faster and resist chipping.
- Seal: Use a high-quality top coat and focus on the free edge. Reapply top coat every few days to extend life.
- Clean-up: Dip a small brush in acetone to tidy edges for crisp contrasts.
Repair tips:
- If a small chip appears, file the area smooth and touch up with polish, then reseal with top coat.
- For lifting polish, remove and start again—lifting often indicates oil left on the nail.
Avoid common pitfalls like overloading the brush or skipping the base coat; these lead to chips and uneven finishes. Practice consistently to improve brush control and timing for removing tape and applying top coat.
Quick How-To: Three Simple Black and White Looks
Follow these easy black and white nail ideas when you want a fast, polished look. These step-by-step mini-tutorials are great practice and form the foundation for more advanced designs.
- Classic Half-Moon
- Paint the whole nail white. Once dry, use a circular guide or steady finger to mask the cuticle area, then paint black on the remaining part. Remove mask and clean edges. Finish with top coat.
- Minimal Stripe
- Start with a white base. Use a striping brush to add thin black lines across the nail horizontally or diagonally. Seal with a quick-dry top coat for smooth lines.
- Dot Accent
- Apply a black base and, once dry, use a white dotting tool to place dots in a grid or a flowing pattern. Vary dot sizes for visual interest.
Practice routine:
- Set aside 20-30 minutes for a practice session focusing on a single technique.
- Use peel-off base coat or practice sticks to avoid removing polish from your own nails repeatedly.
These black and white nail ideas are quick to apply and adaptable to nail length and shape. With repetition, your speed and precision will improve noticeably.
Common Troubleshooting
Even simple black and white nail ideas can go wrong—here’s how to fix usual problems.
- Streaky white polish: Use a high-opacity white or apply a white base followed by thin coats.
- Smudging after top coat: Ensure the design is fully dry; use quick-dry drops or a fast-curing top coat.
- Tape pulling polish: Remove tape while polish is still tacky, not after fully drying, to avoid peeling.
For more inspiration and examples to emulate, visit the nail ideas collection, geometric inspirations, and striping tape tutorials in our Explore area. Those example pages provide visuals that align well with the techniques described here.
Conclusion
Black and white nail ideas are versatile, accessible, and striking when done with the right steps. From basic bases to geometric techniques and longevity tips, this guide gives practical, step-by-step directions to help you master contrasting designs at home. Keep practicing the techniques above to refine your skill and explore additional inspiration such as the nail ideas collection, geometric inspirations, and striping tape tutorials for more creative looks.