Master Black And White Nail Ideas in 5 Simple Steps
Master Black And White Nail Ideas in 5 Simple Steps
Creating stunning black and white nail designs is an art form that can transform your nails into chic, elegant accessories. In this guide, I'll walk you through mastering black and white nail ideas in five simple steps. Gather your tools, unleash your creativity, and let’s begin!
Step 1: Gather Your Materials
Before you dive into the artistry of black and white nails, it’s essential to gather all the necessary materials.
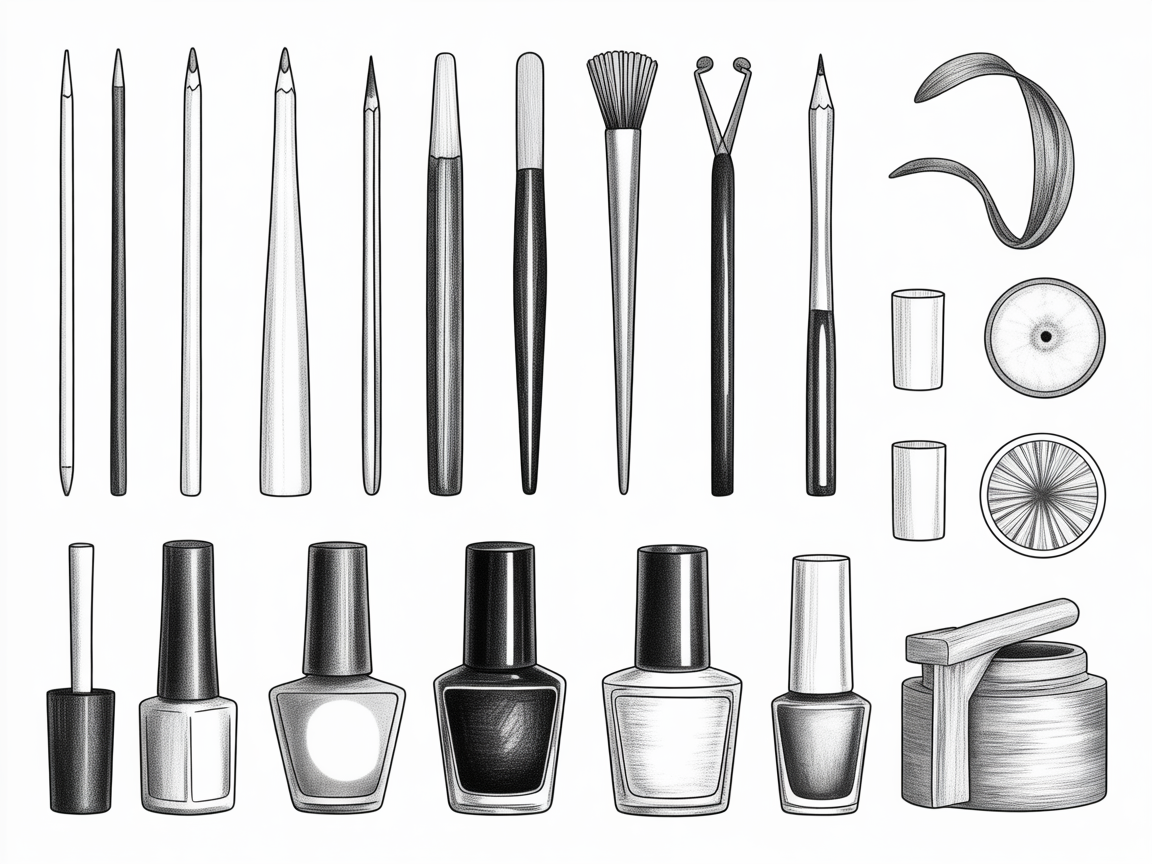
Essential Items:
- Black Nail Polish: Ensure it’s vibrant with a good consistency. A high-pigment polish will create a striking contrast against white, providing depth and dimension to your designs.
- White Nail Polish: Choose a shade that offers full coverage. Matte or glossy, the choice is yours, but both can add a sophisticated touch to any style.
- Fine Detail Brushes: These will be your best friends for crafting intricate designs. From thin lines to elaborate swirls, they allow you to draw with precision.
- Dotting Tools: Perfect for making consistent dots and circular patterns. They come in various sizes to help you vary your design, adding both simple and complex elements to your nails.
- Nail Tape: Ideal for achieving sharp, clean lines. Use it for creating geometric designs or to separate colors neatly, ensuring that each line is crisp and clear.
- Base Coat: Protects the nails and provides a smooth surface for the polish to adhere to, preventing chipping and staining.
- Top Coat: Seals in your design and adds a glossy finish, enhancing the overall look and longevity of your handiwork.
Ensure your tools are of high-quality as they will influence the overall outcome. The choice of materials can enhance the look and durability of your nail art. With these materials in hand, you are prepared to embark on your nail design journey.
Step 2: Inspiration and Planning
Explore different black and white designs to spark your creativity. Consider geometric patterns, elegant stripes, or whimsical polka dots. Start by browsing these creative nail design ideas for inspiration.
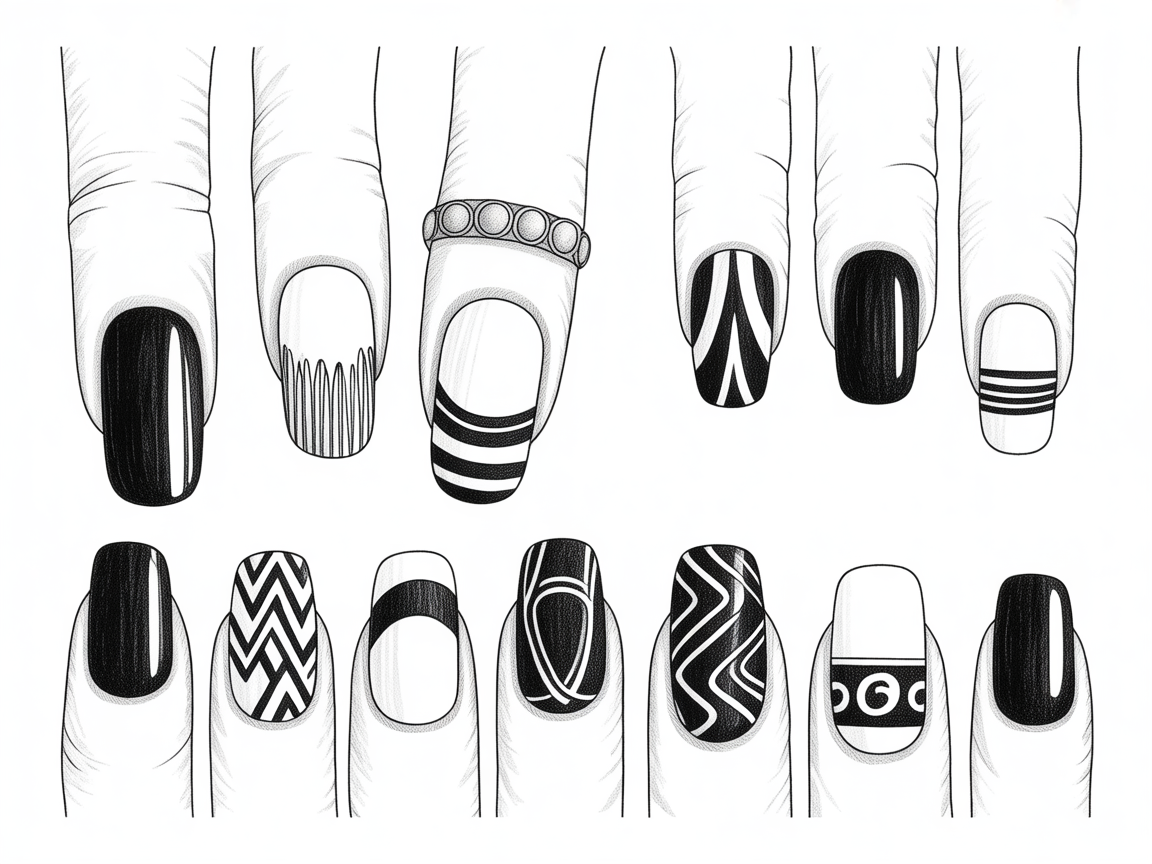
- Geometric Patterns: Shapes such as triangles, squares, and hexagons can make your nails look modern and stylish. The sharpness of these shapes can create a bold statement.
- Stripes: Horizontal or vertical stripes add a classic feel, but slanted stripes can bring a dynamic energy to your look. This versatility allows endless variations and personal touches.
- Polka Dots: These are playful and fun, working well as part of a larger design or on their own for a simpler look.
- Minimalist Designs: Sometimes less is more. Focus on simplicity with negative space to emphasize your artistic vision. This approach highlights the elegance of base colors and subtle patterns.
Visualize each design and ensure you understand the steps involved before application.
Choosing the Right Inspiration
- Classic Looks: Timeless designs that never go out of style include monochromatic stripes and checkerboards. These patterns are easy to create and offer a clean, polished appearance.
- Modern Twists: Incorporate bold color blocking elements or metallic accents for a contemporary twist. Shine with chrome effects or integrate neon hints for a pop of color.
- Mix and Match: Combine different patterns and textures. Experiment with matte against glossy finishes or gradients within the same color scheme.
Research the latest trends and redefine them according to your personal style.
Step 3: Applying the Base
Start with a clean nail before applying a base coat to protect and strengthen. Decide on whether a black or white base will better highlight your design.
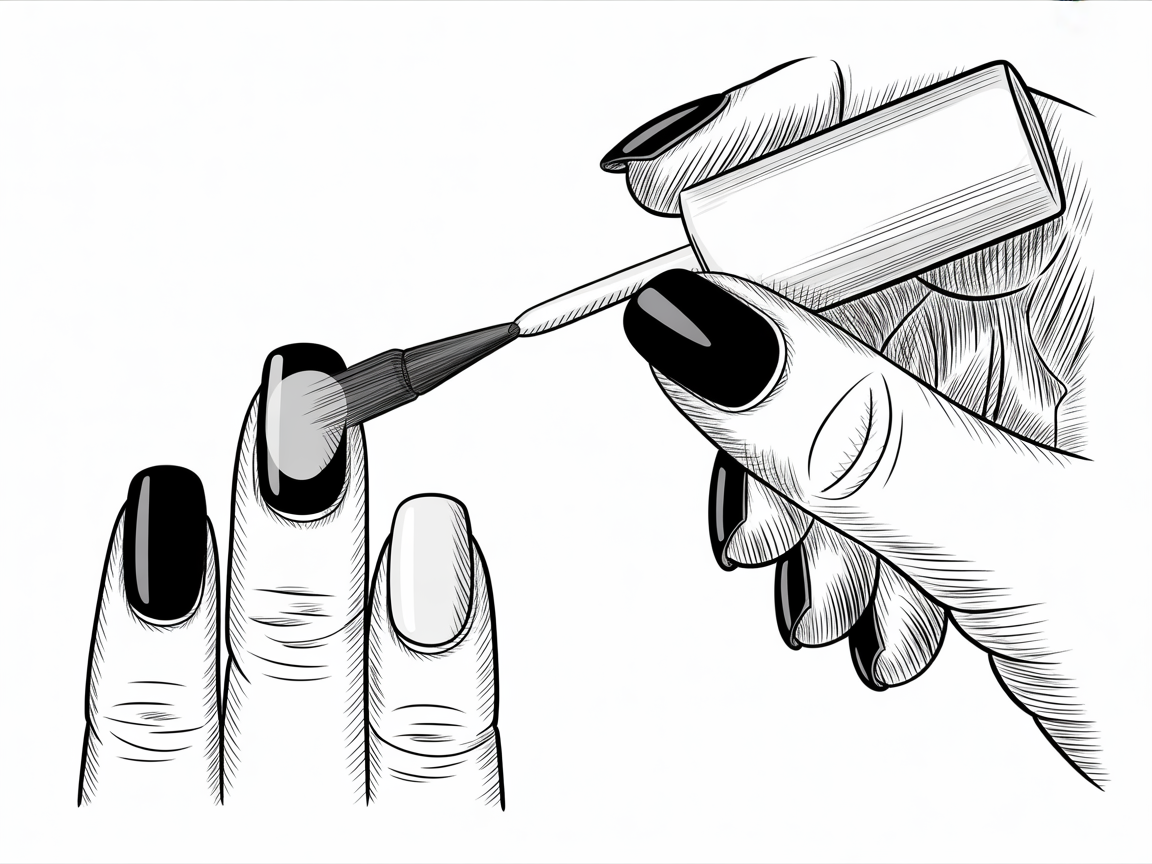
Using high-quality nail polish, paint each nail thoroughly, ensuring an even coat. Allow it to dry completely before proceeding to the next step.
- Even Coating: Avoid streaks by using smooth, even brushstrokes. Less is more when it comes to the first coat; build up as needed to achieve the full opacity.
- Drying Time: Patience is key. Let each layer dry thoroughly to prevent smudging. This foundation sets the tone for the rest of your design.
- Flawless Finish: Double-check for any patches and apply a second coat if necessary, ensuring a rich and vibrant base.
Choosing Your Base
- Solid Colors: A full black or white base can make specific details pop, emphasizing their precision.
- Gradient Base: Experiment with ombre effects using both colors, providing a dynamic background that enhances complexity.
- Matte vs. Glossy: Decide whether to use a matte or glossy finish, contributing to the aesthetic feel of your design. Matte can add sophistication and gloss can bring a vibrant shine.
Understanding how different finishes and colors work together will enhance your overall design.
Step 4: Detailing and Design
With the base in place, use detailed brushes and dotting tools to flesh out your chosen design. Whether crafting delicate swirls or bold stripes, precision is your best ally. Tools such as nail tape can help achieve sharp, clean lines, ensuring your design looks professional and polished.
Tips for Flawless Detailing:
- Steady Hands: Utilize support for your wrist to prevent unwanted movements. Consider placing your hand on a steady surface for intricate detailing.
- Layering Techniques: Apply thick and thin layers strategically to build up patterns and textures. These techniques can add depth and dimension, making your design stand out.
- Precision: Use a magnifying glass if needed for tiny, intricate details. Attention to detail separates good design from great art.
- Creativity: Experiment with different patterns, colors, and effects. Diagonal stripes or staggered dots can create eye-catching symmetry.
Explore more intricate black and white nail art here for advanced techniques.
Advanced Techniques:
- Foil Accents: Incorporate black or white foils for added texture. Foils can add shine and complexity, making your nails a talking point.
- Stencils and Stamps: Perfect for replicating detailed designs with ease, allowing you to achieve consistency across all nails.
- Metallics: Use metallic accents or studs for a standout look. Mixing metals with black and white can provide a bold contrast.
Experimenting with new techniques can enhance your skills and boost creativity.
Step 5: Final Touches and Maintenance
Once your design is complete, apply a top coat to seal and add shine, protecting your work from the elements and everyday wear.
Maintenance Tips:
- Avoid Hot Water: It can cause polish to peel prematurely. Maintaining your design requires patience and care.
- Reapply Top Coat: Every few days to lock in color and ensure longevity. This small step can preserve the look and luster of your nails.
- Nourish and Moisturize: Keep your nails and skin hydrated with cuticle oil to maintain the health and appearance of your nails.
Additional Maintenance Tips:
- Regular Touch-ups: Keep a small kit handy for on-the-go fixes, especially for unexpected chips. This will ensure your nails remain flawless.
- Avoid Harsh Chemicals: Use gloves when cleaning or working with abrasive substances to preserve your manicure.
- Gentle Handling: Be careful with your hands to avoid unnecessary chips and cracks, which can prevent long-term wear.
Consistency in maintenance will keep your nails looking salon-perfect for longer.
Conclusion
Mastering black and white nail ideas is all about precision, creativity, and practice. With a little patience and flair, you can create stunning designs that are both simple and sophisticated.
Whether you prefer classic elegance or bold modernity, your creativity will elevate every design. For further inspiration, explore our nail design gallery. Check out different styles, textures, and patterns to discover what suits your personality and style. Enjoy the journey of becoming a nail art connoisseur!
Embrace the creativity and enjoy expressing yourself through the intricate art of black and white nail design. Whether you're a professional or a hobbyist, these steps will guide you toward perfection.