10 Must-Try Nail Art Techniques for Beginners
10 Must-Try Nail Art Techniques for Beginners
Nail art should feel fun, not intimidating. With the right nail art techniques, a few simple tools, and a little patience, you can create designs that look polished—even if you’re brand new. This beginner listicle focuses on techniques you can learn quickly, plus the small “pro” habits that make your manicure last.
If you want inspiration before you start, browse a few looks in the design explore gallery and save two or three styles you’d love to recreate. When you’re ready to practice consistently, you can also create your free account to organize ideas and keep a collection of beginner-friendly sets.
Nail Art Prep Basics: The Beginner Setup That Makes Everything Easier
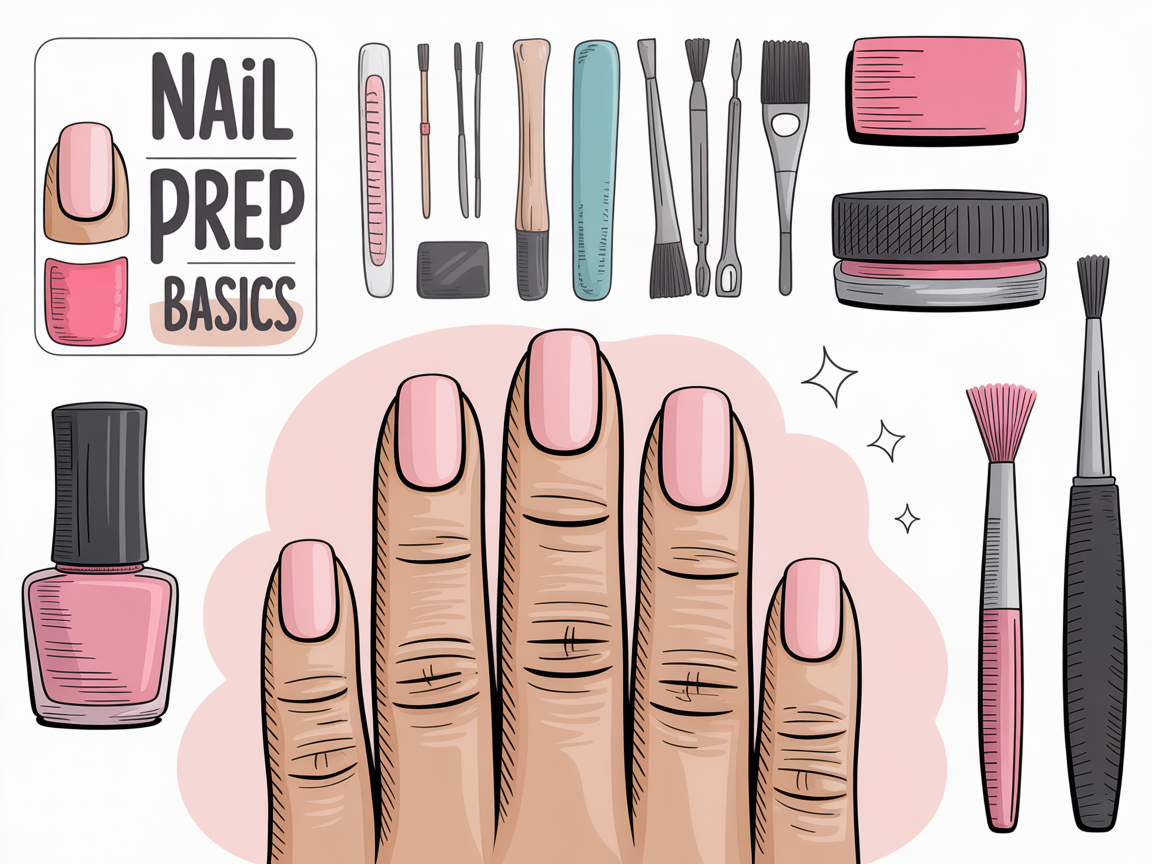
Most beginner struggles come from prep, not talent. A smooth base coat, clean edges, and quick drying time make every design look sharper.
What you need (keep it minimal)
- Base coat + glossy top coat
- 2–4 opaque polishes (one light, one dark, one accent)
- Dotting tool (or a bobby pin/toothpick)
- Striping brush (or thin art brush)
- Makeup sponge (for ombre)
- Cleanup brush + acetone
- Optional: striping tape, stickers/decals, stamping kit
Prep checklist (5 minutes)
- Shape and lightly buff: Aim for one consistent shape across all nails.
- Clean the nail plate: Wipe with alcohol/acetone to remove oils.
- Push back cuticles gently: Don’t cut unless you know how.
- Apply base coat: Cap the free edge (swipe along the tip) to help prevent chipping.
The 10 Must-Try Nail Art Techniques (Beginner-Friendly)
Below are ten beginner-safe nail art techniques. Each one includes a simple method, a way to level it up, and the most common mistake to avoid.
Technique #1: Dotting (Polka Dots, Flowers, and Mini Hearts)
Dotting is the fastest way to get clean, intentional details. It’s also forgiving—tiny imperfections read as “handmade,” not messy.
How to do it
- Paint your base color and let it dry to the touch.
- Dip a dotting tool (or the rounded end of a bobby pin) into polish.
- Place dots with gentle pressure—don’t push hard.
- Let dots set for 1–2 minutes, then top coat.
Level it up
- Make simple flowers: 5 dots in a circle + 1 dot in the center.
- Create a gradient dot pattern: large dots near the cuticle, smaller toward the tip.
Avoid this: Reloading too much polish. Blobby dots happen when the tool is overloaded.
Technique #2: Striping (Clean Lines With a Thin Brush)
Striping gives immediate “salon” vibes. Think French tips, diagonal accents, or simple grids.
How to do it
- Start with a fully dry base color.
- Use a striping brush with slightly thinned polish.
- Anchor your hand by resting your pinky on the table.
- Pull one steady line—don’t go back over it.
Level it up
- Do a double stripe: a thin metallic line next to a matte color line.
- Add one stripe on only two accent nails for a clean, modern set.
Avoid this: Painting lines on tacky polish. If the base isn’t dry, lines drag and ripple.
Technique #3: Tape Art (Crisp Geometrics Without a Steady Hand)
Tape does the precision work for you. You can create triangles, chevrons, and negative space quickly.
How to do it
- Paint a base shade and let it dry completely.
- Place striping tape in your chosen pattern.
- Paint a second color over the tape.
- Peel tape off while the polish is still wet, then top coat.
Level it up
- Use two tape layers to form a “window” and paint inside it.
- Combine tape with glitter polish for sparkly chevrons.
Avoid this: Removing tape after polish dries. That can tear edges and lift the base.
Technique #4: Sponge Ombre (Gradient)
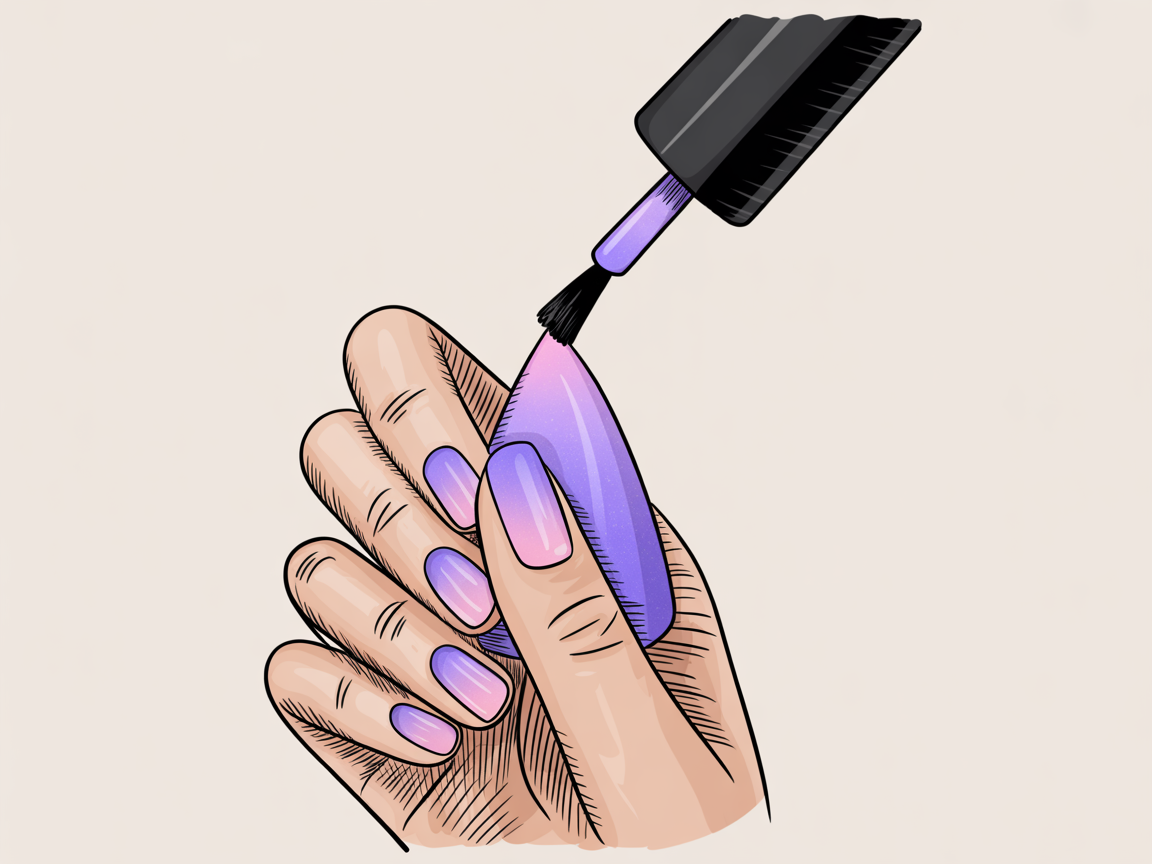
Ombre looks advanced, but the sponge does most of the blending. This is one of the most impressive nail art techniques for beginners because the “soft fade” hides minor mistakes.
How to do it
- Paint a light base coat color and let it dry.
- On a makeup sponge, paint two stripes: light shade + darker shade, slightly overlapping.
- Dab the sponge onto the nail in quick, gentle taps.
- Repeat 2–4 passes until the fade looks smooth.
- Clean edges with a small brush + acetone.
- Apply top coat to blend and add shine.
Level it up
- Add a sheer glitter topper to make the gradient look airbrushed.
- Try a “sunset” ombre with three colors (light → medium → dark).
Avoid this: Using a soaked sponge. Too much polish causes bubbles and patchiness.
Technique #5: Simple French Tips (Classic, Micro, and Color Tips)
French tips are a skill-builder: they teach control, symmetry, and cleanup.
How to do it
- Paint a sheer nude or soft pink base.
- Use a thin brush (or the curve of a silicone stamper) to place tip color.
- Smile line first, then fill the tip.
- Top coat and cap the free edge.
Level it up
- Do micro French (a super-thin tip) for a modern look.
- Swap white for color: cobalt, cherry red, or pastel.
Avoid this: Thick tips. Bulky tip polish chips faster and looks uneven.
Technique #6: Skittle Nails (Easy Variety That Still Looks Cohesive)
Skittle nails mean each nail is different—but the set still matches. This is perfect when you want creativity without complex art.
How to do it
- Choose a palette of 4–6 shades (same undertone).
- Paint each nail a different color.
- Add one consistent element (like dots or a stripe) on two nails.
For palette inspiration, scroll a few more examples in the beginner nail looks gallery and note which shades repeat.
Level it up
- Make one nail glitter as the “hero” accent.
- Keep finishes consistent (all cream, or all shimmer).
Avoid this: Mixing warm and cool shades randomly. Cohesion matters more than complexity.
Technique #7: Glitter Placement (Controlled Sparkle Without Mess)
Loose glitter can be tricky, but glitter polish placement is beginner-safe and looks intentional.
How to do it
- Apply base color.
- Dab glitter polish where you want intensity (tip or cuticle area).
- Use a sponge for denser glitter at one end.
- Seal with a thicker top coat.
Level it up
- Try a glitter “fade” from tip to mid-nail.
- Place glitter only on an accent nail and keep the rest cream.
Avoid this: One thin top coat. Glitter edges need extra sealing to feel smooth.
Technique #8: Stamping for Crisp Patterns
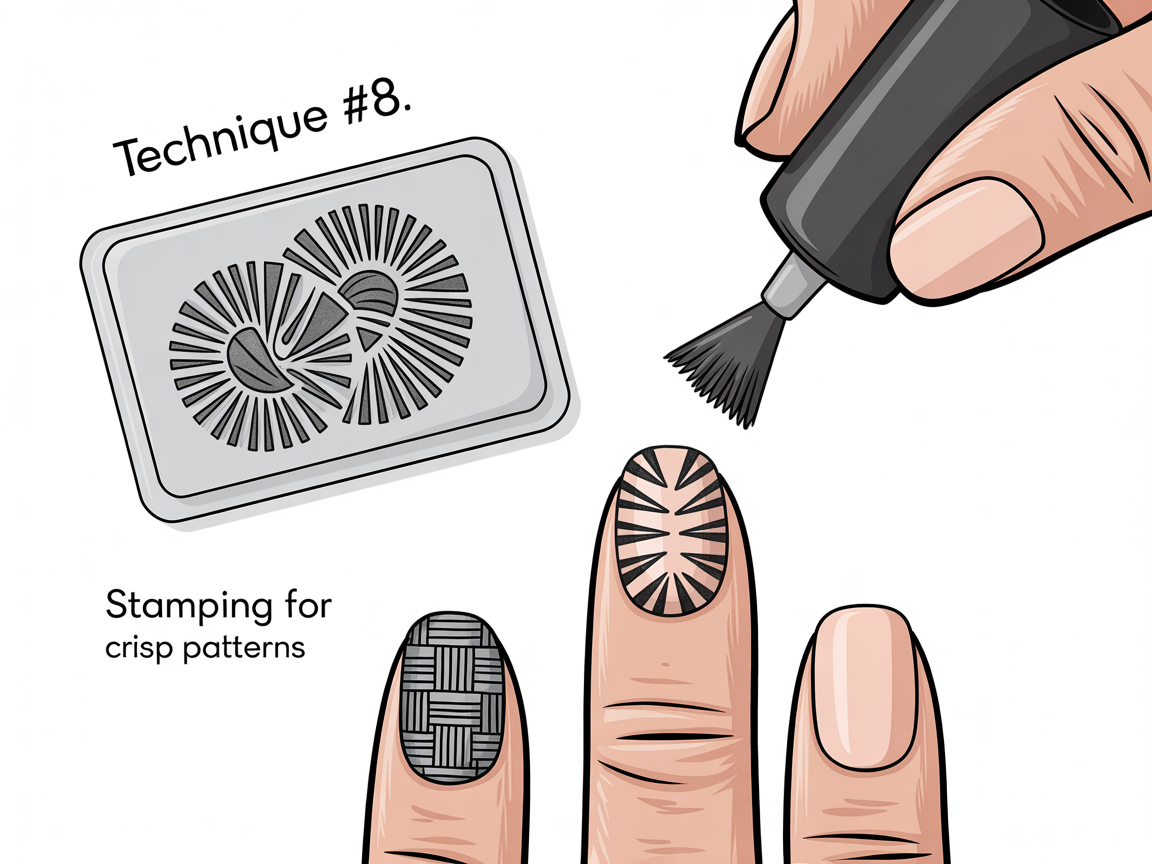
Stamping is one of the best nail art techniques when you want intricate patterns (florals, lace, geometrics) without hand-drawing.
How to do it
- Apply base color and let it fully dry.
- Add stamping polish to a plate design.
- Scrape excess at a 45° angle.
- Press stamper onto the design, then roll it onto the nail.
- Top coat with a light floating stroke (don’t press hard).
Level it up
- Stamp only on the tips for a “pattern French.”
- Mix two stamp colors by placing them side-by-side on the plate.
Avoid this: Slow scraping. Stamping polish dries fast—work quickly.
Technique #9: Nail Stickers and Decals (Instant Art, Clean Finish)
Stickers are not “cheating.” They’re a technique—and a great way to learn placement and composition.
How to do it
- Paint base color and let it dry.
- Place the sticker with tweezers.
- Press down edges firmly.
- Seal with top coat (two thin coats if needed).
Level it up
- Use one small sticker per nail for a minimal set.
- Combine decals with a single stripe to frame the design.
Avoid this: Putting decals on tacky polish. They wrinkle and lift later.
Technique #10: Reverse Stamping / “Sticker” Method (Beginner-Friendly Layering)
Reverse stamping lets you color inside a stamped outline off the nail, then apply it like a decal.
How to do it
- Stamp a design onto a stamper head.
- Let it dry for a minute until it’s not wet.
- Fill sections with colored polish using a toothpick or dotting tool.
- Once dry-ish, peel the design off as a thin “sticker.”
- Place it on the nail and seal with top coat.
Level it up
- Outline details with a thin brush for a sharper cartoon style.
- Add tiny highlights (one white dot) to make shapes pop.
Avoid this: Peeling too early. If it’s still wet, it stretches and tears.
Quick Troubleshooting: Fix Common Beginner Issues Fast
Even simple nail art techniques can go sideways. Use these quick fixes to save your set.
Smudges and dents
- If it’s a tiny dent: add a generous top coat and let it self-level.
- If it’s a big smear: remove only that nail and redo it—faster than trying to patch.
Messy edges
- Dip a small angled brush in acetone.
- Trace the cuticle line and sidewalls.
- Wash hands after to avoid drying skin.
Chipping within 24 hours
- Cap the free edge with base coat and top coat.
- Use thin layers; thick polish stays soft longer.
- Avoid hot water for an hour after finishing.
Design looks “flat”
- Add one contrast element: a dot, a thin line, or a shimmer topper.
- Repeat that element on two nails so it feels intentional.
Conclusion: Build Confidence With Simple Nail Art Techniques
The best nail art techniques for beginners are the ones you’ll actually repeat: dotting, striping, tape art, ombre, and stamping are reliable skills you can mix and match for endless looks. Start with one technique per manicure, take a quick photo for reference, and you’ll be surprised how fast your lines get cleaner and your designs last longer.