
Master Nail Ideas Black in 5 Simple Steps
Master Nail Ideas Black in 5 Simple Steps
Introduction
If you want bold, versatile manicure looks, nail ideas black are a perfect place to start. Black nails can be dramatic, minimalist, or glam depending on the finishes and accents you choose. This guide breaks the process into five simple, actionable steps so you can achieve polished black nails that feel intentional and wearable. Read the steps, try the small drills, and you’ll have repeatable outcomes.
Why black nails work and when to choose them
Black is a surprisingly flexible color for nails. It reads as chic on longer shapes and edgy on shorter shapes. Use black when you want contrast against light outfits, to anchor a bold look, or to create an elegant evening manicure. The visual weight of black makes small design elements pop.
Practical benefits:
- Hides small chips better than pale colors, making the manicure look newer for longer.
- Creates high contrast that highlights line work, metallic accents, and negative space.
- Works with any length: square, almond, coffin, and short rounds.
When to avoid black:
- In work environments with strict dress codes that prefer neutral nails.
- If you plan heavy outdoor activities without gloves, as black may show more wear on exposed edges.
Step 1: Choose the Right Black Shade
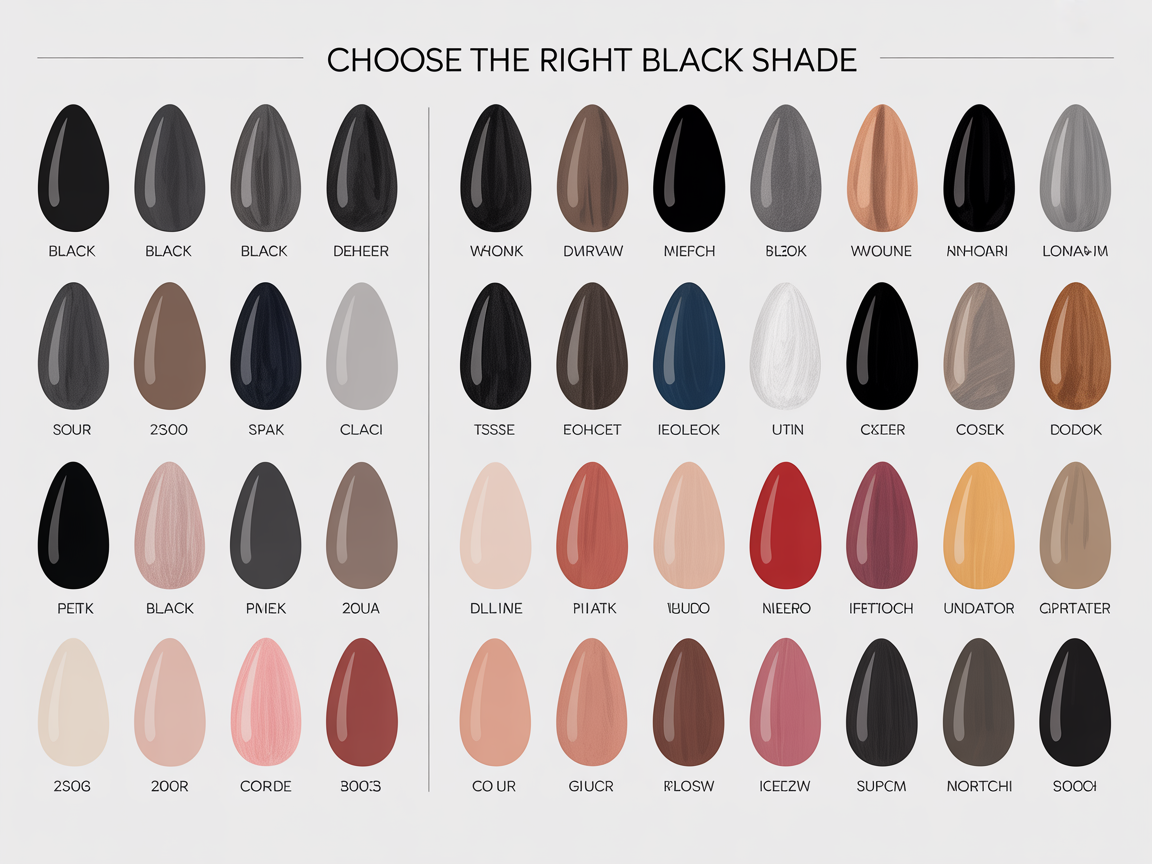
Choosing the right black is the first and most underrated step in mastering nail ideas black. Not all blacks are identical: consider undertones, reflectivity, and opacity when picking your base color.
Shades and how they read:
- Blue-black: reads cooler and richer under daylight; excellent with silver metallics and cool-toned jewelry.
- Warm black with brown or burgundy undertones: softens the effect for olive or darker skin tones.
- Jet black: neutral and intense—a classic choice that photographs well.
How to test:
- Swatch on a nail wheel under both daylight and indoor light.
- Try a sheer base coat or a sheer nude under the black to see if it reduces staining and changes the final hue.
- Consider opacity: some black polishes require three thin coats for true coverage; factor that into your application time.
Design idea: if you like minimalist looks, pick a slightly less glossy black and pair it with gold micro-foils on a single accent nail.
Step 2: Prep and Base for Lasting Wear
Preparation separates a salon finish from a short-lived application. When working with dark colors, prep is especially important because application errors are more visible.
Prep checklist:
- Remove old polish and sanitize nails with alcohol.
- Trim edges and shape nails to reduce catch points for chipping.
- Push cuticles gently and remove excess skin with a soft buffer.
- Lightly buff the nail plate to increase adhesion; avoid over-buffing which weakens nails.
Base options:
- Adhesive base coats boost longevity and reduce lifting.
- Ridge-filling base coats are helpful if you have uneven nail plates and want a smooth black canvas.
- For gel systems, use a compatible primer or bond coat for durability.
Quick at-home tip: if you don’t have professional primers, wipe nails with a lint-free pad and 70% isopropyl alcohol to remove oils.
Step 3: Master Techniques for Crisp Lines and Shapes
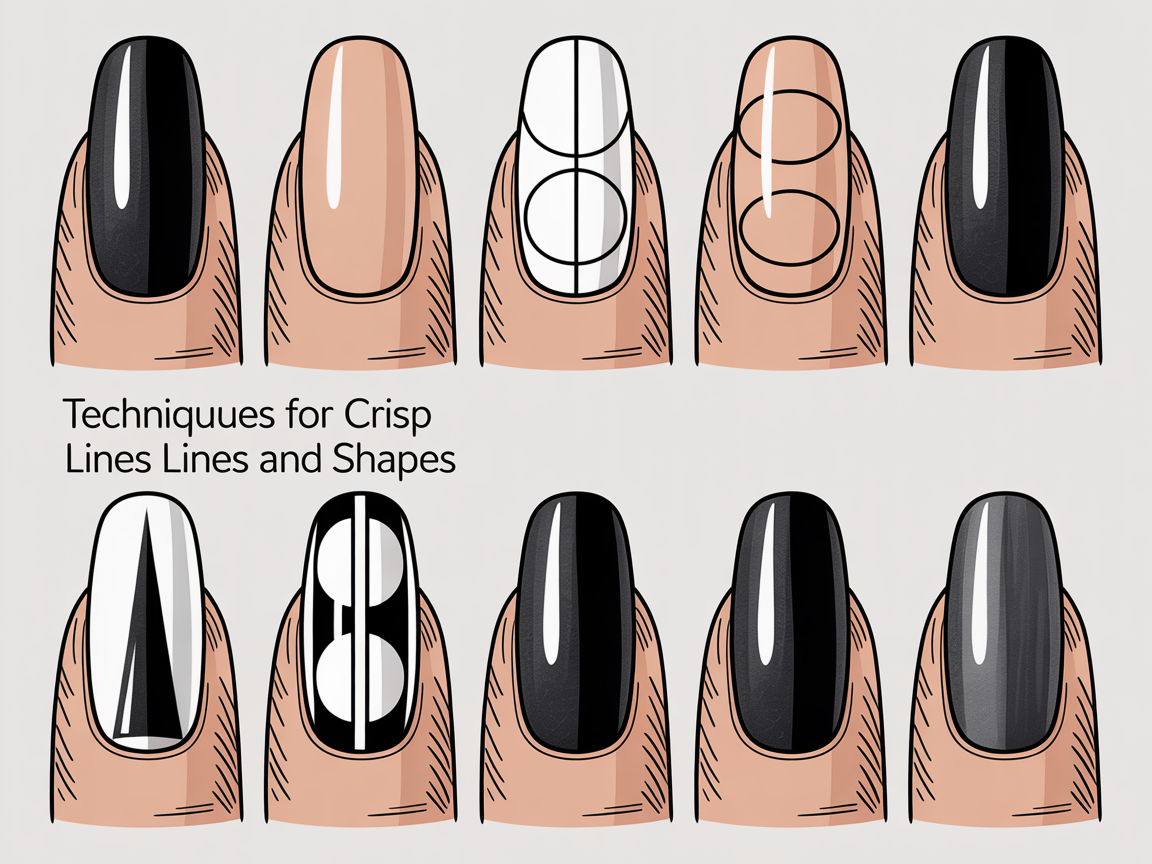
Precise tools and simple methods make complex-looking nail ideas black achievable at home or behind the chair. Focus on brush control, tape usage, and layering.
Essential tools:
- Thin striping brush for fine lines.
- Dotting tools for uniform dots.
- Nail art tape for clean edges and geometric shapes.
- Small angled brush for cleanup with acetone or nail polish remover.
Professional technique drills:
- Line drill: practice a single thin line across a swatch tip. Rest your hand, breathe out, and pull the brush in one steady stroke.
- Negative-space panel: apply tape to mask a section, paint over with black, and remove immediately for a crisp negative edge.
- Gradient fade: dab a small sponge with black and a hint of sheer polish to create soft fades when you want a smokey look.
Common mistakes and fixes:
- Wobbly lines: thin the polish slightly with thinner, or use gel polish for one-stroke stability.
- Bumpy finish: apply thinner coats and avoid heavy brush loads.
- Tape tearing polish: remove tape while polish is slightly tacky, not fully dry.
Practice these drills once a week on swatches; muscle memory will improve control rapidly.
Step 4: Nail health, maintenance, and touch-ups
Healthy nails are the foundation of professional-looking nail ideas black. Dark colors emphasize chips and lifting, so maintenance matters.
Daily and weekly care:
- Apply cuticle oil nightly to prevent dryness and lifting.
- Replenish topcoat every 5–7 days to refresh shine and add a protective layer.
- Wear gloves for chores and gardening to reduce knocks and chemical exposure.
Smart touch-up routine:
- Keep a small brush and the original polish bottle for edge touch-ups.
- Fix chips by gently filing the edge, applying polish to the chip only, then sealing with topcoat.
- For gel systems, a thin layer of builder topcoat can extend wear by reinforcing the tip.
When to remove and start over:
- Remove polish if you notice lifting at the cuticle to avoid trapping moisture.
- If staining occurs, use a safe nail brightener after removal and let nails rest with a strengthening base for a few days.
Step 5: nail ideas black — Seal, style, and finishing touches
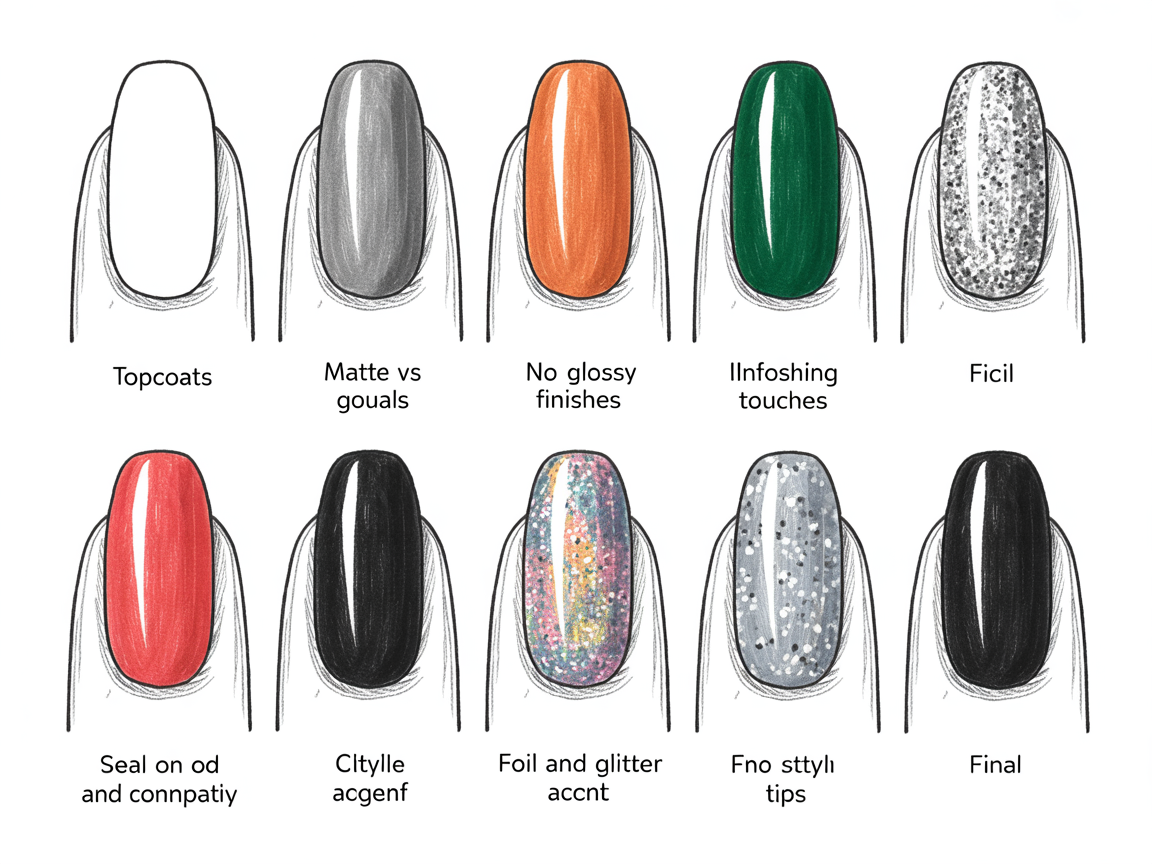
Final sealing elevates your nail ideas black from DIY to salon-finished. Your topcoat choice determines the final look and durability.
Topcoat recommendations:
- Gloss topcoat: for mirror shine and instant polish depth.
- Matte topcoat: for a modern, understated look that reduces reflection and looks luxurious.
- High-build topcoat: great for embellishments like crystals or layered foils so accents sit smoothly.
Accent ideas:
- Metallic stripes: use a striping brush with gold or silver polish for thin, luxe lines.
- Micro-foil or chrome flakes: apply over a tacky layer and seal with a high-build topcoat.
- White or neon contrast lines: thin white lines look especially dramatic over black and photograph well.
Mixing textures: try one glossy accent nail with a matte set to create a tactile contrast that reads chic and intentional.
Helpful references and inspiration
For tutorials and curated inspiration, explore the following internal resources:
- Black-and-white nail art inspiration: https://naildesignerai.com/blog/black-and-white-nail-art (great for contrast techniques).
- French tips reimagined for dark bases: https://naildesignerai.com/blog/french-tip-nail-ideas.
- Seasonal pairing ideas and palettes: https://naildesignerai.com/nail-designs/spring-nail-designs.
- Monthly themed collections and quick prompts: https://naildesignerai.com/ru/nail-ideas/january-nail-ideas.
Materials checklist
- Base coat and chosen black polish
- Two thin coats of black (plus a touch-up bottle)
- Topcoat (gloss, matte, or high-build)
- Striping brush, dotting tool, and nail tape
- Cuticle oil and a small cleanup brush
A short note about signing up
If you need an account to access certain features, you can visit /auth/register on the site to start the process.
Conclusion
Mastering nail ideas black is about selecting the right shade, preparing the nail, practicing a handful of techniques, and finishing with purposeful accents. These five simple steps—shade selection, prep, technique practice, maintenance, and finishing—are repeatable and scalable. With focused practice on line work, negative space, and texture mixing, you’ll get salon-quality results that suit everyday wear and special occasions. The versatility of nail ideas black ensures it will remain an essential in any nail designer’s toolkit.